


Category filter
Creating Technician Profiles: A Step-by-Step Guide
What is a Technician Profile
A Technician Profile is a reusable template that pre-configures essential sign-in & security settings, roles, operational scope, and password policies for technicians. By assigning a Technician Profile during technician creation, IT admins can instantly deploy defined permissions and security settings to new technicians.
When to use Technician Profiles
You can use a Technician Profile to manage the Sign-in & Security settings, Technician Role, Scope, and Password Policy of technicians who share the same responsibilities. Reusing one Technician Profile across every technician keeps their settings consistent, and updating the profile updates all of them at once.
Here are a few scenarios where you can use Technician Profiles to good effect:
Scenario 1: A helpdesk team
- Situation: You are onboarding eight Tier 1 support technicians who all do the same job.
- Profile setup: Create a Technician Profile named “Helpdesk – Tier 1” with:
- Technician Role: a custom role with limited device actions
- Scope: the devices the team supports
- Sign-in & Security: Hexnode-managed 2FA enabled, and Allowed IP ranges set to the office network
- Password Policy: a minimum length of 12 characters
- Outcome: Assign the profile to each technician during technician creation. All eight get the same access and security settings, and one edit to the profile updates all of them.
Scenario 2: Short-term contractors
- Situation: You regularly bring in contractors who need tighter access than employees.
- Profile setup: Create a Technician Profile named “Contractor” with:
- Scope: a single device group
- Sign-in & Security: Hexnode-managed 2FA enabled, and Logout after a period of inactivity set to 30 minutes
- Outcome: Assign the profile each time you add a contractor, so every contractor starts with the same restrictions.
How to Create a Technician Profile
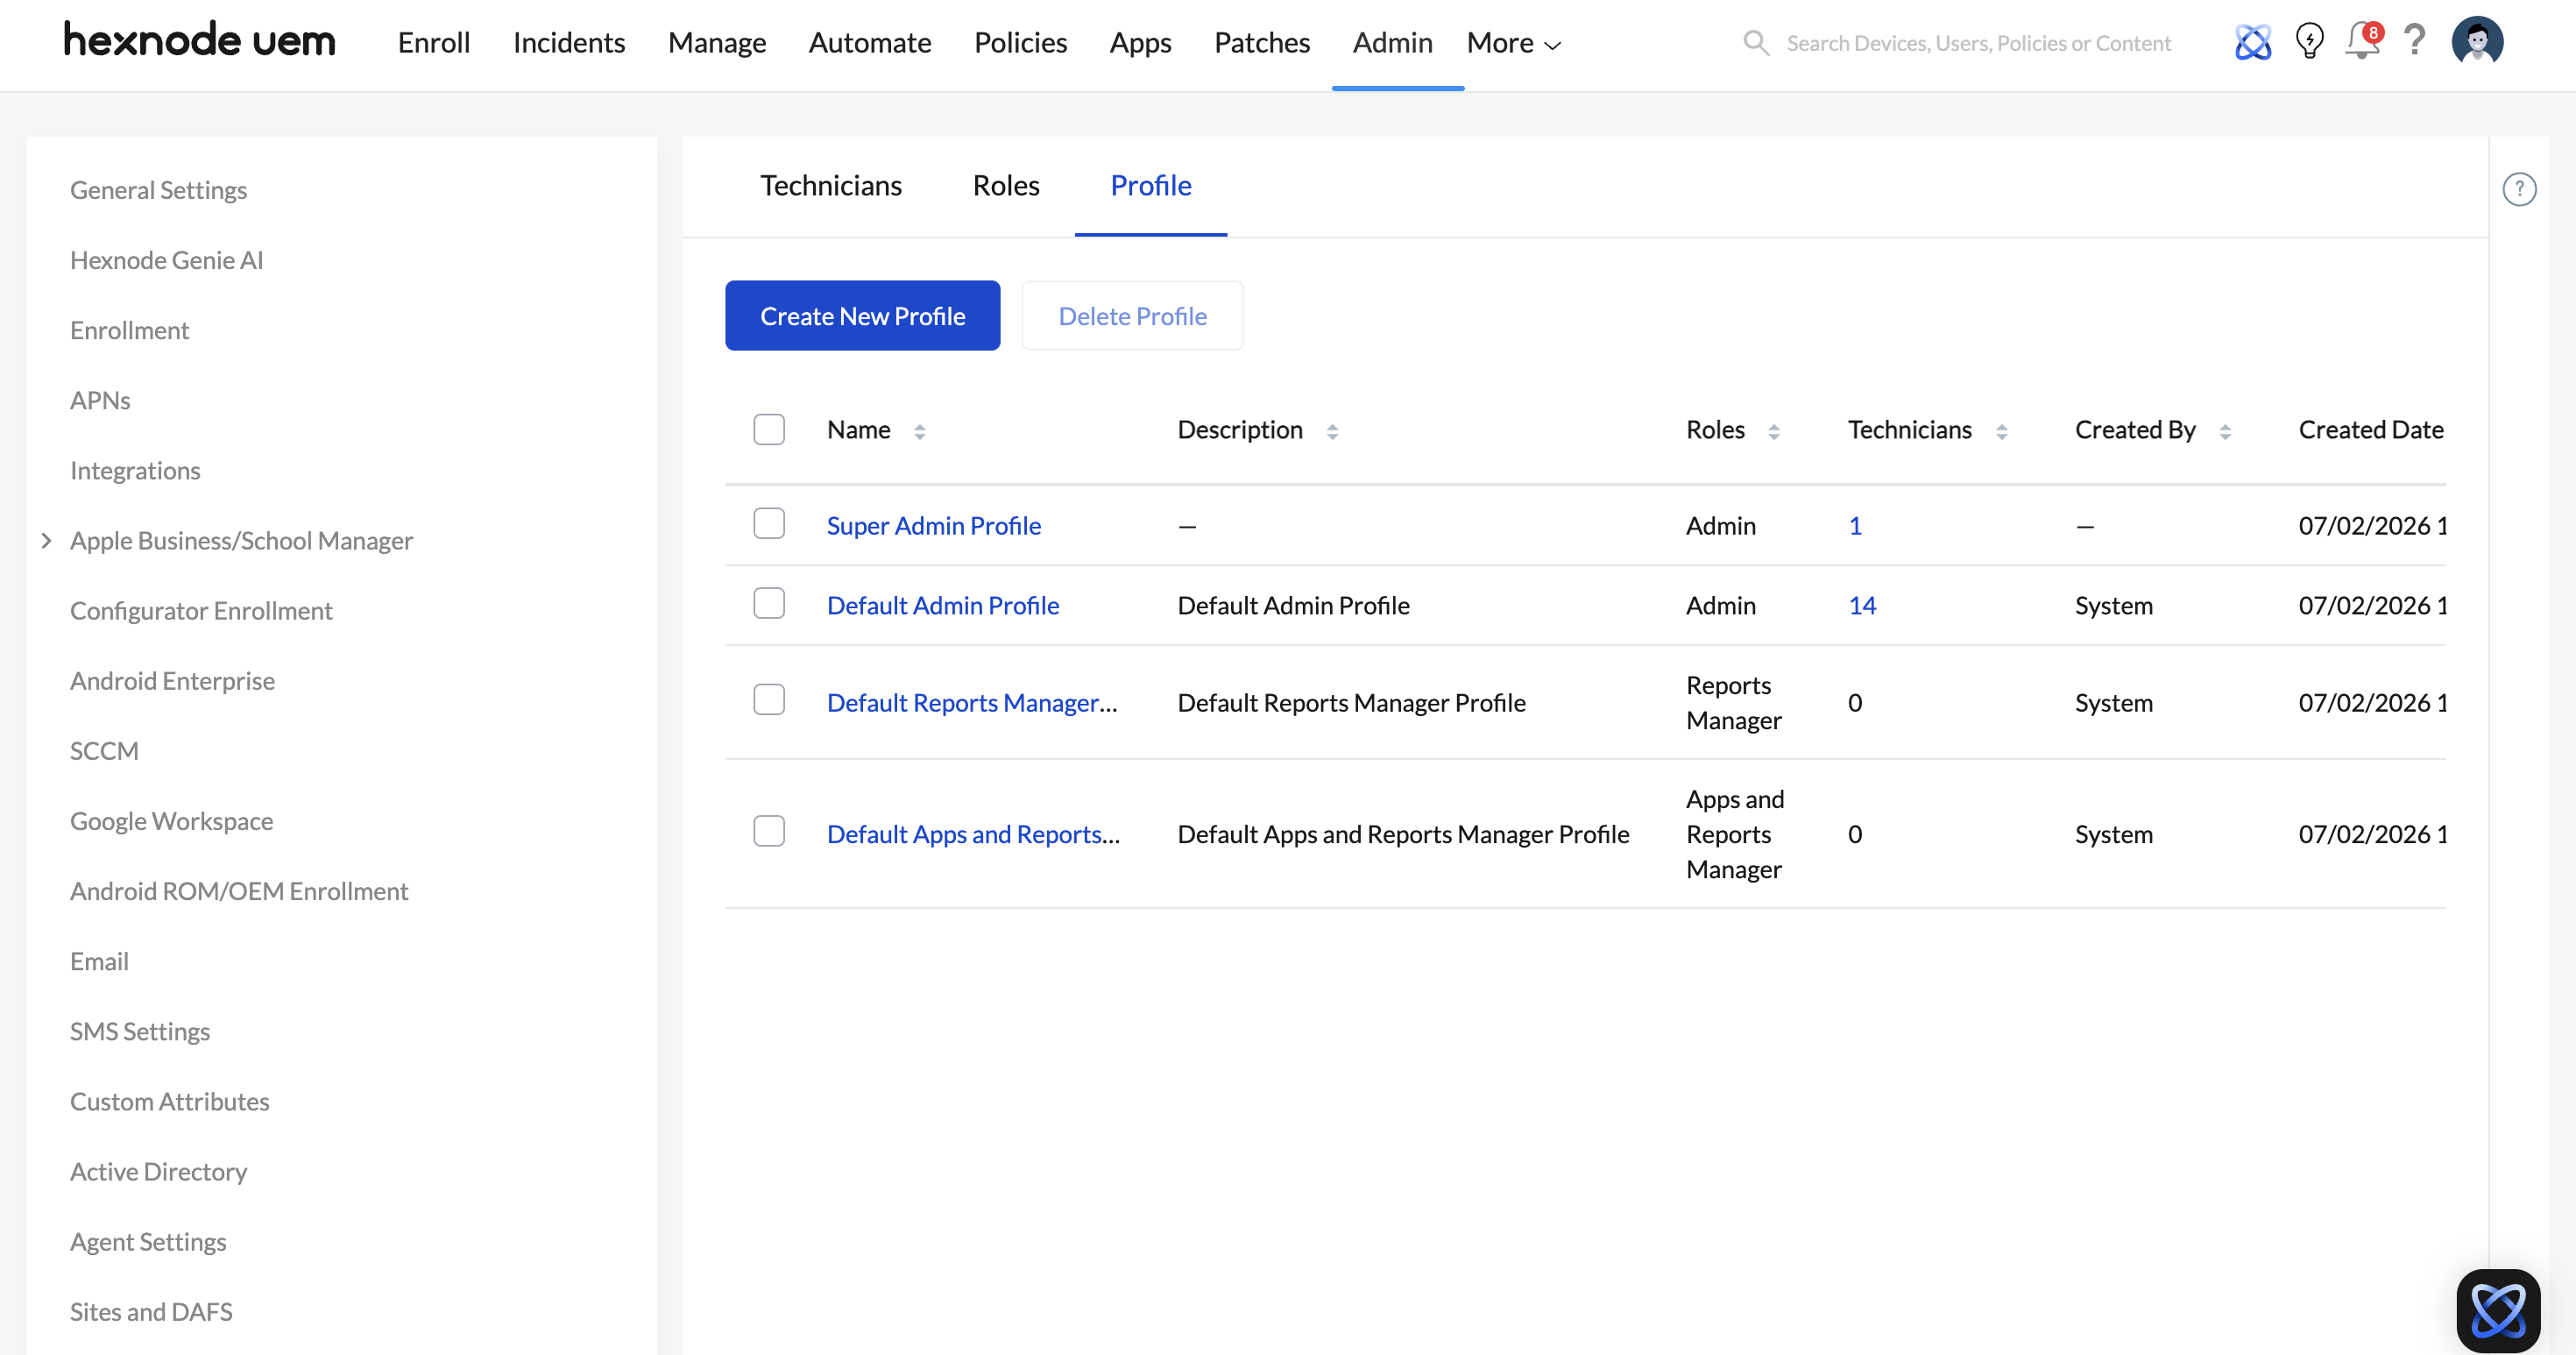
- On your Hexnode UEM console, navigate to Admin > Technicians and Roles.
- Select the Profile tab and click on Create New Profile.
[Image Alt text: Screenshot of Hexnode UEM dashboard displaying the Profile tab under Technicians and Profiles in the Admin tab.] - Provide a name for the Technician Profile.
- You can configure the following sections:
- Sign-in & Security
- Role
- Scope
- Password Policy
Sign-in & Security
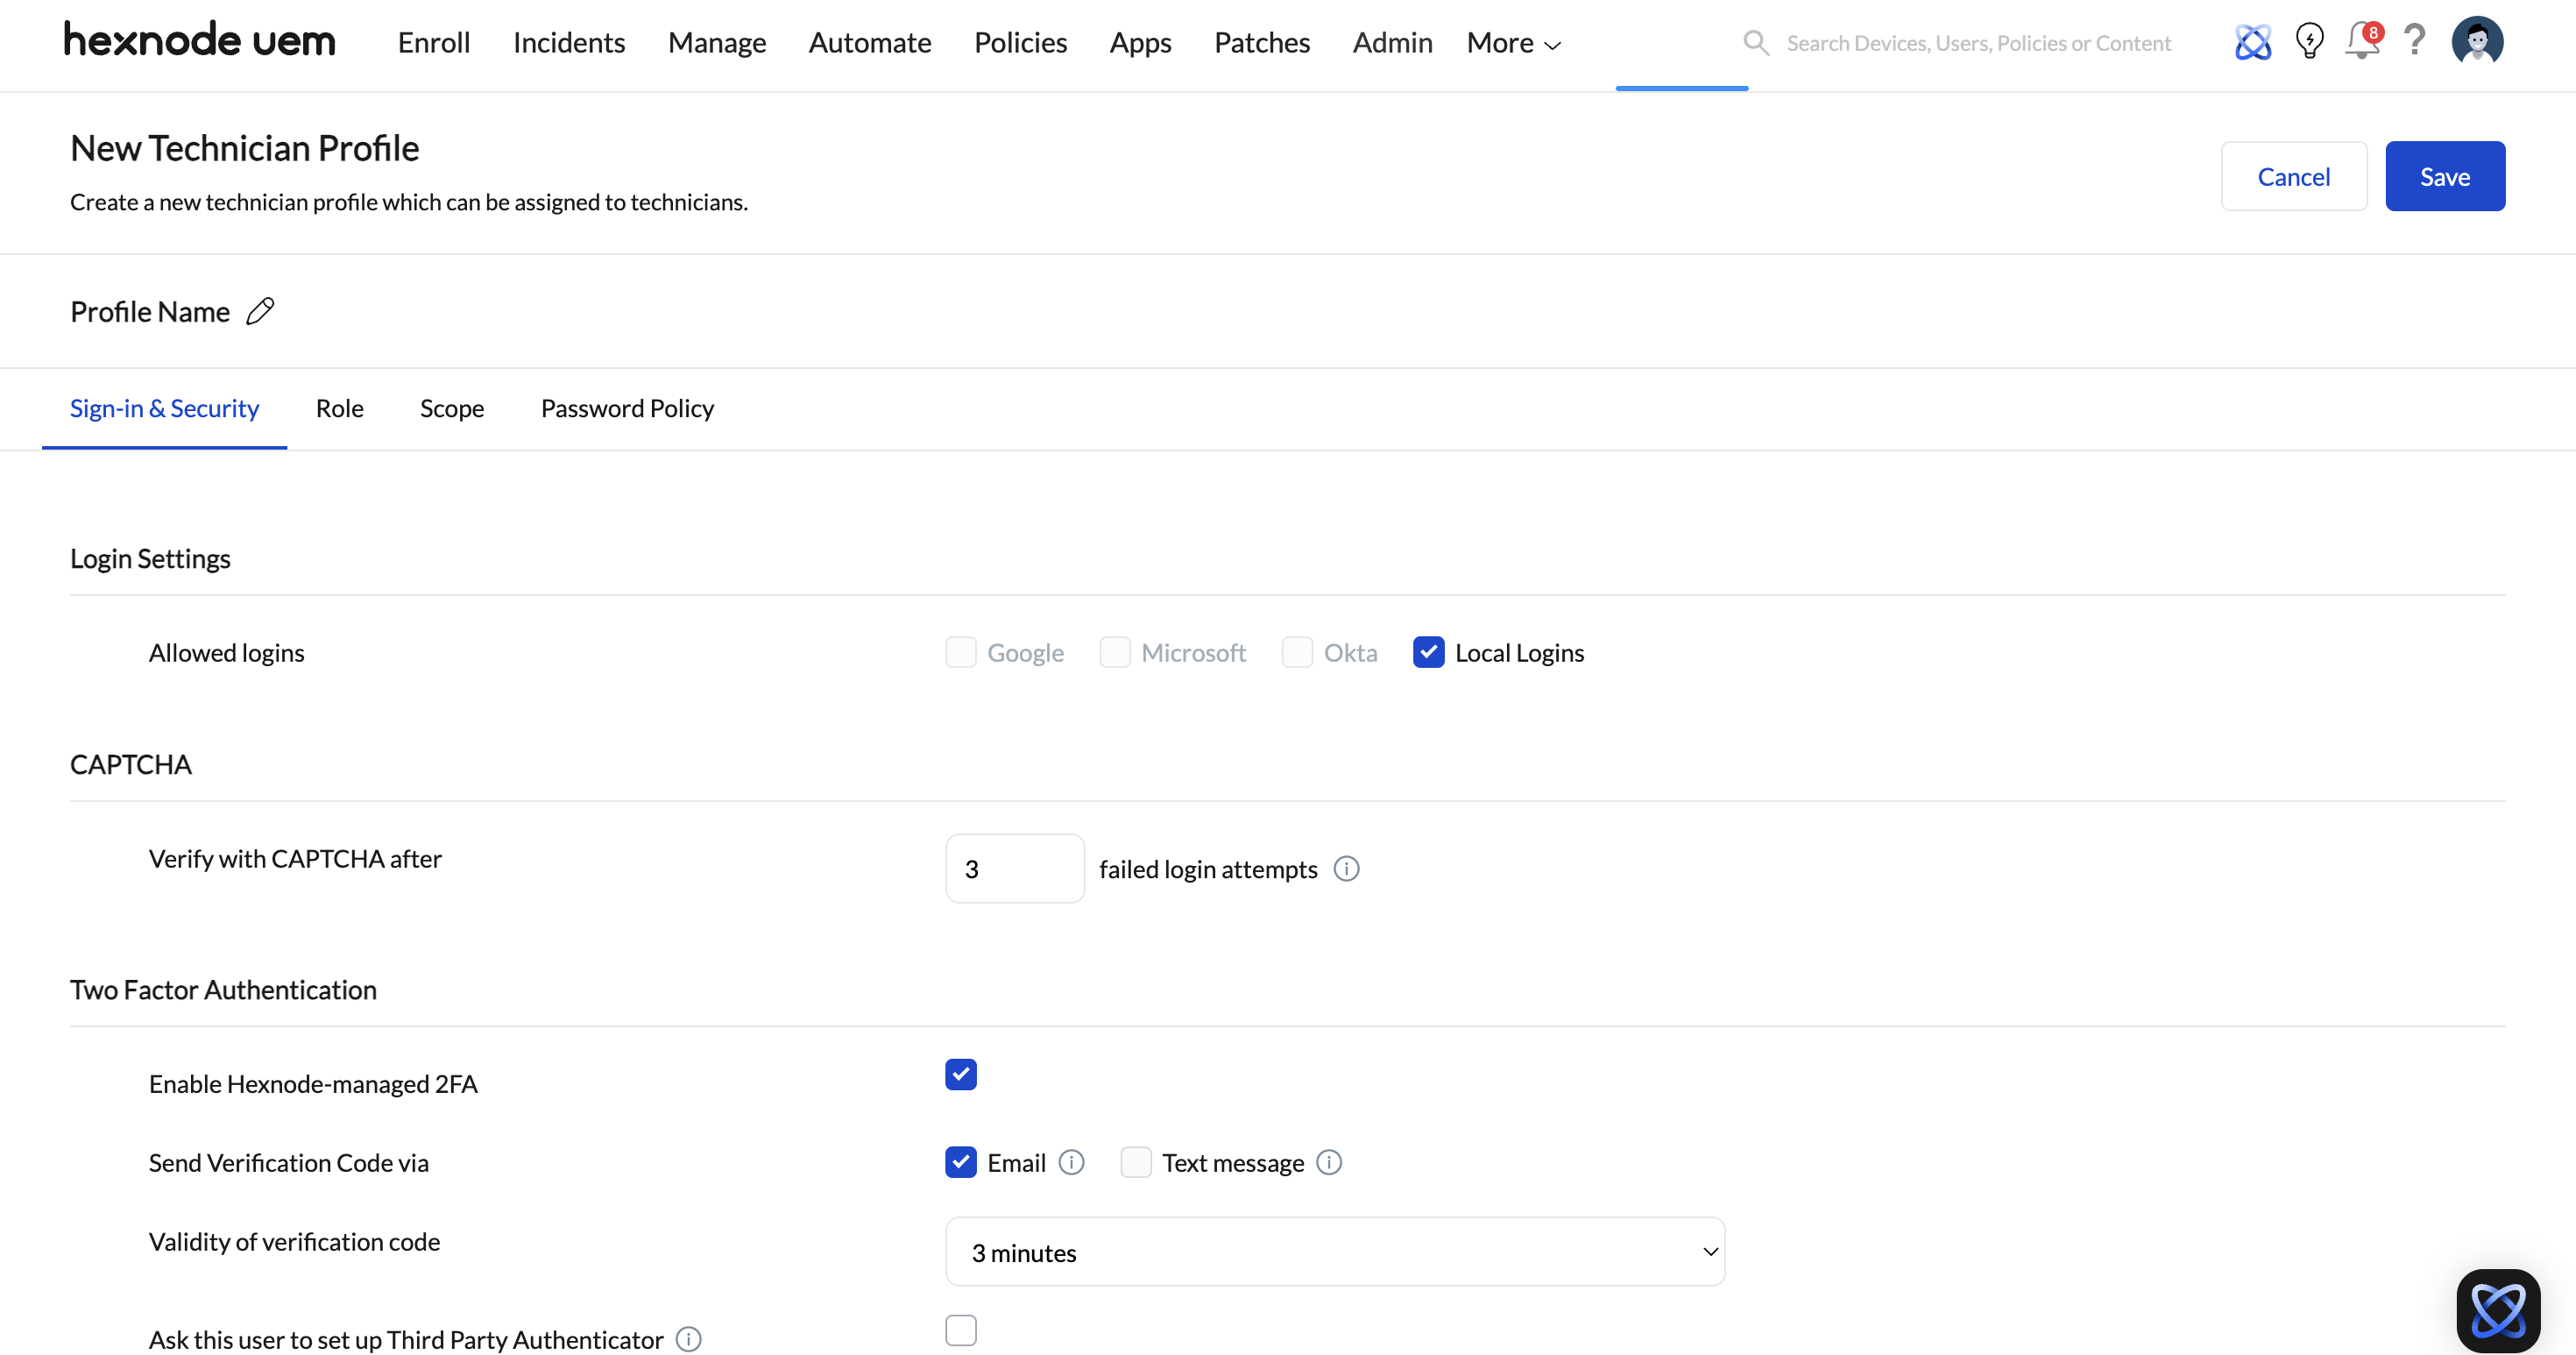
The Sign-in & Security section defines the authentication methods and access restrictions for all technicians assigned to the Technician Profile. Use these settings to enforce identity verification (2FA and CAPTCHA), restrict portal access by trusted IP addresses or browsers, and manage automated session timeouts.
Why it matters: Technicians can run powerful remote actions such as wiping or deleting devices, so a compromised technician account puts every device in its scope at risk. Enforcing 2FA, CAPTCHA, IP and browser restrictions, and session expiry in the Technician Profile means every technician who receives it starts with the same protections.
Login Settings
- Allowed Logins: Specify whether technicians can sign in using Google, Microsoft, Okta, or local account credentials. Note that SSO login via Google, Microsoft, or Okta can only be enabled if the corresponding option is enabled in the Global SSO login settings under Admin > Logon Restrictions.
CAPTCHA
- Verify with CAPTCHA after ___ failed login attempts: Choose the maximum failed login attempts for a technician, after which CAPTCHA will be enabled. It can take values between 1 and 10. By default, the set value is three.
Alternatively, CAPTCHA settings can also be applied globally to all the technicians within the portal in the Global CAPTCHA settings.
- Navigate to Admin > Logon Restrictions.
- Under Global CAPTCHA, provide the maximum failed login attempts after which CAPTCHA will be enabled. It can take values between 1 and 10.
- Click on Save.
If CAPTCHA is configured both globally and individually (while creating the technician profile), the CAPTCHA trigger limit will be the least value among the global and individual CAPTCHA limits.
Two Factor Authentication
- Enable Hexnode-managed 2FA: Check this option to enforce native two-factor authentication, ensuring secure access to the Hexnode portal.
The second authentication factor for technician login into Hexnode can be a time-based email/SMS OTP or a verification code generated by a third-party authenticator app. For example, the technician can employ Microsoft Authenticator or Google Authenticator as the third-party app that provides a verification code for safe login. You can configure the two-factor authentication settings for a technician from the portal.
- Send Verification Code via: Select Email or Text message as the method. The technician will receive the verification code for signing in based on it. Ensure to configure SMS Settings on your portal to enable technician login using OTP via SMS.
- Ask this user to set up Third Party Authenticator: If enabled, the technician can only sign in to their portal by verifying the time-based code shown in the Microsoft Authenticator or Google Authenticator app. You can even log in via the recovery codes if you do not have access to the third-party app on the device. Recovery codes are obtained while setting up the third-party authenticator app. Note that a recovery code can only be used once to log in.
- Bypass OTP verification for subsequent logins from trusted IPs: Enable this option to allow technicians to skip 2FA prompts when signing in from trusted IPs. Use the Require OTP after ___ Days setting to define the period after which technicians must re-verify their identity using OTP.
- Bypass OTP verification for subsequent logins from trusted browsers: Enable this option to allow technicians to skip 2FA prompts on trusted browsers after their initial login. Use the Require OTP after ___ Days setting to define how long a browser remains trusted before re-authentication is required.
- Skip 2FA for actions: Enabling this option will skip 2FA while executing remote actions.
IP Restrictions
IP restrictions can be used to specify the IP addresses from which a technician can login to the Hexnode portal.
- Allowed IPs: Specify the IPs individually from which technicians can access the portal.
- Allowed IP ranges: Specify the IP ranges from which technicians can access the portal.
Browser Settings
- Allowed Browsers: Select the browsers from which the technicians can sign in to the Hexnode portal. You can choose from the following options:
- Microsoft Edge
- Google Chrome
- Safari
- Mozilla Firefox
- Allow all browsers
Session Expiry
- Logout after a period of inactivity: If enabled, the technician will get logged out after the specified period of inactivity.
- Logout after: Set the time for the period of inactivity, after which the technicians will get logged out automatically. The available options are 30 min, 45 min, 60 min, 90 min, 2 hours, 4 hours, and 8 hours.
Role
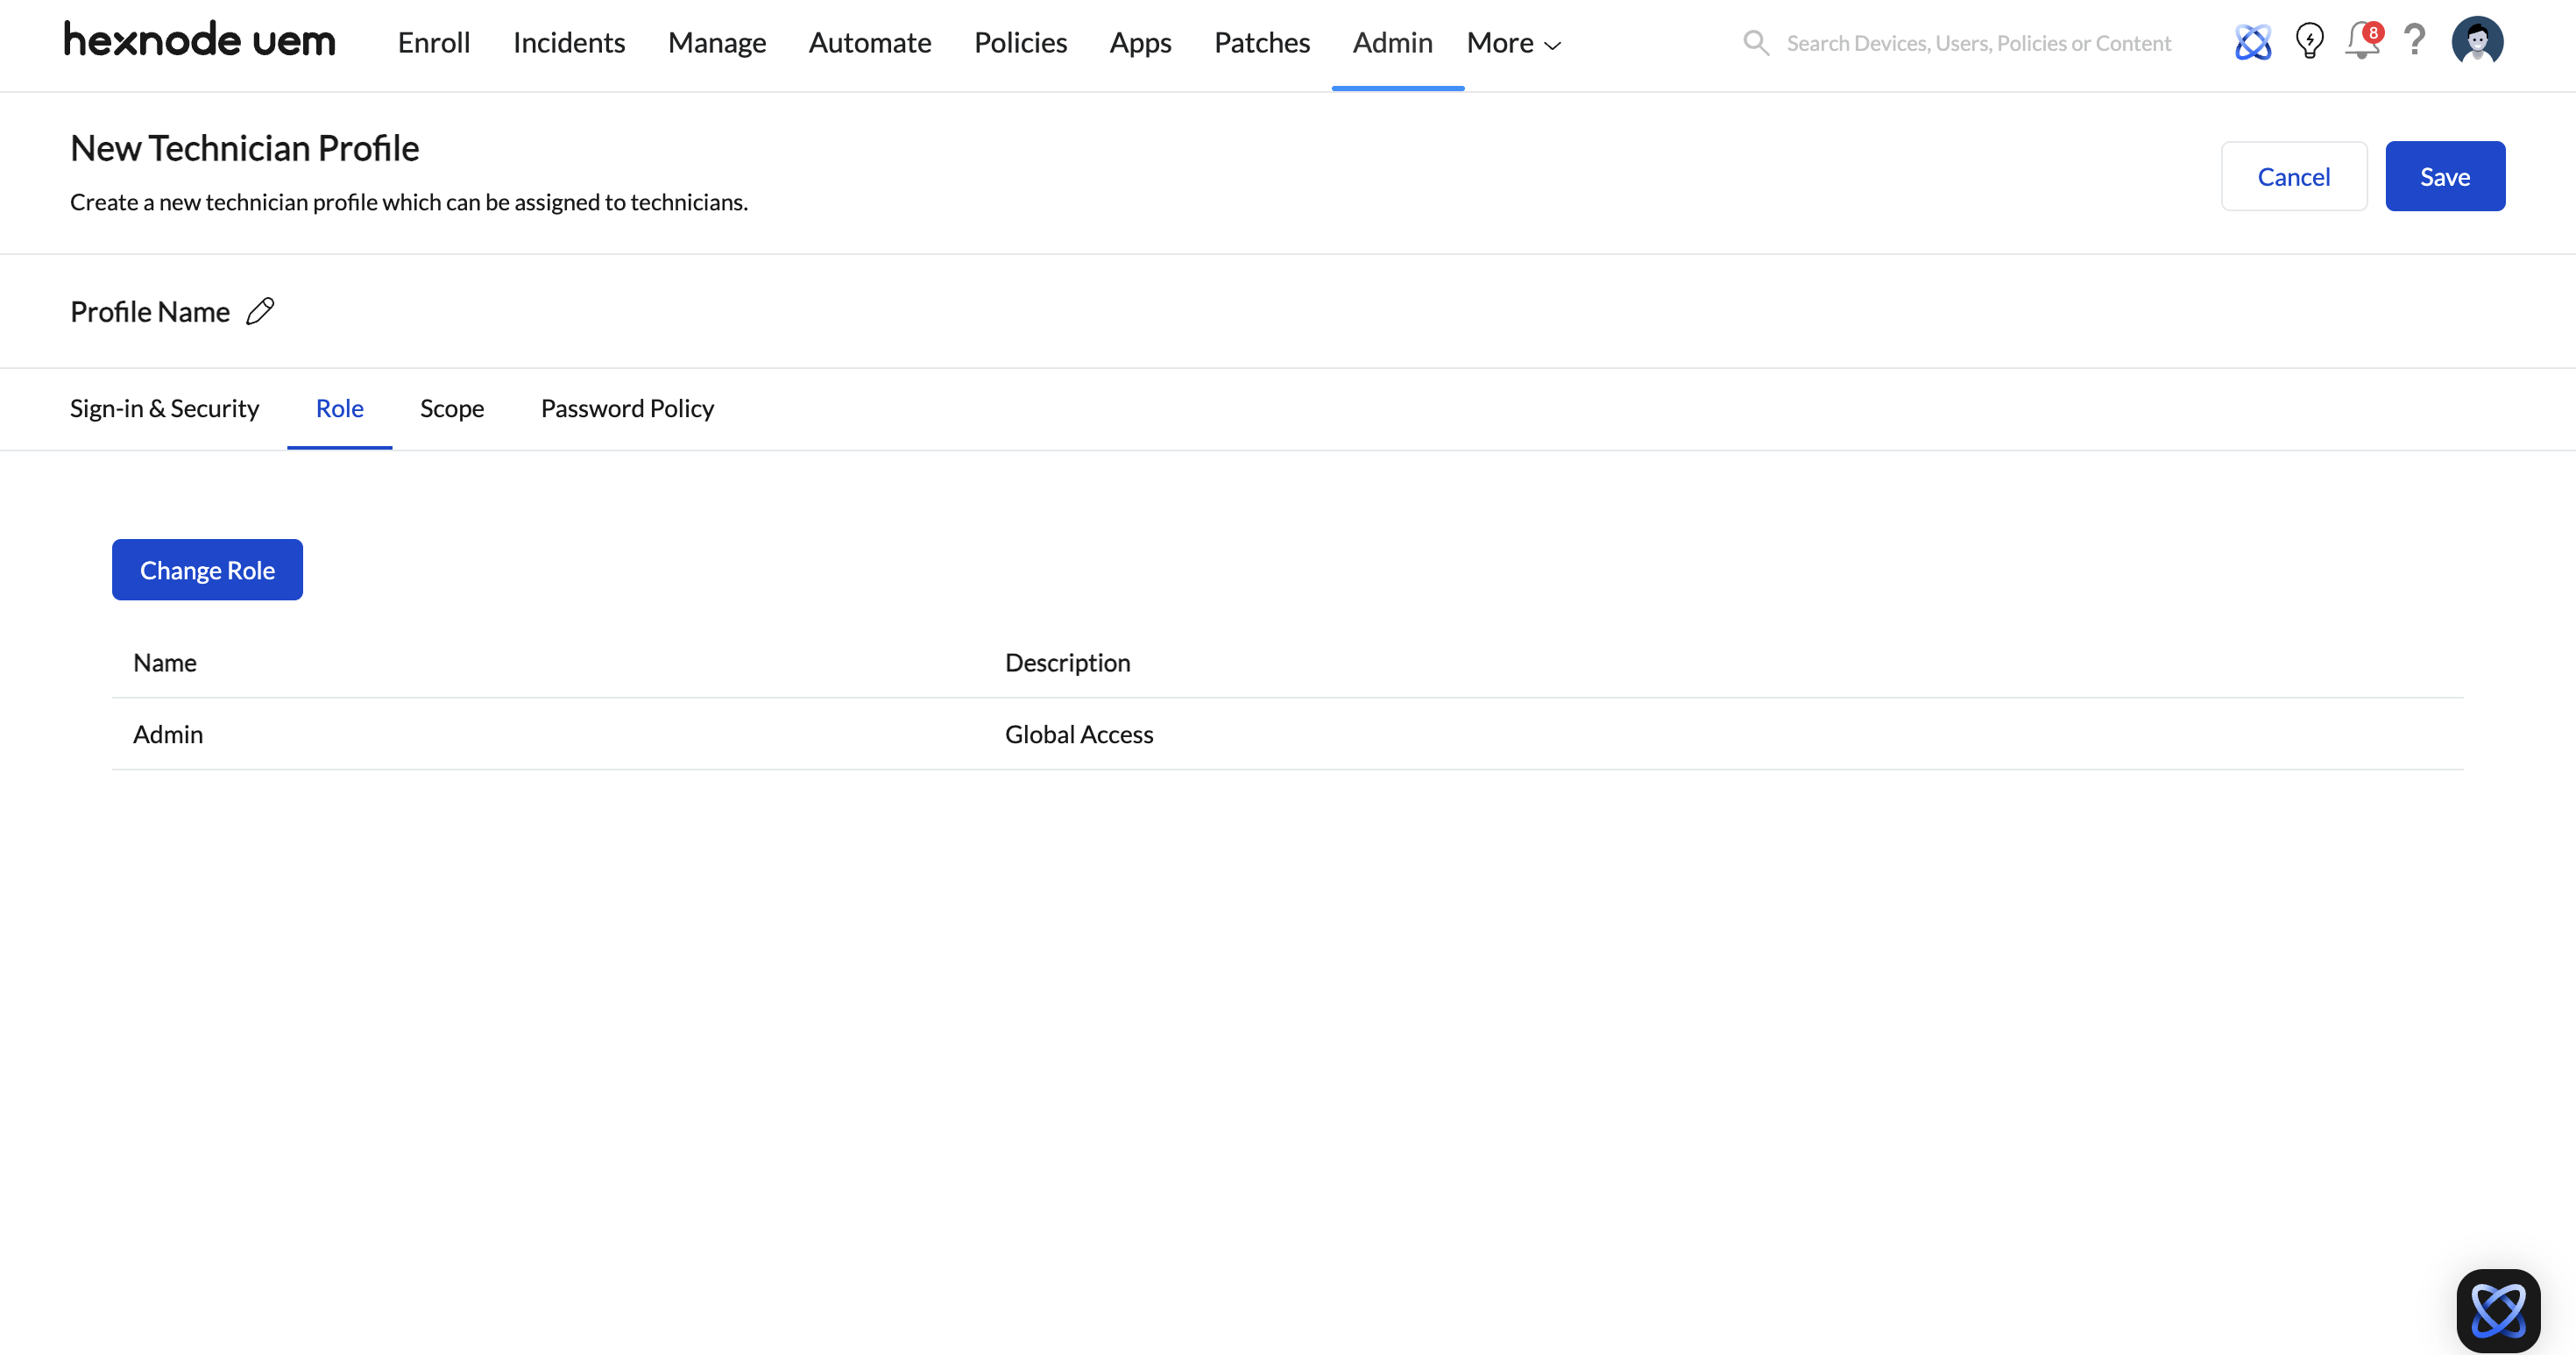
A Technician Role is a set of permissions that determines what functionalities a technician can access in the Hexnode UEM console. Select a Technician Role to apply specific permissions to all technicians assigned to this Technician Profile.
Why it matters: Because the Technician Role is part of the Technician Profile, every technician assigned to the profile receives the same permissions. This supports least-privilege access, where each technician can do only what their job requires.
To assign a Technician Role to the Technician Profile:
- Click on Assign Role.
- Select the required role and click Assign.
Scope
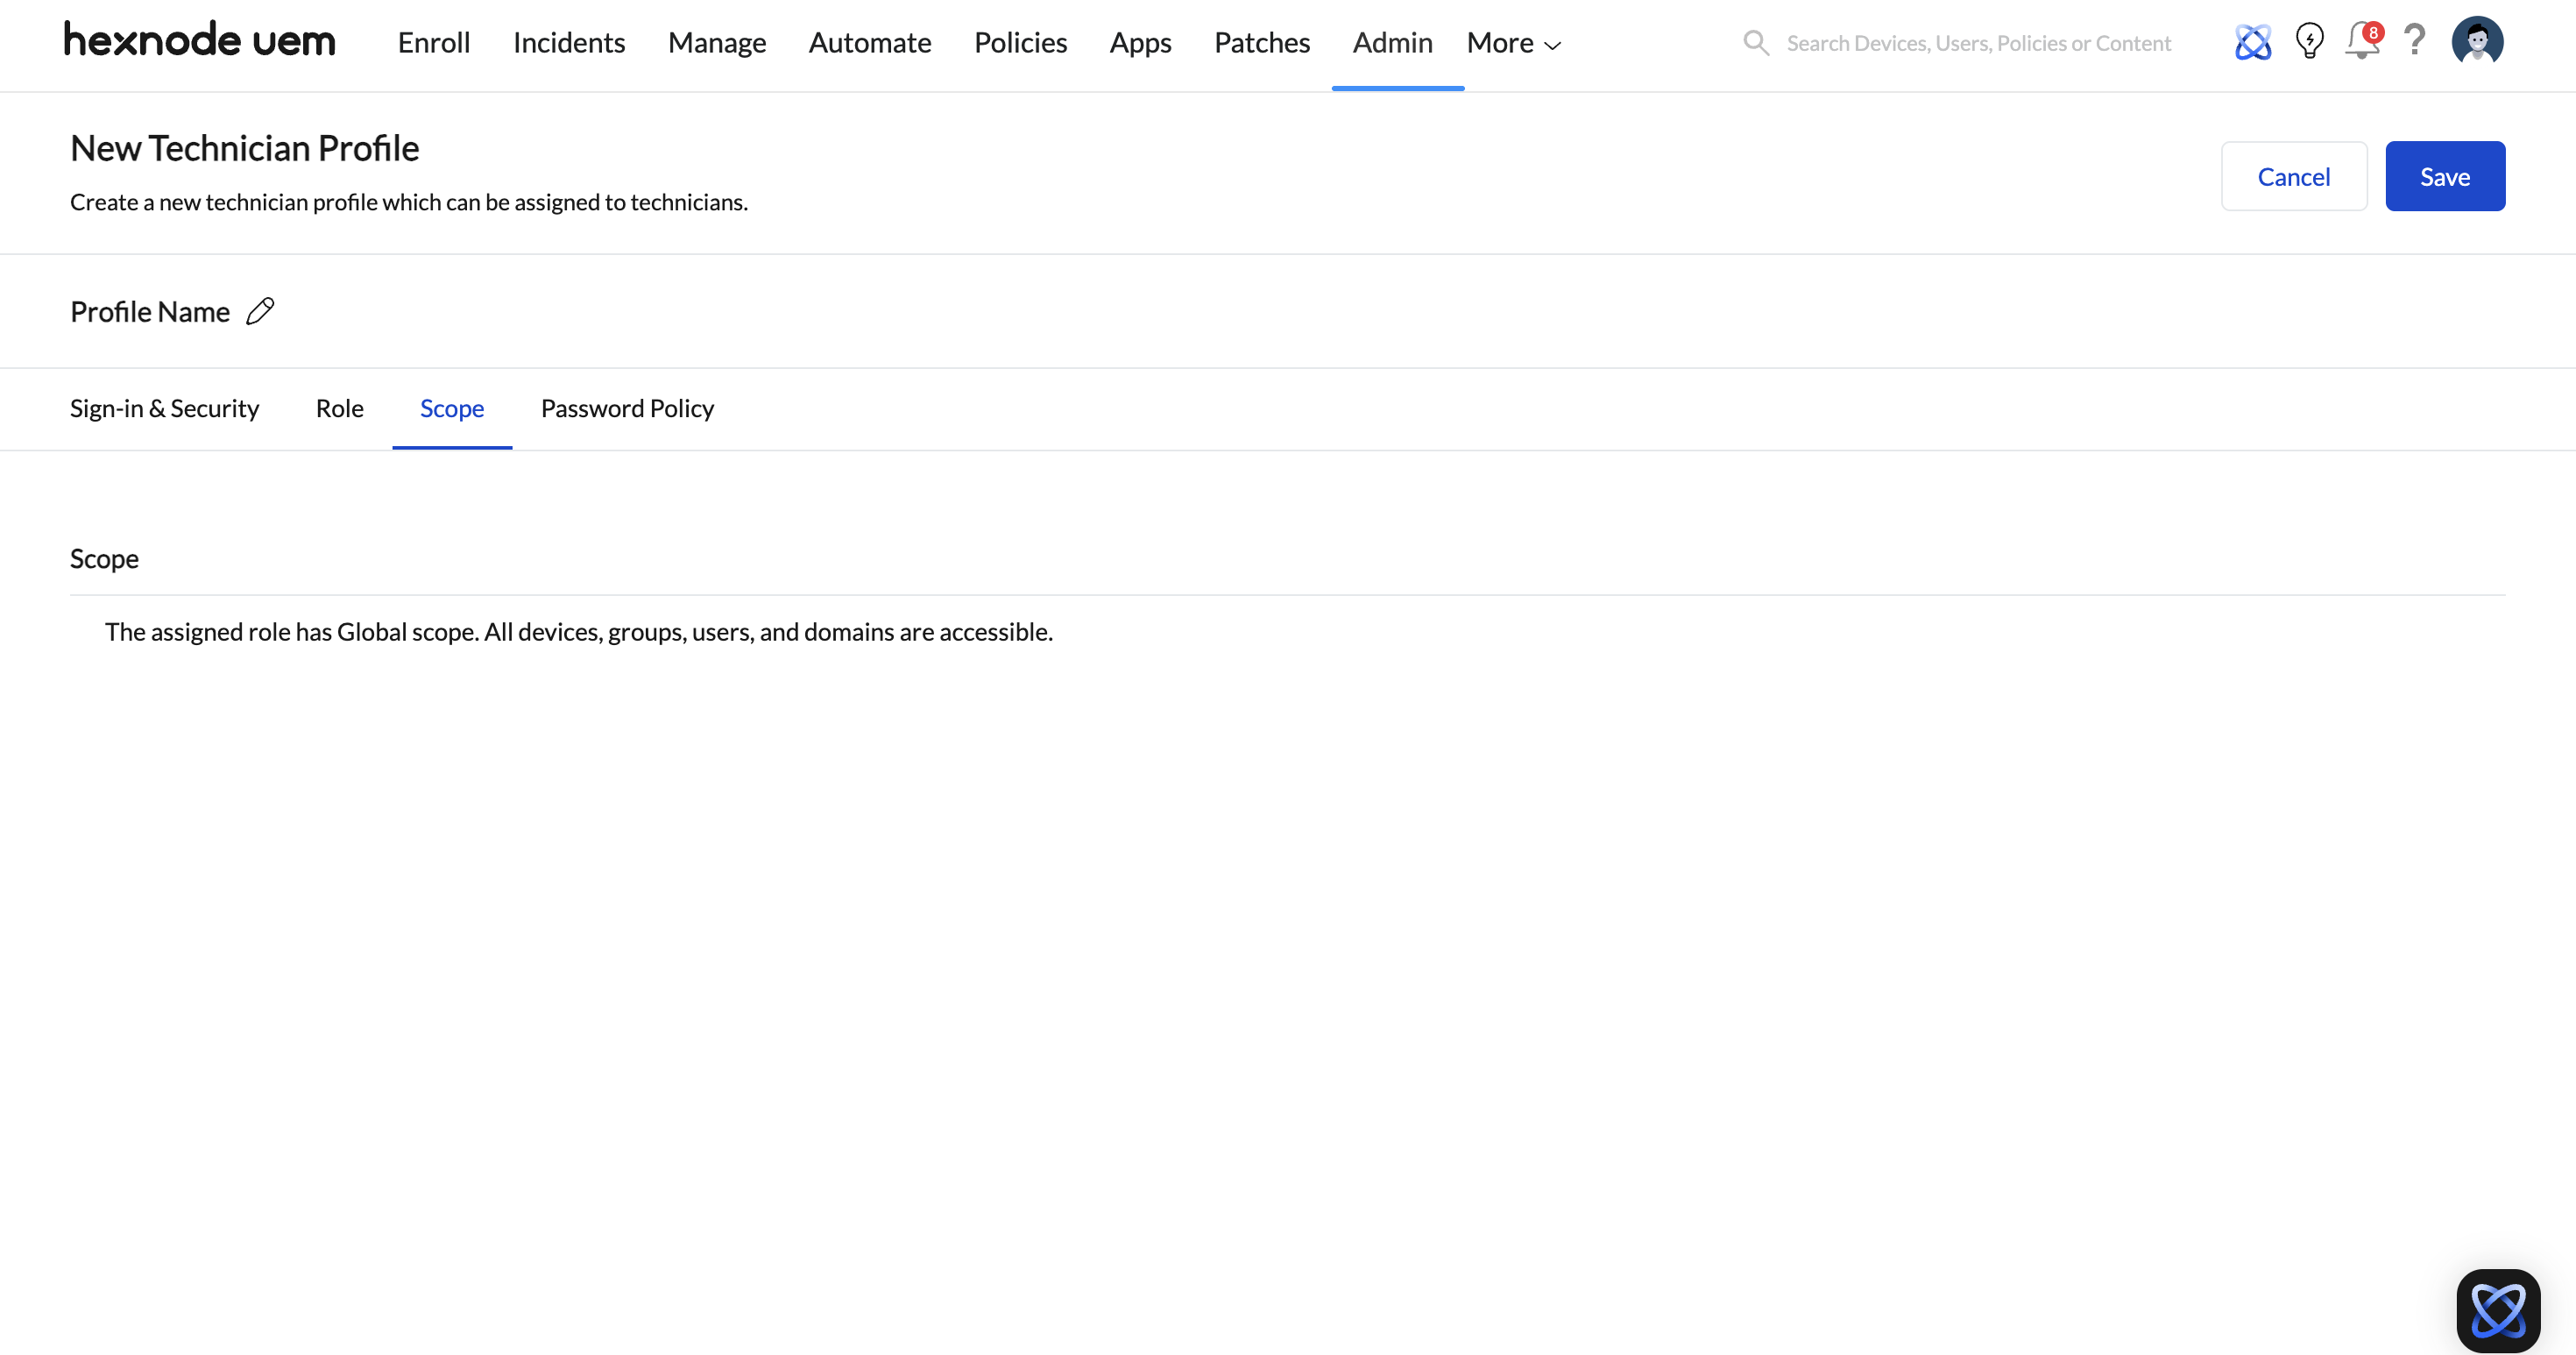
Scope defines the specific devices, device groups, users, user groups, or domains that a technician can access and manage.
Why it matters: Scope limits where a technician’s permissions apply. A technician can act only on the devices, users, and domains inside their Scope, so a regional team can be restricted to its own devices even when its Technician Role allows powerful actions.
Password Policy
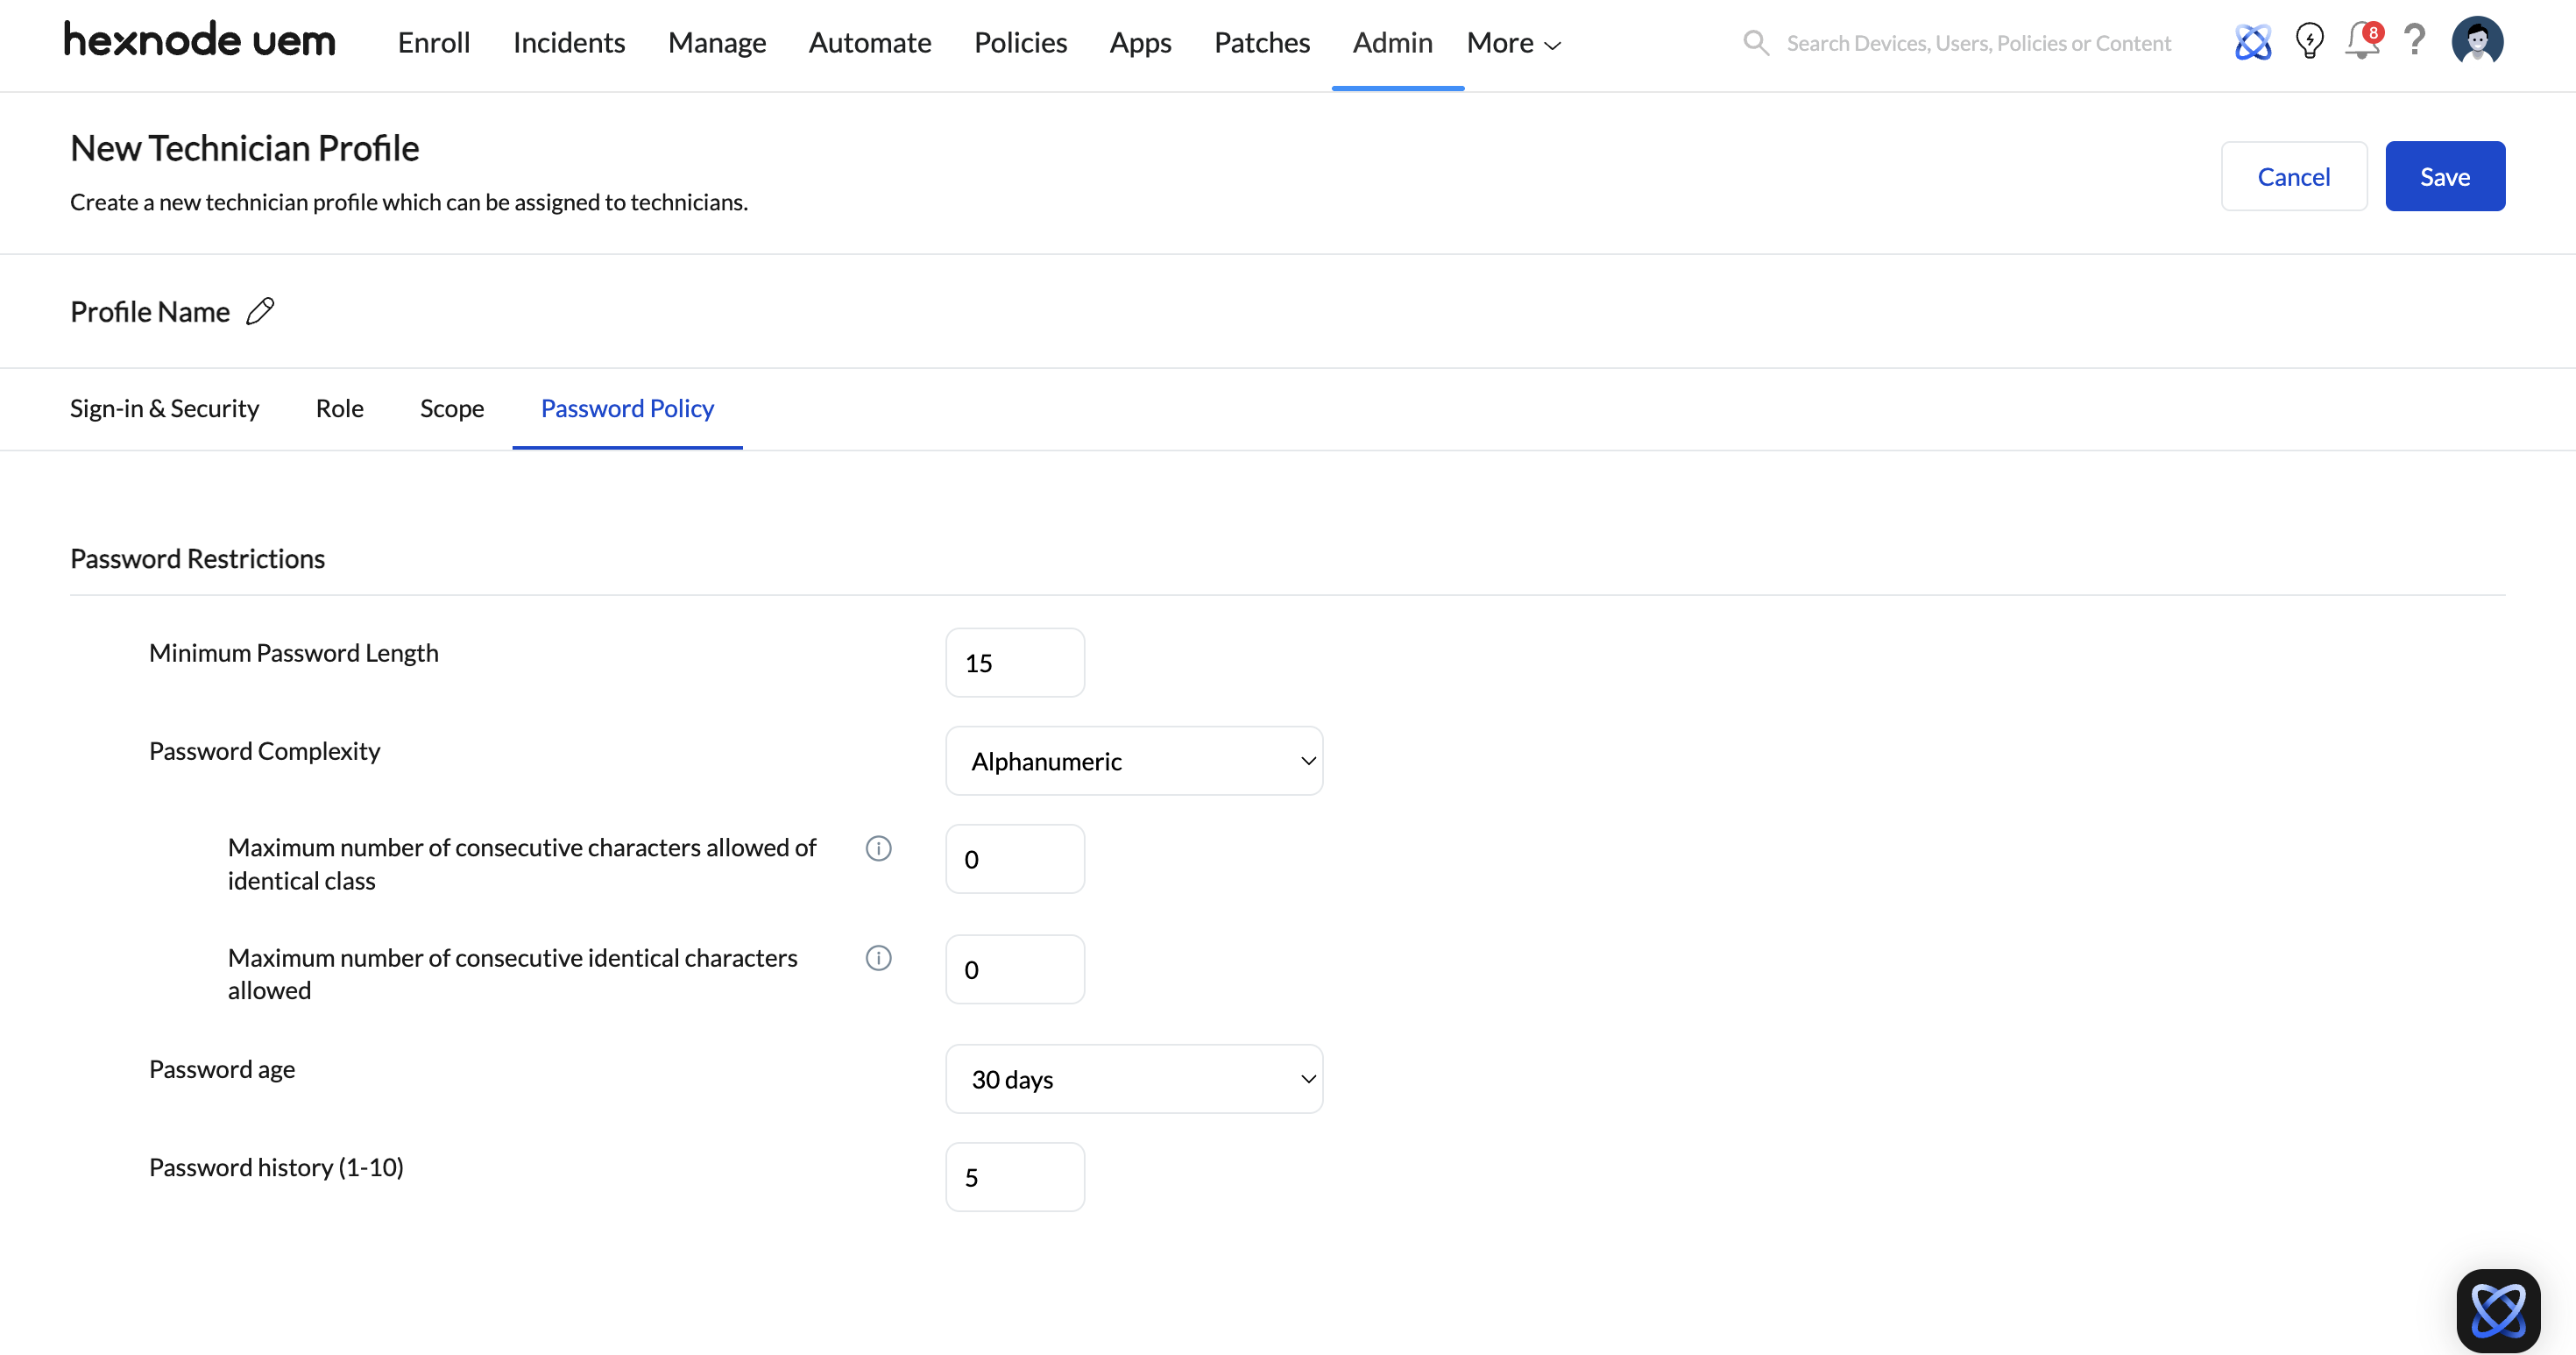
A Password Policy defines the length, complexity, age, and history requirements for technician passwords.
Why it matters: A consistent Password Policy ensures that all technician passwords meet the same strength, rotation, and reuse rules, which reduces the risk of weak or recycled credentials on accounts with administrative access.
You can configure the following settings:
- Minimum Password Length: Specify the minimum password length.
- Password Complexity: Select the password complexity. The available options are Alphanumeric, Complex, and Allow any ASCII characters. You can configure the following sub-options:
| Setting | Description |
|---|---|
| Maximum number of consecutive characters allowed of identical class | Set the limit for consecutive characters of the same type (such as all numbers or all lowercase letters) in a password. |
| Maximum number of consecutive identical characters allowed | Set the limit for repeating the exact same character in a row (e.g., “aaa” or “111”). |
| Minimum uppercase letters (for Complex and Allow any ASCII characters options only) | Specify the minimum number of uppercase letters required for a valid password |
| Minimum lowercase letters (for Complex and Allow any ASCII characters options only) | Specify the minimum number of lowercase letters required for a valid password |
| Minimum non-alphabetic characters (for Complex and Allow any ASCII characters options only) | Specify the minimum number of non-alphabetic characters required for a valid password |
| Minimum numeric letters (for Complex and Allow any ASCII characters options only) | Specify the minimum number of numeric letters required for a valid password |
| Minimum symbols (for Complex and Allow any ASCII characters options only) | Specify the minimum number of symbols required for a valid password |
| Minimum number of spaces (for Allow any ASCII characters option only) | Specify the minimum number of spaces required for a valid password |
- Password age: Set the number of days a password remains valid before the technician is required to change it.
- Password history: Password history is set to block the users from reusing the password for a specified number of times. You can set any value in the range 1 and 10.
On configuring these settings, click Save to save the Technician Profile.
Next Steps: Profile deployment
Upon saving, the Technician Profile is stored as a reusable template. To apply its settings, assign the Technician Profile to a technician during technician creation. The technician inherits the settings configured in the assigned Technician Profile.
For detailed instructions on adding new technicians, refer to Configuring Technicians and Roles in Hexnode.
Important Note:
- Profile changes after assignment: Updating a Technician Profile applies the changes to all technicians who are assigned that Technician Profile. Technicians can also be edited directly, but only their account information is editable there. To change any other setting (Sign-in & Security, Technician Role, Scope, or Password Policy), edit the Technician Profile.
- Profile deletion behavior: A Technician Profile that is assigned to one or more technicians cannot be deleted.
Frequently Asked Questions
Q: What is the difference between a Technician Profile and a Technician Role?
A Technician Role defines what a technician is allowed to do in the Hexnode UEM console. A Technician Profile is a broader template that bundles a Technician Role together with Sign-in & Security settings, a Scope, and a Password Policy. Assigning a Technician Profile to a technician therefore assigns a Technician Role as one part of a complete configuration.
Q: Does updating a Technician Profile affect technicians who already use it?
Yes. Updating a Technician Profile applies the changes to all technicians who are assigned that Technician Profile. Only account information can be edited directly on a technician, so any other setting must be changed in the Technician Profile.
Q: Which verification method takes priority if both email/SMS and an authenticator app are set up?
By default, during the technician authentication process the system will ask to enter the authenticator app code or one of the recovery codes generated while setting up the app. If you prefer to log in using the email or text message code instead, click Try another way displayed on the pop-up wizard shown during authentication.
Q: How long is the verification code sent during two-factor authentication valid?
The verification code sent to your email or phone number is valid for 3 minutes, but you must request a new one if it expires, has already been used, or is entered incorrectly three times.
Q: When does a technician session completely expire?
Regardless of the configured inactivity timeout while setting up the technician profile, all login sessions will automatically expire after 4 days.


