Category filter
Add macOS Devices to Apple Business Using Apple Configurator
Learn how to add Macs to Apple Business via Apple Configurator on your iPhone. This guide enables you to manually add macOS devices to Apple Business or Apple School Manager (ASM), allowing for Automated Device Enrollment (ADE) regardless of where the device was purchased.
Prerequisites
Before you begin, ensure you meet the following requirements:
- Apple Business / Apple School Manager (ASM) Account: You must be a registered administrator with the Device Enrollment Manager role.
- Supported Mac: The Mac must have an Apple Silicon or Apple T2 Security chip and run macOS 12.0.1 or later.
- Supported iPhone: An iPhone running iOS 16 or later with the Apple Configurator app installed.
- Hexnode Setup: Automated Device Enrollment must be configured in your Hexnode UEM portal.
- Backup: The Mac must be wiped during this process. Ensure all data is backed up via Time Machine or iCloud.
Phase 1: Install and Configure Apple Configurator on iPhone
- Install App: Download and install Apple Configurator from the App Store on your iPhone.
-
Initial Setup: Open the app and grant necessary permissions:
- Click OK for Bluetooth access.
- Click Continue.
-
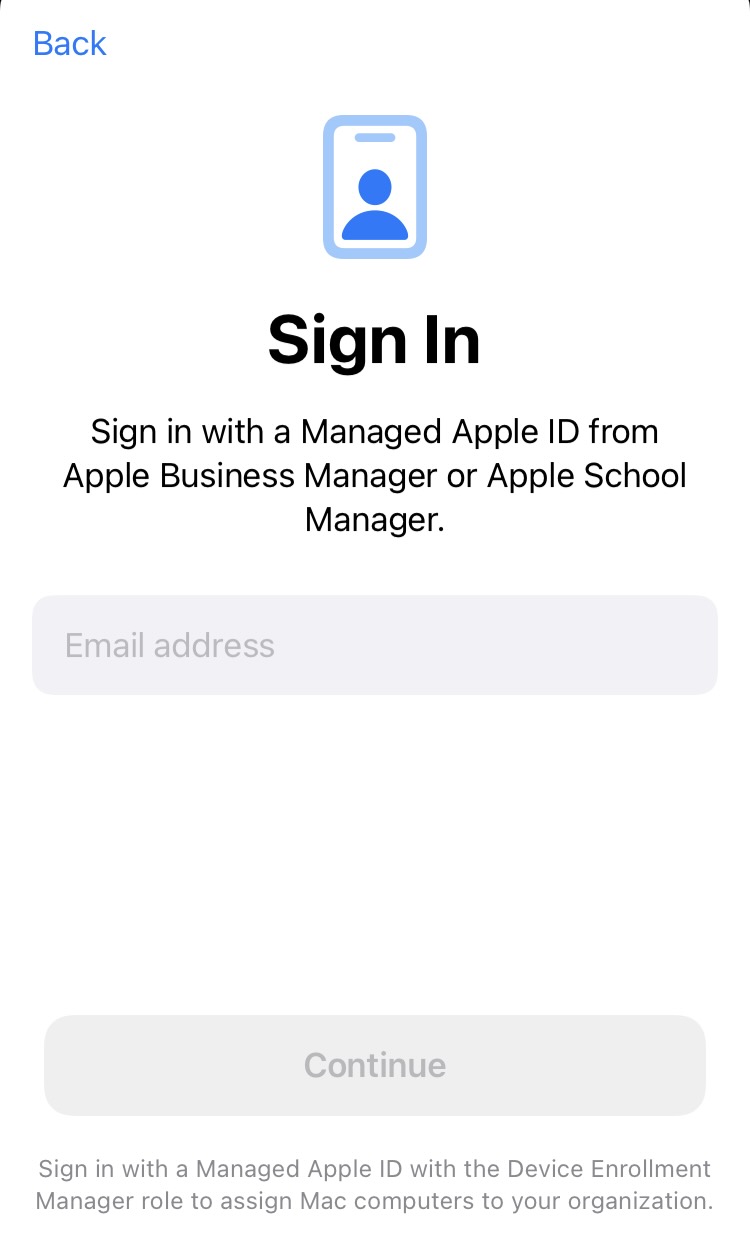
Sign In: Sign in using your Managed Apple Account that has the required Device Enrollment Manager role.
- Grant Camera Access: Allow access to the Camera to scan the pairing code on the Mac.
- Configure Additional Settings: Tap the gear icon to pre-configure network and MDM additional settings for the device.
Network Configuration
To ensure the Mac can connect to the internet during enrollment, choose one of the following:
- Share Network: The Mac will automatically use the same Wi-Fi credentials as the iPhone running Apple Configurator.
- Configuration Profile: Create a Wi-Fi or 802.1x payload configuration profile, save it to the Files app, and then configure it within Apple Configurator.
MDM Server Assignment
On iPhones running iOS 17 and later, you can assign the Mac directly to an MDM server during the assignment process:

- None: The Mac is added to Apple Business but remains unassigned to an MDM server. You must manually assign it to Hexnode UEM later in the Apple Business portal.
- Default: The Mac is automatically assigned to the default MDM server set for Mac devices in Apple Business. (To view/change this, go to Apple Business > Management Services > Services > Default Device Assignment.)
- Specific: Select a specific MDM server from the list. All organization-listed MDM servers are automatically synced when you sign in with your Managed Apple Account.
Phase 2: Assign macOS Devices to Apple Business
This process requires the Mac to be at the Setup Assistant screen.
-
Prepare the Mac for Wipe:
- New Device: If the Mac is brand new and has not been configured, skip this step.
- Existing Device: You must erase all existing content and settings. Navigate to System Settings > General > Transfer or Reset > Erase All Content and Settings.
- Run Erase Assistant: Provide administrator credentials, review the items to be erased, and follow the on-screen prompts. Wait for the Mac to restart.
- Start Pairing: When the Mac restarts and displays the Setup Assistant screen, launch the Apple Configurator app on your iPhone.
-
Hold and Scan: Hold the iPhone close to the Mac. The Mac should automatically display the assign screen.
-
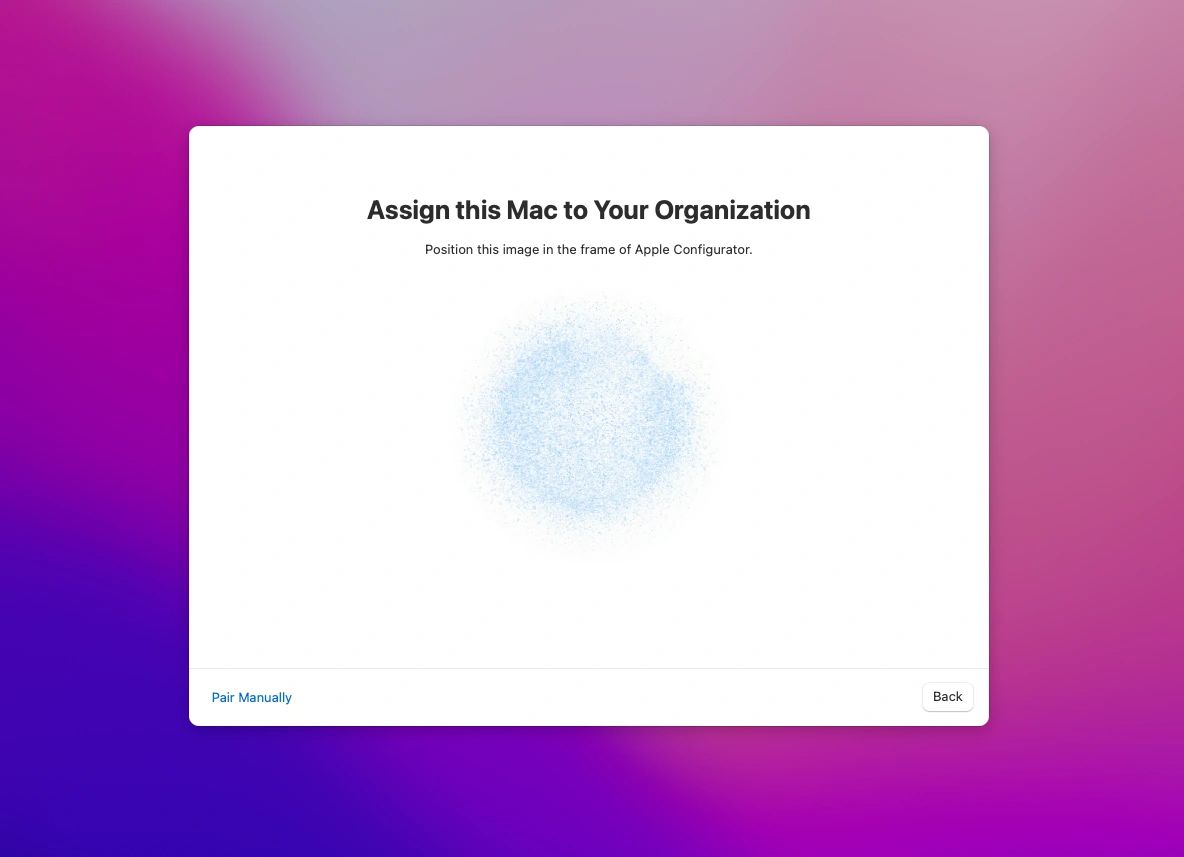
Complete Pairing:
- Automatic: Position the Mac’s pattern within the circle on the iPhone to scan the image.
- Manual: If automatic pairing fails, tap Pair Manually on the iPhone and select Pair Manually on the Mac’s Setup Assistant. Enter the six-digit code that appears on the Mac into the iPhone app.

-
Verify Assignment: The device will be assigned within a few seconds. Tap the menu in the lower right corner of the iPhone app to see the list of newly assigned devices.


Phase 3: Post-Assignment to Hexnode UEM
If you chose the “None” option for MDM assignment in Phase 1, you must now assign the Mac to the Hexnode UEM server.
-
Locate Device in Apple Business:
- Sign in to Apple Business or ASM.
- Navigate to Devices.
- Filter the device list by Source > Manually Added > Apple Configurator to view your newly added Mac.
-
Assign MDM Server:
- Select the required device from the list.
- Click Assign Device Management, and choose the Hexnode server from the device management service dropdown.
- Click Continue.

-
Sync with Hexnode UEM:
- Open your Hexnode UEM portal.
- Navigate to Enroll > All Enrollments > No-Touch > Apple Business/School Manager.
- Verify the device appears under Devices. If not, click Sync with ADE to pull the latest changes from Apple Business.
What Happens at the Device End?
Once the Mac starts up after the assignment process, the ADE enrollment profile is immediately associated with the device. This initiates the device enrollment, and the configured settings from Hexnode UEM are deployed automatically.
Troubleshooting
1. A Server with the Specified Hostname Could Not Be Found
Symptom: The Mac shows the message “A Server with the Specified Hostname Could Not Be Found” during activation. This happens when the device cannot reach the MDM server.
Cause: Network issues are blocking the Mac from connecting to the Hexnode UEM server.
Resolution: Check your network connection and retry the activation.
2. Pairing Failure Between iPhone and Mac
Symptom: The iPhone fails to automatically scan the Mac during Setup Assistant.
Cause: Bluetooth or camera permissions may not be correctly enabled on the iPhone.
Resolution:
- Ensure Bluetooth and Camera permissions are granted to Apple Configurator.
- Try Manual Pairing by entering the six-digit code displayed on the Mac into the iPhone app.
3. Device Not Appearing in Hexnode UEM After Assignment
Symptom: The Mac is added to ABM but does not show up in Hexnode UEM.
Cause: The ABM portal has not synced with Hexnode UEM.
Resolution:
- In Hexnode UEM, navigate to Enroll > All Enrollments > No-Touch > Apple Business/School Manager.
- Click Sync with ADE to pull the latest device list.
Best Practices
Prepare Devices in Advance
- Back up all data before wiping.
- Confirm the Mac has Apple Silicon or a T2 Security chip and runs macOS 12.0.1 or later.
Use the Latest iPhone and Configurator App
- Ensure the iPhone runs iOS 16 or later.
- Update Apple Configurator to the latest version for compatibility.
Maintain Secure Network Access
- Use a reliable Wi-Fi or Ethernet connection during enrollment.
- Pre-configure Wi-Fi profiles in Apple Configurator for environments with complex authentication.
Audit Device Assignments Regularly
- Periodically review ABM to ensure all manually added Macs are assigned to Hexnode UEM.
- Sync ABM with Hexnode UEM after every batch of new device assignments.
Need more help?
For a comprehensive list of error codes and advanced debugging steps, please refer to our detailed troubleshooting guide:
Frequently Asked Questions
What is a Managed Apple Account?
A Managed Apple Account is an organizational account created and owned by a business or school through Apple Business or Apple School Manager (ASM), designed specifically for administrative and corporate use. It allows IT administrators to manage devices, control access to Apple services, and assign necessary roles, such as the Device Enrollment Manager needed for enrolling devices. Unlike personal Apple Accounts, these accounts are restricted from accessing certain consumer services like Apple Pay and the public App Store, maintaining a separation between corporate and personal data.
Do I need to wipe my Mac before adding it to Apple Business?
Yes, if the Mac has already been set up. The device must be erased and restarted to reach the Setup Assistant screen before pairing with Apple Configurator.
