Category filter
How to Configure Login Window Preferences for macOS devices
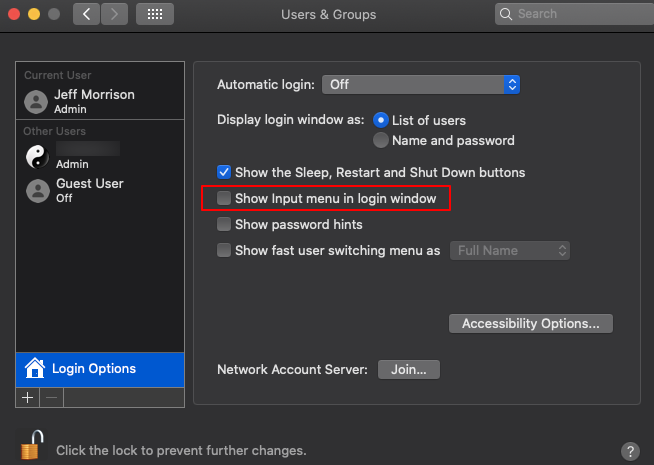
The login window screen settings are a bunch of configurations that allow you to customize the login screen of your macOS devices. These settings are located on the System Preferences and will help you make tweaks like displaying a list of users, setting the appearance of the login window, showing control buttons, and more. Depending upon the configured preferences, the login window appears either when the user logs out of the user account or when you wake up Mac from the sleep mode or when you try to access the screen back from the screensaver mode. Using the comprehensive UEM solution from Hexnode, you can configure these login window settings remotely for your macOS devices.
Configure macOS Login Window Preferences via Policy
To configure login window preferences on your Mac,
- Log in to your Hexnode UEM portal.
- Navigate to Policies > New Policy. Assign a suitable name and description (optional) for the policy. You can also choose to continue with an existing policy.
- From macOS > Security, choose Login Window Preferences.
- Click Configure.
You will have the following options to be configured.
| Settings | Description |
|---|---|
| Display login window as | Display either the list of users or display the username and password dialog box for logging in. |
| Hide local users
(Works only when List of users is chosen as the login window display) |
Hides the local user accounts from the login window. This may include the admin and standard users and displays only the network and system users. |
| Show network users
(Works only when List of users is chosen as the login window display) |
Displays only the network users in the login window. |
| Hide admin users
(Works only when List of users is chosen as the login window display) |
Hides the admin users from the login window. |
| Show other users
(Works only when List of users is chosen as the login window display) |
Displays all the other users in the login window. |
| Hide mobile account users
(Works only when List of users is chosen as the login window display) |
Hides the mobile account users from the login window. Already logged-in users won’t be affected unless they log out from their current session. In some cases, mobile account users are displayed as network users. |
| Hide Shut Down button | Hides the shutdown button from the login window. |
| Hide Restart button | Hides the restart button from the login window. |
| Hide Sleep button | Hides the sleep button from the login window. |
| Disable login items bypass | Login items are documents, applications, or folders that launch automatically when the device users log in. Users can skip the login items by long pressing the shift key when logging in. Select this option to restrict users from skipping the login items. |
| Disable Console Access from Login Screen | Uncheck this option to allow the users to access the console by typing “>console” as the username at the login window. |
| Disable Shut Down while user is logged in | Prevents system shutdown when a user is logged in. |
| Disable Restart while user is logged in | Prevents system restart when a user is logged in. |
| Disable Power Off while user is logged in | Prevents system power off when a user is logged in. |
| Disable Log Out while user is logged in (supported on macOS 10.13+) |
Prevents system log out when a user is logged in. |
| Disable Immediate Screen Lock options (supported on macOS 10.13+) |
Prevents the users from locking the screen immediately. |
| Show text to display in the Login Window | Provide a suitable text to be displayed on the login window. |
| Show Admin Host Info | Allows the admin to display additional information on the login window. The hostname, system version and IP address can be displayed. Supported on macOS 10.10 and below. |
Associate login window settings with target macOS devices
If the policy has not been saved.
- Navigate to Policy Targets > +Add Devices.
- Choose the target devices and click Ok.
- Click Save.
If the policy has been saved,
- From Policies, choose the policy.
- Click on the Manage drop-down, select Associate Targets and choose the target devices.
- Click Associate.


