Category filter
Configuring Archos devices with OEMConfig
Device admins can use the Archos OEMConfig app to configure Archos and Logic Instrument device-specific features using Managed App Configurations. For example, you can remotely configure general device settings like device rotation properties and default launchers or configure the scanner settings on supported Logic Instrument devices.
By adding the OEMConfig app on Hexnode, you can seamlessly configure, deploy and manage settings on your Archos devices remotely from the web console.
Getting started with Archos OEMConfig
Before you begin
To get started, enroll your Archos/Logic Instrument device in the Device or Profile owner mode of the Android Enterprise program.
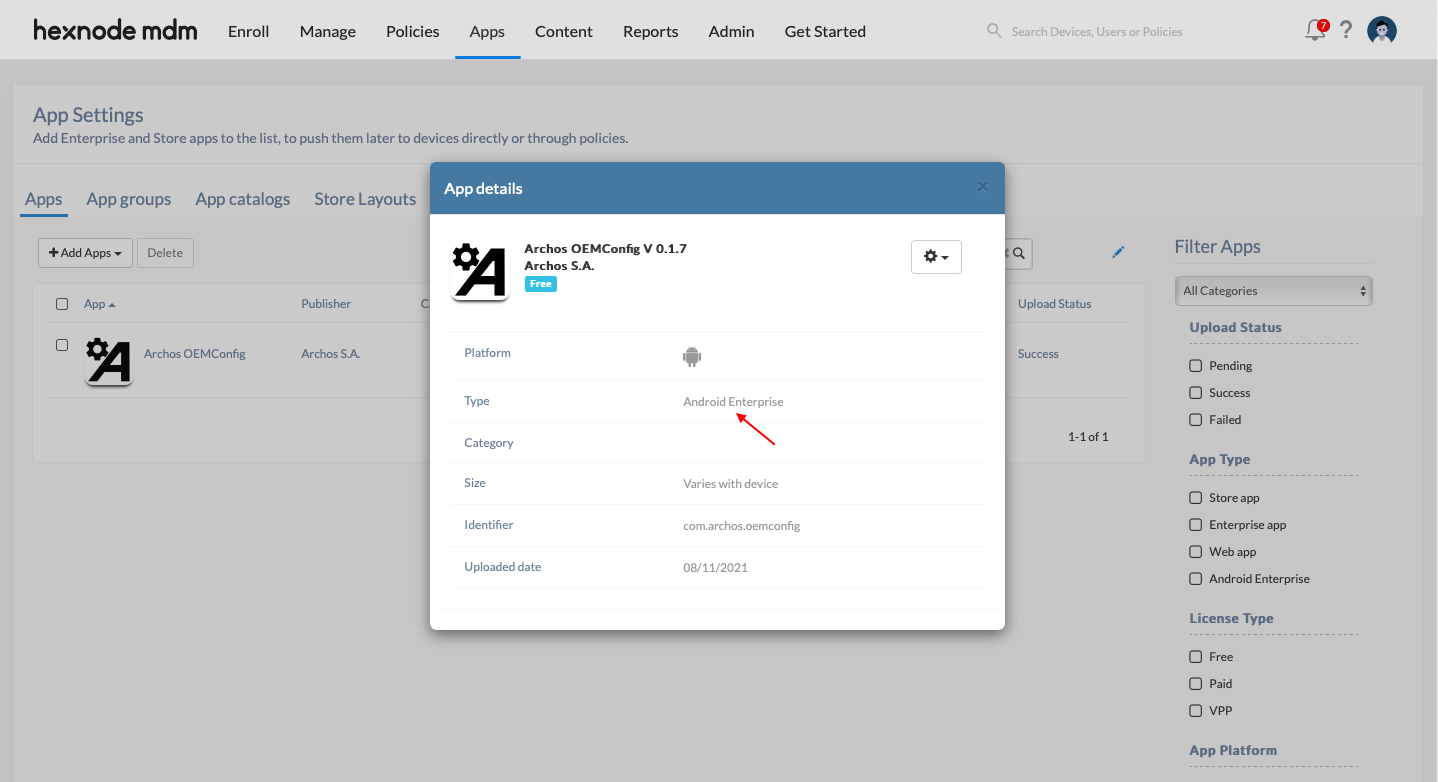
The Archos OEMConfig app is available on the Managed Google Play Store (for Android Enterprise devices). It should be added as a Managed App on your Hexnode console. Hexnode only reproduces the schema options provided in-app and enables configurations on top of these options. Hexnode UEM in no way influences the content of this schema and it is the sole discretion of the developers of the app to make changes. This also means that any update made to the app will directly get reflected automatically on your UEM console.
Add Archos OEMConfig app to app inventory
Follow the steps below to add and approve the OEMConfig app for enterprise deployment.
- Navigate to Apps tab.
- Select + Add Apps and choose Managed Google Apps from the drop-down list.
- The Managed Google Play Store window will open, search for Archos OEMConfig. Select the app and click Approve.
- On the confirmation dialog, confirm again by clicking Approve and set the Approval Settings (and Notification preferences) as per your preferences.
- Save by clicking Done. Close the window, refresh the page and verify the app is added on the app inventory.
Your app is now configured as a managed app and you can now deploy app configurations for this app with Hexnode.
Deploy Archos OEMConfig to the device
Create a policy
- Navigate to Policies tab.
- Select New Policy and create a new blank policy.
- Enter a suitable policy name and optionally a description.
- Select the Android sub-tab and navigate the options for App Management and select App Configurations.
- Click Configure and then Add new configuration. Search and select Archos OEMConfig from the list of apps available.
- Configure the options as required for your profile. (Refer the next section for more details)
- Click on Done.
Configure the Archos OEMConfig app settings
You can configure the following settings with the Archos OEMConfig app –
|
Settings |
Description |
| Generic Settings (configuration option for all devices) | |
| 1. Apps (settings related to installed apps) | |
|
Allow Screen Recording |
Enter the comma separated list of applications by package names that are granted permission to record the screen. |
|
Default Launcher |
Enter the default launcher/home screen application by package name (com.package.name) or component (com.package.name/.LaunchActivity). |
|
Default Dialer |
Set the default dialer application by package name. E.g., com.android.dialer |
| 2. Display (settings related to display) | |
|
Density |
Sets display density. Values above 0 are taken as density. 0 resets to default. |
|
ACCELEROMETER_ROTATION |
Whether rotation is automatic (1) or manual (0) after boot. |
|
USER_ROTATION |
Which rotation to set (0–3) after boot. 0: No rotation (portrait mode) 1: 90° rotation 2. 180° rotation 3. 270° rotation The rotation is clockwise. |
| 3. Debug (debug configuration) | |
|
Show Debug Activity |
Enable to show the debug Activity in the launcher. |
| Logic Instruments Settings (Settings specific to Logic Instrument devices) | |
| 1. Fieldbook F57 barcode scanner settings | |
|
Scan Code Config |
Enter the concatenated config in the format ‘Code,Property,Value’. E.g., ‘EAN8,Enable,0;’. Each configuration has 3 parts: the code this applies to, the property and a value to set. Multiple configurations are to be separated by semicolons. Default value is empty. |
|
Scan Output Recoverable |
Enable the toggle to overwrite output. Disable the toggle to prohibit overwriting output. |
|
Scan Encoding |
Enter the corresponding value for the encoding format – 1: UTF-8 2: GBK (default) 3: ISO_8859_1 |
|
Scan Suffix |
Enter the suffix string, in hexadecimal ASCII notation. E.g. for Bye put 427965. Also enable ‘ScanSuffixEnable’ for this to take effect. |
|
Scan Prefix |
The prefix value in hexadecimal ASCII notation. |
|
Scan Suffix Enable |
Enter the corresponding value to configure scan suffix. 0: Disable 1: Enable (default) |
|
Scan Prefix Enable |
Enter the corresponding value to configure scan prefix. 0: Disable. 1: Enable (default) |
|
Scan Non-Repeat Timeout |
Enter the time interval (in ms) for not sending a duplicate barcode. Default value is 2000. |
|
Scan Trigger Mode Black |
Enter the corresponding value to set up a black scan trigger. 0: Disable 1: Enable (default) |
|
Scan Trigger Mode Right |
Enter the corresponding value to set up a right-handed mode scan trigger. 0: Disable 1: Enable (default) |
|
Scan Trigger Mode Left |
Enter the corresponding value to set up a left-handed mode scan trigger. 0: Disable 1: Enable (default) |
|
Scan Trigger Mode Main |
Enter the corresponding value to set up the main mode scan trigger. 0: Disable 1: Enable (default) |
|
Scan Interval |
Enter the time interval (in ms) allowed between two scans. Default and minimum value is 50. |
|
Scan Timeout |
Enter the maximum time allowed (in ms) per scan. Default is 3000. |
|
Scan Blink |
Enter the corresponding value to configure LED flash during a scan. 0: Off 1: On (default) |
|
Scan Vibrate |
Enter the corresponding value to configure vibration during a scan. 1: On |
|
Scan Beep |
Enter the corresponding value to configure beep during scan. 0: Off 1: On (default) |
|
Auto Newline |
Enter the corresponding value to configure automatic linefeed. 0: Disable (default) 1: Enable |
|
Scan Mode |
Enter the corresponding value to configure scan mode. 0: Direct fill mode 1: Virtual button mode (default) 2: Broadcast output mode |
|
Trigger Mode |
Enter the corresponding value to configure scan trigger mode. 0: Configure the scan head to be in normal trigger mode 1: Configure the scan head to be in continuous scan mode. 2: Configure the scan head to be in timeout scan mode (default) |
|
Scan Power |
Enter the corresponding value to configure scan function. 0: Disabled (default) 1: Enabled |
Deploy the app
- Under the same Android sub-tab, find the Mandatory App policy under the App Management policy group.
- Click Configure and go to + Add > Add App.
- Find and select the Archos OEMConfig app.
- Click Done.
- Associate the policy with your devices from the Policy Targets sub-tab.
- Save and apply the policy.
Applications can also be deployed on Android devices using the ’Install Application’ action.
What you’ll see on the device end
The Archos OEMConfig app will get installed on the device and the app configuration profile should get automatically applied on the device.
