Category filter
Email Server Configuration
The Hexnode UEM console comes pre-configured with a default mail server to send users email notifications and alerts. Still, if desired, administrators can associate their organizational email server as the outgoing mail server on Hexnode. Once successfully configured, Hexnode will send all the mails like enrollment requests, usage reports etc., to the administrators and users via this email.
Configure Hexnode Email server
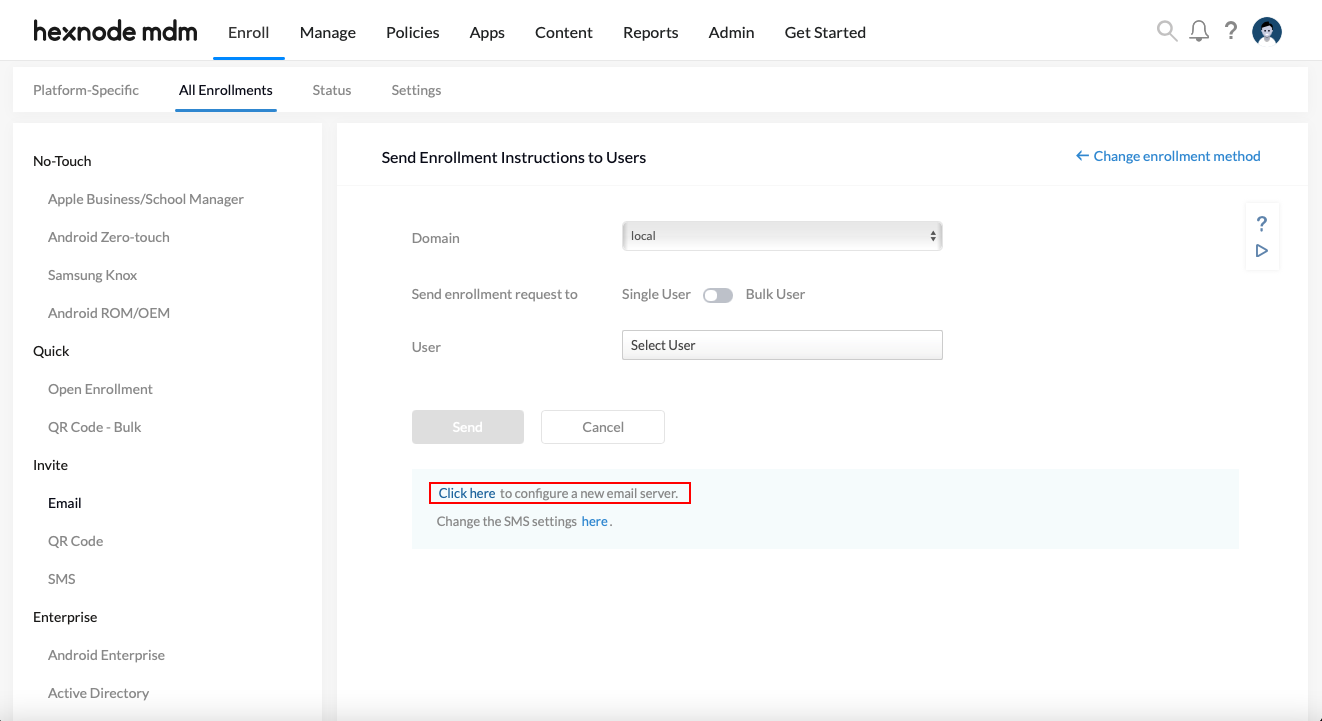
- On your Hexnode portal, go to Admin > Email.
- Enter the following fields and security authentication as per requirement.
- After providing the necessary details, click Save to remember the settings.
| Field | Description |
|---|---|
| Server Name | Enter the hostname of the outgoing mail server, such as smtp.example.com. |
| Port | Enter the port number used by the outgoing mail server. |
| Sender Email | Enter the email address from which mails are to be sent. |
| Enable TLS | Transport Layer Security (TLS) is a handshake protocol which authenticates both the client and the server before any information is passed. Enable TLS if the outgoing mail server supports TLS. |
| Enable SSL | Secure Socket Layer (SSL) is a security protocol that protects all communication between the server and the end device. Enable SSL if the outgoing mail server supports SSL. |
| Enable Authentication | Check this field if the email server requires authentication. |
If Authentication is enabled,
User Name – Provide the full email address as the user name for the email account being configured.
Password – Enter the password of the email account being configured.
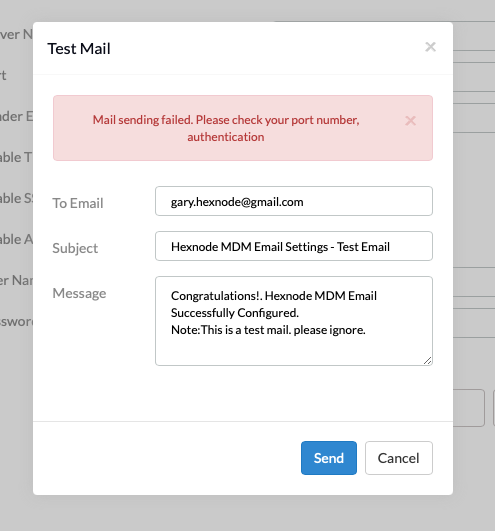
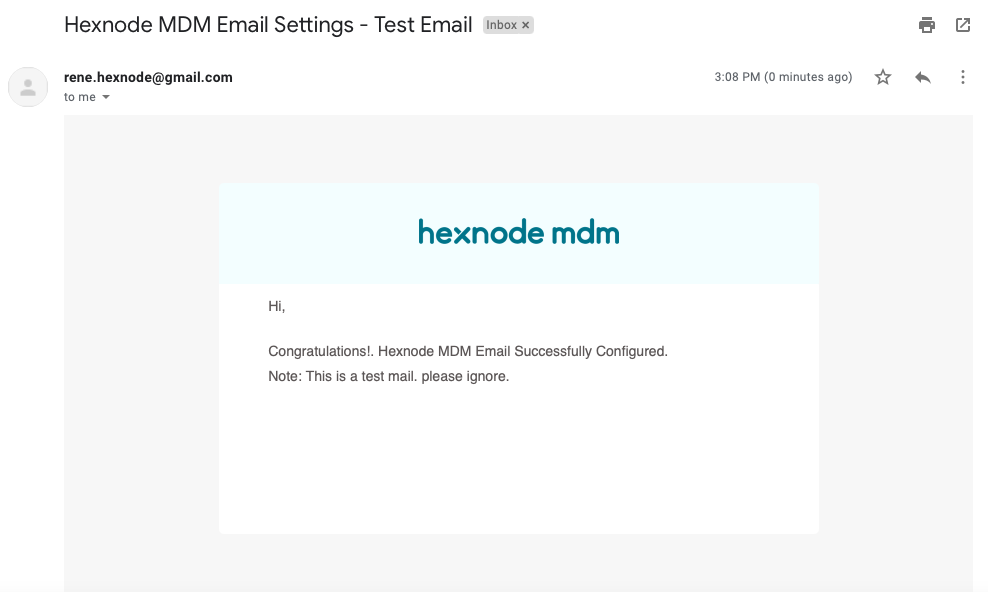
Test mail
To verify whether the entered configurations are successful, you can send a sample test mail from the configured server to a specific account.
Click on Test mail and fill in the following details-
| To Email | Enter the email address to which the test mail is to be sent. |
| Subject | A subject is already provided by default. You can define a new subject for the test mail. |
| Message | A message is already provided by default. You can insert a custom message for the test mail. |
Click on Send to send the test email.
Reset Email Configurations
The Reset option can be used to reset all email server settings configured by the admin.
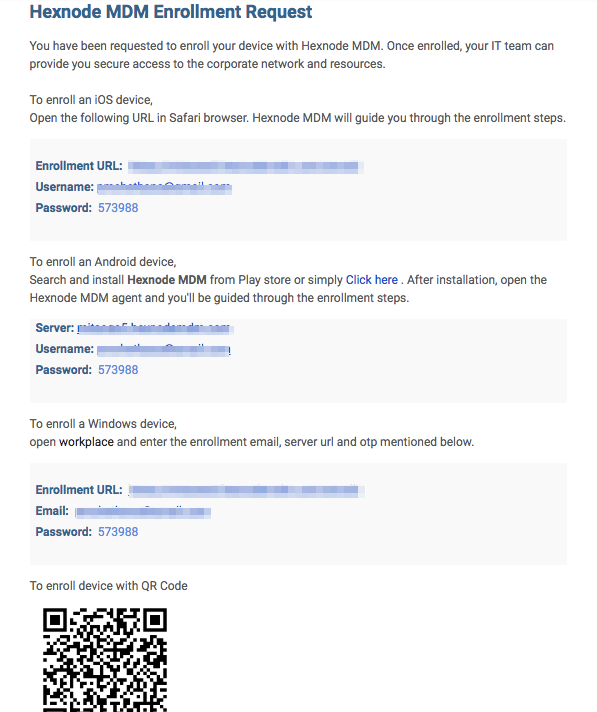
Send Enrollment Mails
Once all the configurations are complete, the enrollment request mails can be sent using the configured email server.