Category filter
How to configure AirPrint on iOS devices?
AirPrint is a feature in Apple devices to print full quality output without the need to download and install the printer-specific drivers. You can print photos and documents on your iOS devices wirelessly using an AirPrint-enabled printer that is connected to the same Wi-Fi network as your phone.
For enterprise-specific purposes, IT admins can remotely add AirPrint printers to the printer list on iOS devices. The AirPrint configuration in Hexnode UEM facilitates admins to pre-configure AirPrint settings on their deployed iOS devices without having to manually configure each one of them.
Obtain server IP address and resource path
To obtain information regarding the IP address of the printer and its resource path,
- Open Terminal from Finder > Application > Utilities on a Mac connected to the same network as that of the AirPrint-enabled printer.
- Enter the following command:
1ippfind - Note the information returned by the Terminal in the format:
1ipp://printer_name.local.:631/ipp/print
The first half gives the name of the printer, and the last part (/ipp/print) gives the resource path - Next, enter the following command to obtain the IP address:
1ping printer_name.local - Note the IP address information returned by the command in the format:
1PING printer_name.local (10.178.0.28)
Now, you can enter the IP address and resource path of the printer. In this case, the IP address of the printer is 10.178.0.28, and the resource path is /ipp/print.
Connect iOS devices to AirPrint via Hexnode
- Login to your Hexnode UEM portal.
- Navigate to Policies.
- Select an existing policy or create a new one by clicking on New Policy.
- From iOS > Configurations, select AirPrint and click on Configure.
- Click on +Add AirPrint device.
You will have the following options to be configured.
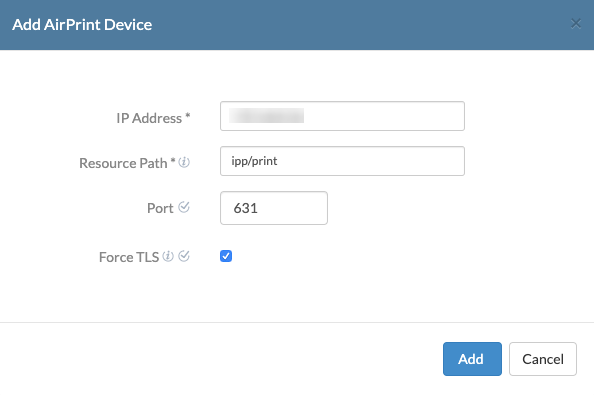
- IP Address: Provide the IP address of the AirPrint-enabled printer.
- Resource Path: Provide the resource path of the AirPrint-enabled printer. It will generally be of the following form,
- printers/Canon_MG5300_series
- printers/Xerox_Phaser_7600
- ipp/print
- Epson_IPP_Printer
- Port: Provide the port number of the AirPrint destination. If not provided, it uses the default port number. This feature is available only on devices running iOS 11 and above.
- Force TLS: Check this option to enable Transport Layer Security (TLS) to encrypt data when sent to the printer. This feature is available only on devices running iOS 11 and above.
Once these options are configured, you need to associate these policies with the devices.
Push AirPrint Configurations to Devices/Groups
If the policy has not yet been saved,
- Navigate to Policy Targets.
- Click on +Add Devices.
- Select the devices and click OK.
- Click on Save to apply the policies to devices.
Apart from devices, you can also associate the policies with Device Groups, Users, User Groups, or Domains from Policy Targets.
If the policy has been saved, you can associate it with another method.
- From “Policies”, check the policies to be associated.
- Click on Manage → Associate Targets and select the device.
- Click on Associate to apply the policy to the devices.
How to Print from your iOS device
Once the settings have reached the device, the AirPrint-enabled printer is ready to print the full quality output from the iOS device.
- Select the application that you want to print from your iOS device.
- Tap on the print option available on your device. If you can’t find one, refer to the app’s user guide. (All applications don’t support AirPrint).
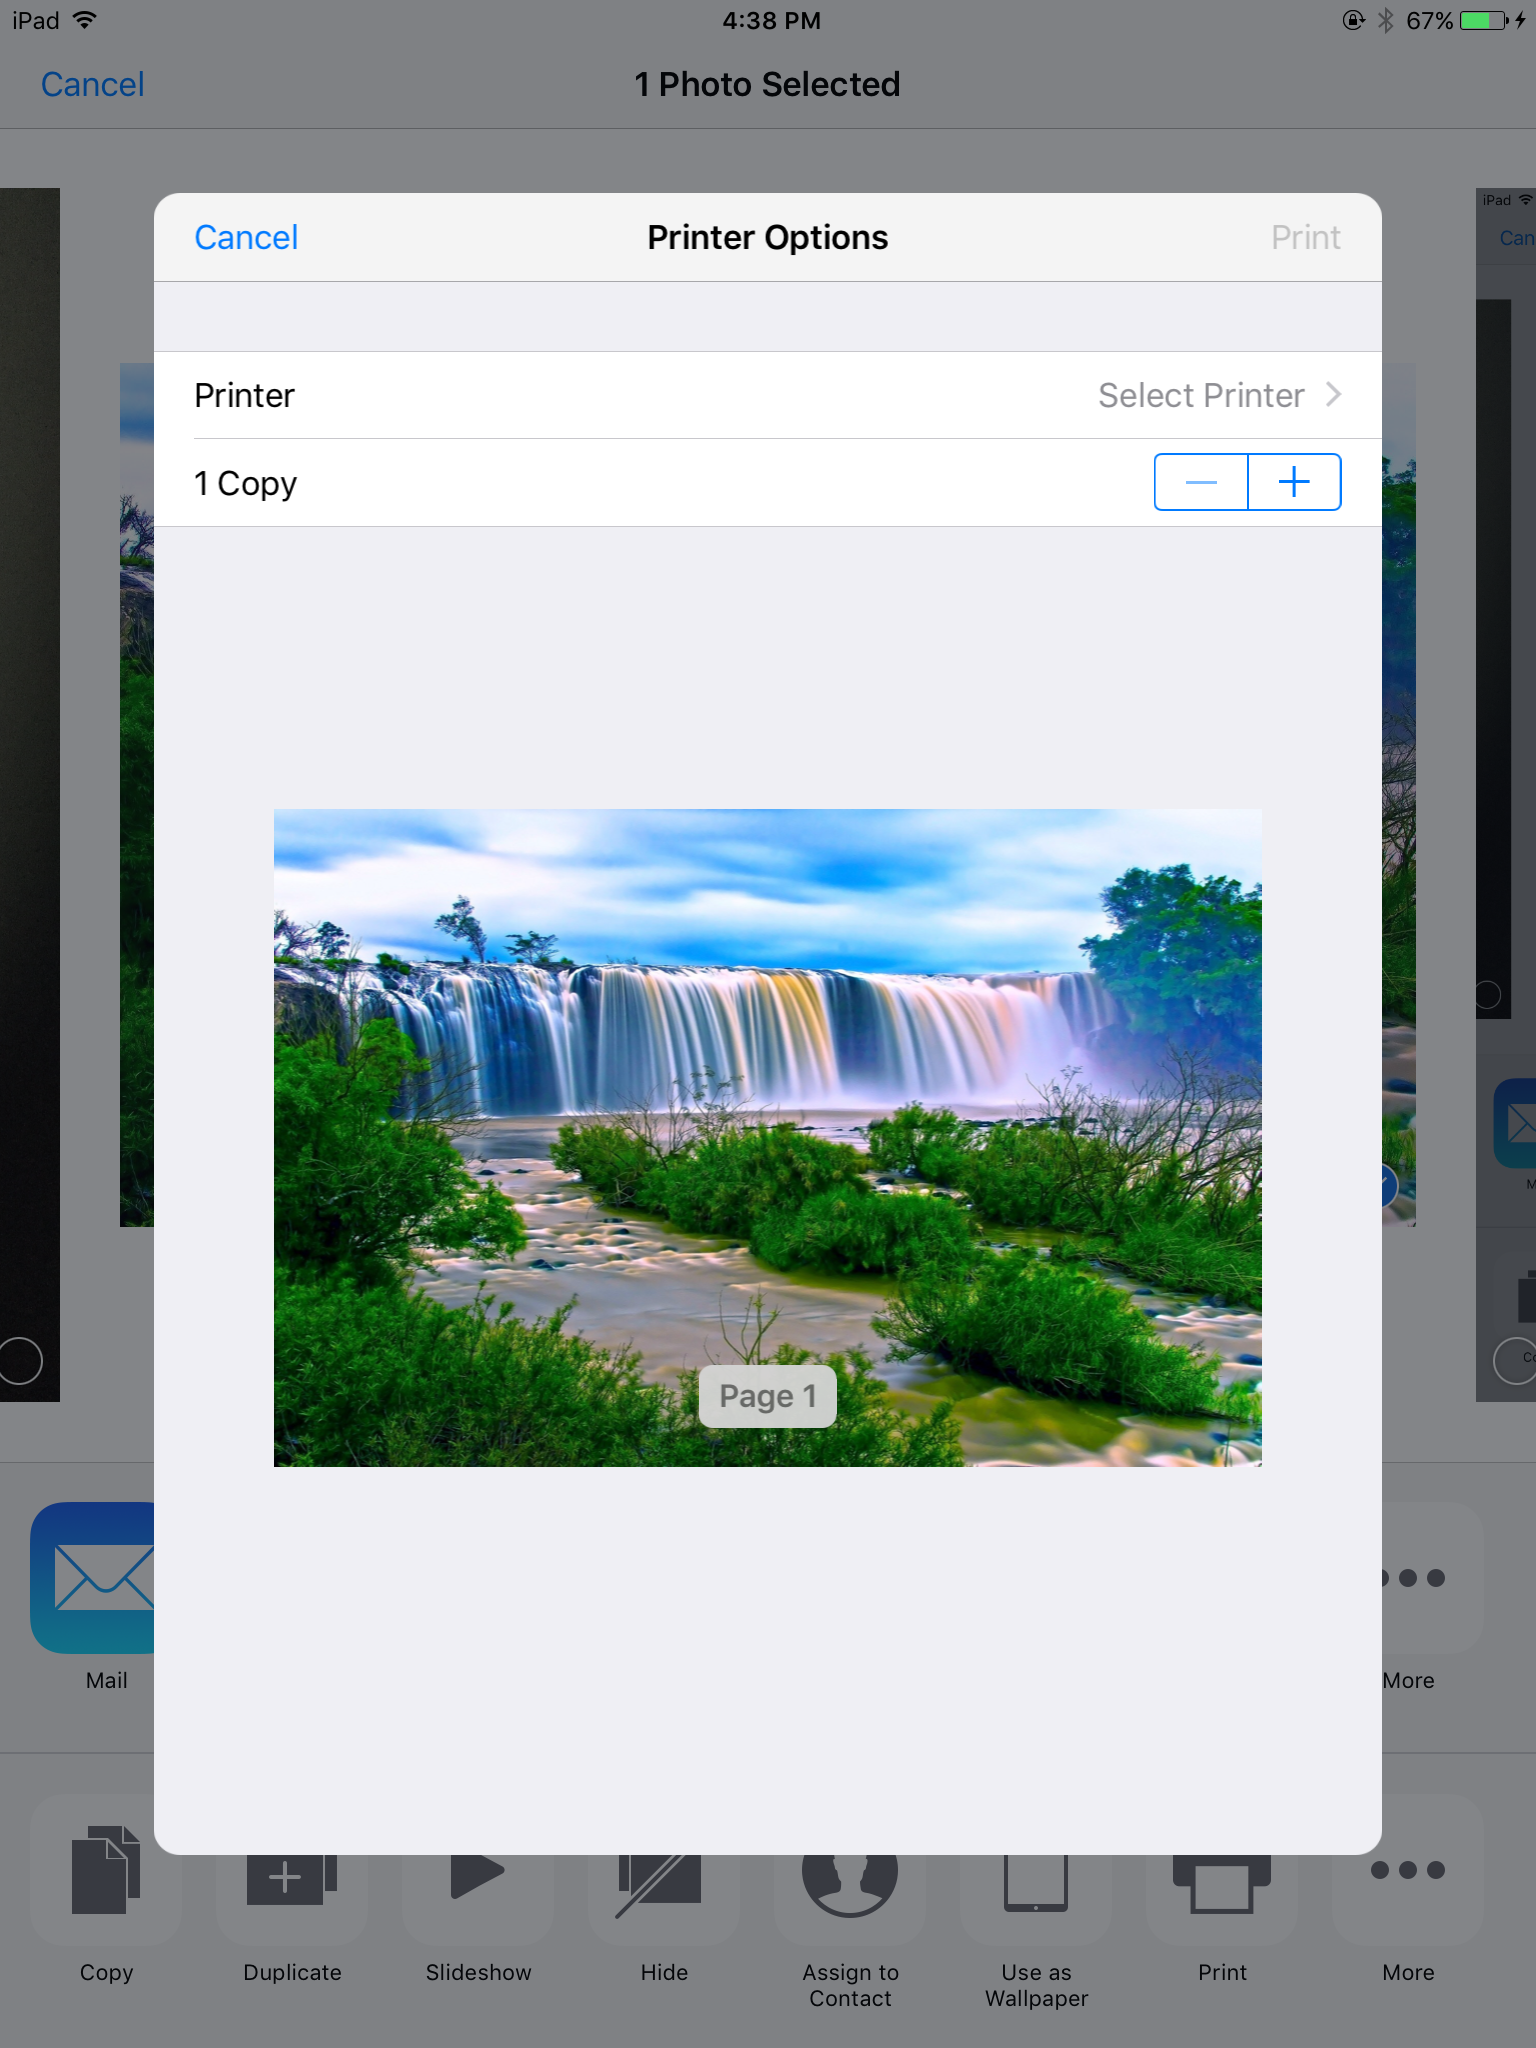
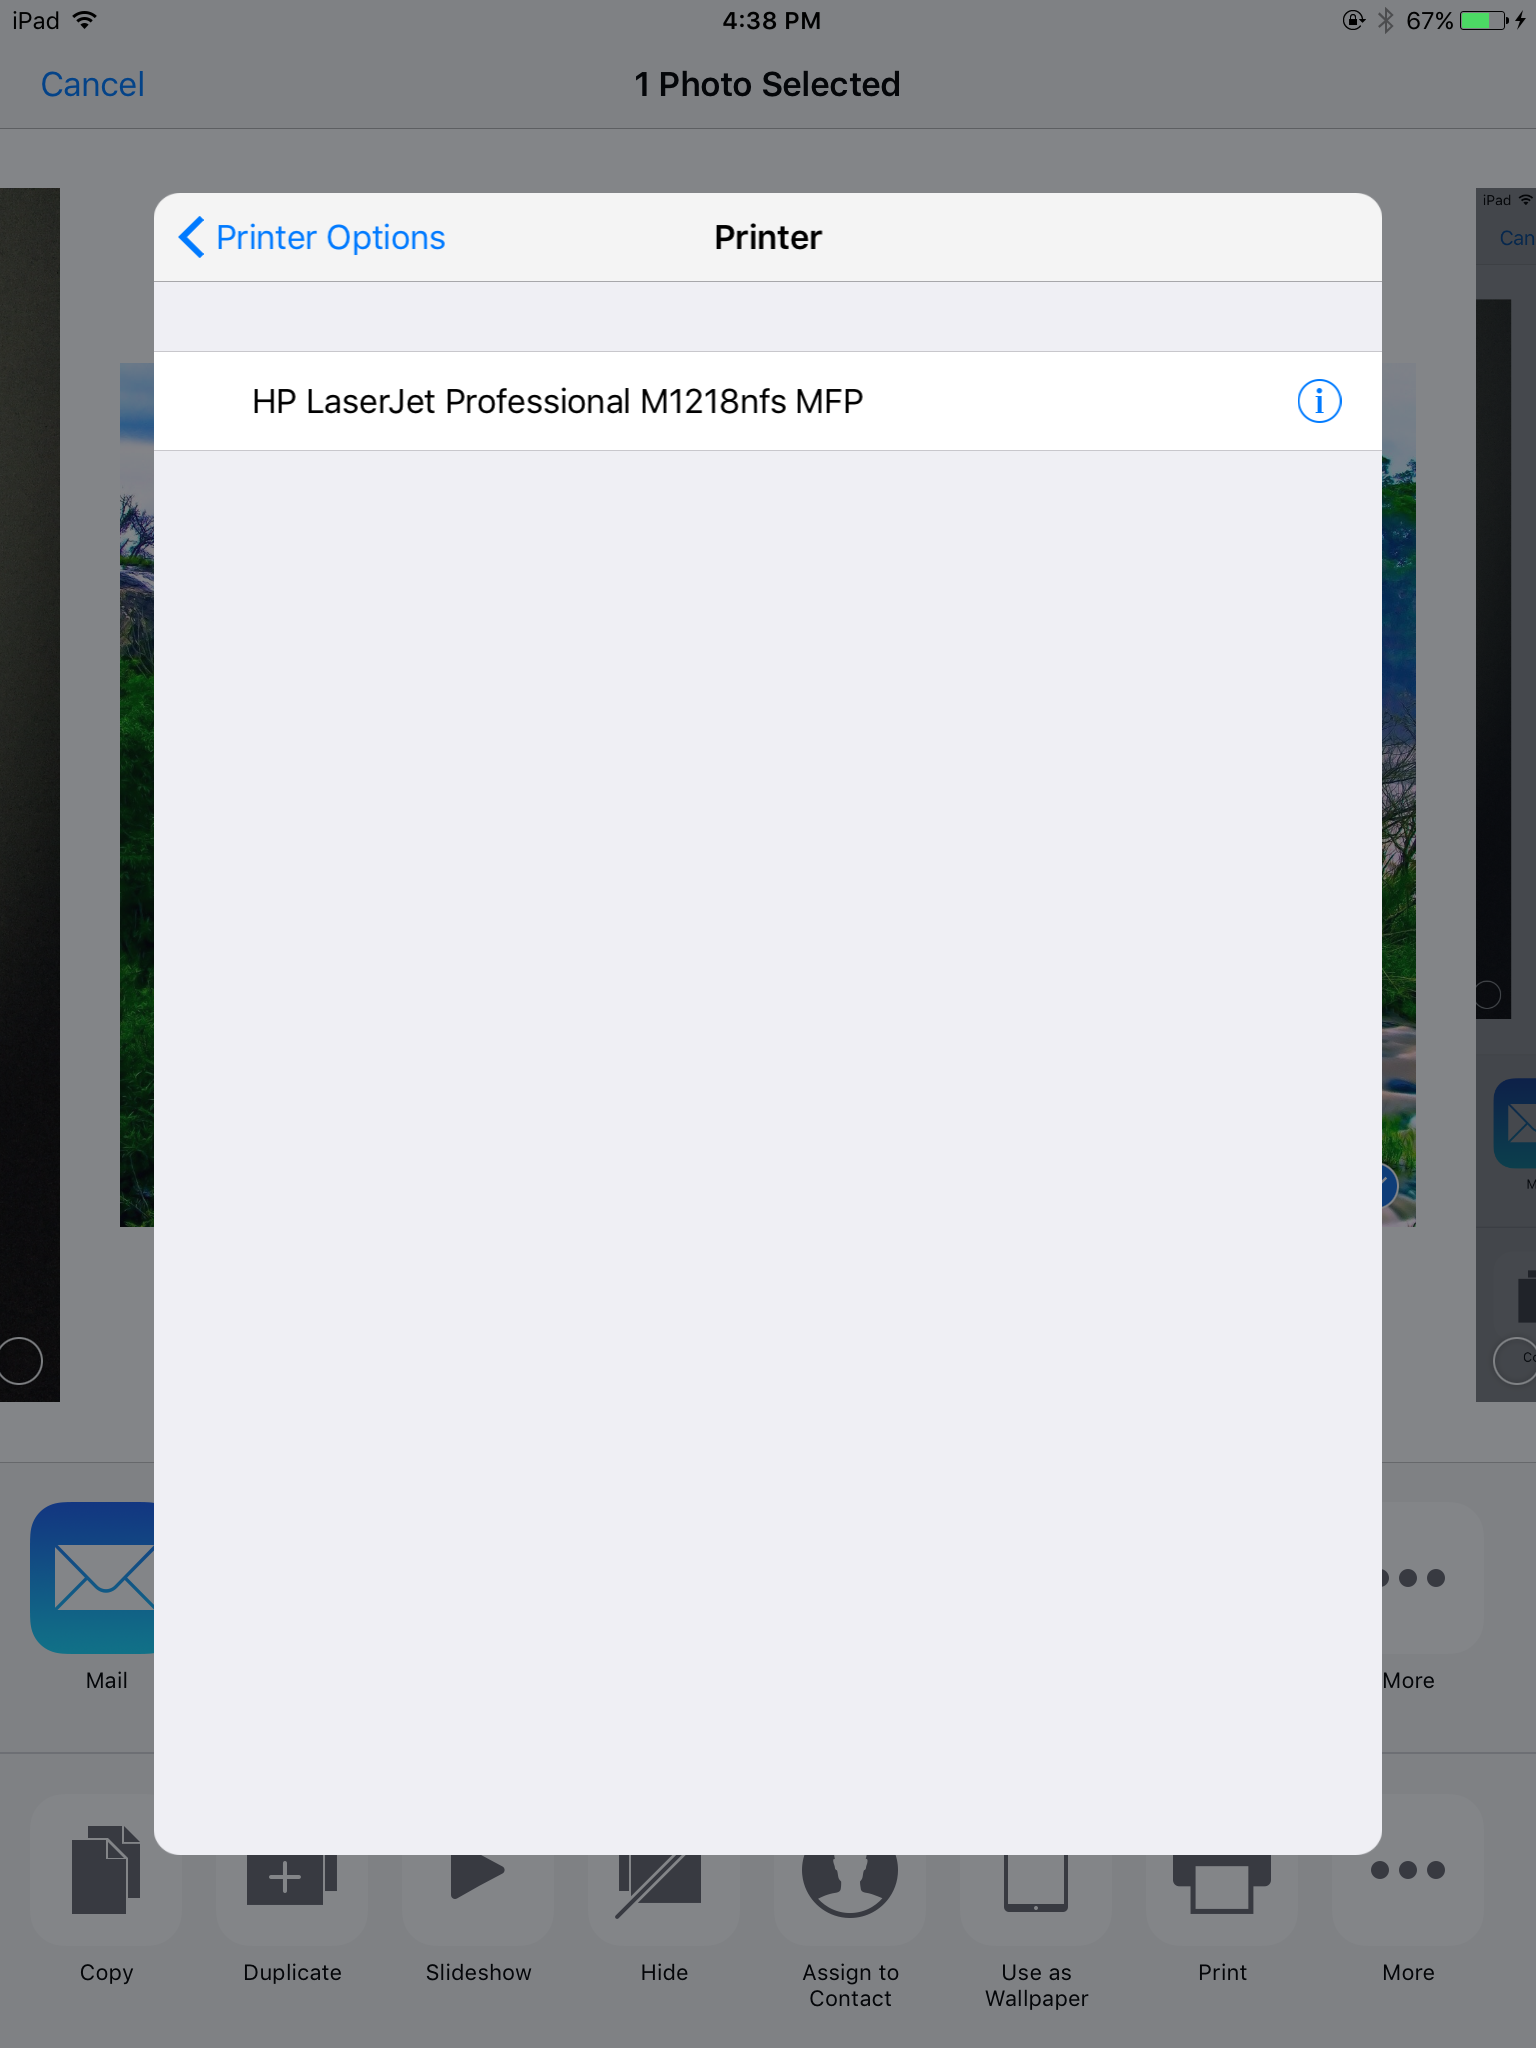
- Tap Select Printer, and you could see the AirPrint-enabled printer’s name over there. Tap to select the printer.
- Provide the number of copies you need. If you have selected a document, also provide the range of pages to be printed.
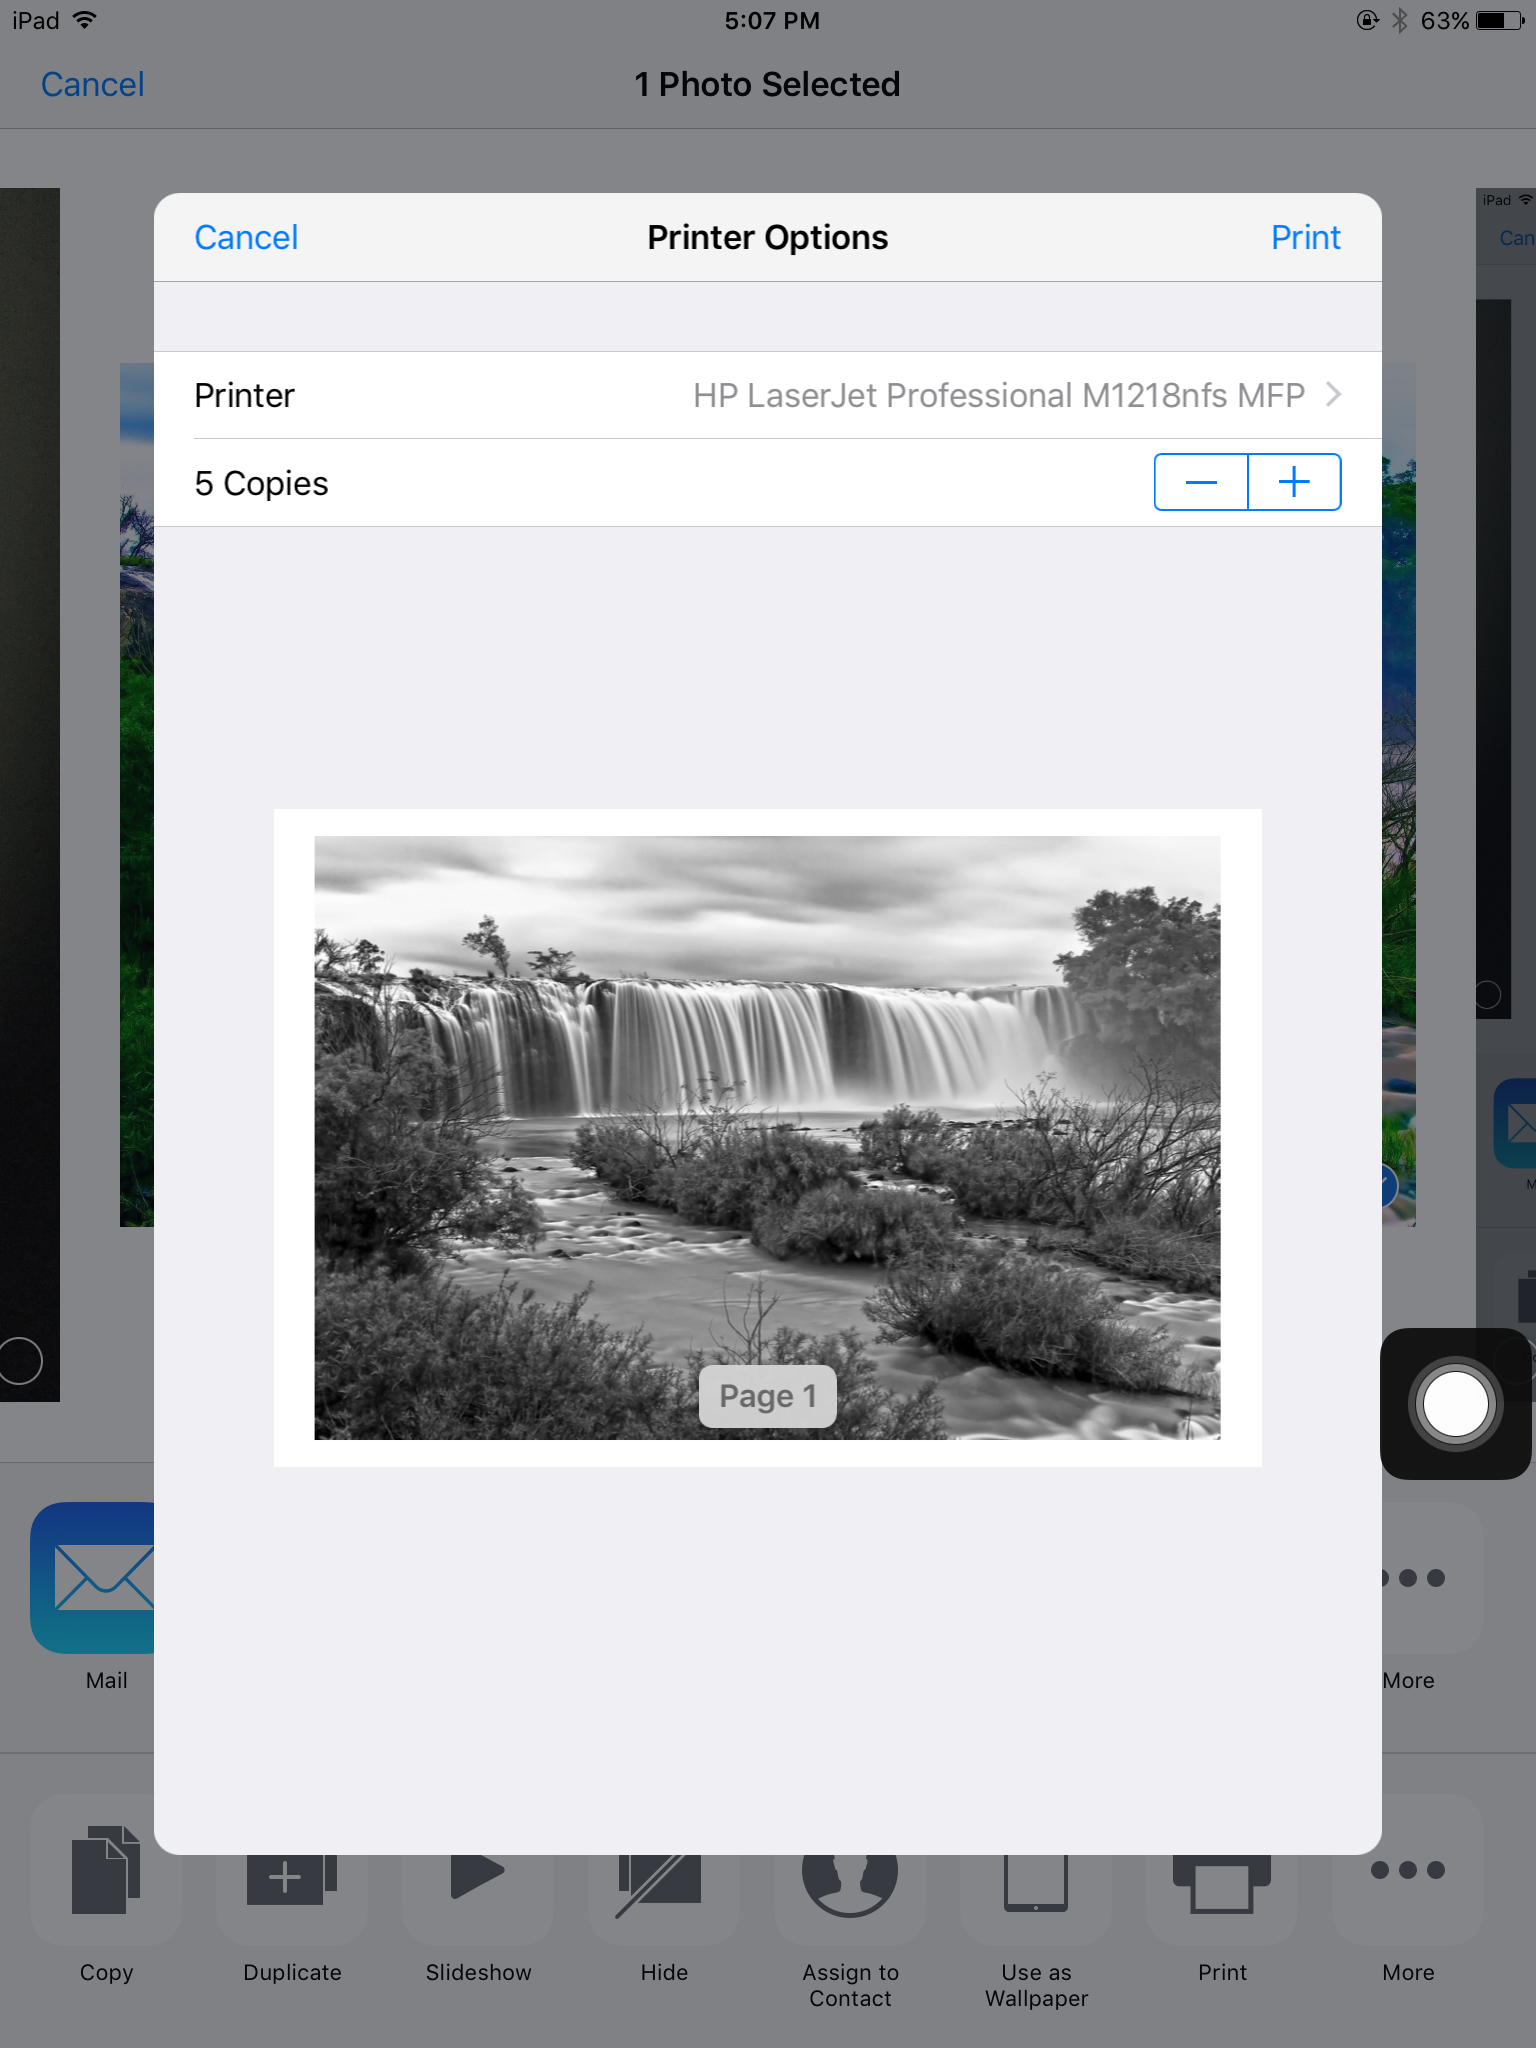
- Tap on Print to print the selected image or document.
