Category filter
How to schedule reports on Hexnode UEM?
When managing multiple devices, keeping track of each of them and their current status is, without a doubt, of high priority. Timely reports on the various aspects of the devices are one of the easiest ways to keep up with the million changes occurring on each device. The Reports tab in Hexnode UEM portal consists of various categories of reports that record different aspects of the managed devices and users. These reports can also be scheduled and emailed to the admins and technicians at specific intervals of time. This document explains scheduled reports and how they can be created from the Hexnode UEM portal.
Different types of reports
You can find various categories of reports on the Hexnode UEM portal:
- Device Reports – Device reports consist of reports that classify the devices based on their type, ownership, enrollment status and compliance status and various other criteria.
- User Reports – User reports consist of reports that classify users based on the enrollment status of their devices, the types of devices they use, the compliance status of their devices and various other criteria.
- Compliance Reports – Reports based on whether the devices meet the compliance requirements set under Admin > General Settings > Compliance Settings in the portal.
- Location Reports – Location reports list the location history of all the devices enrolled in the organization.
- Data Management Reports – These reports list the data usage summary of devices, device groups, and apps.
- Application Reports – There are two reports in this category, one that lists all the applications that have been installed in the devices and another one that lists the most used apps.
- Patch and Update Reports – This category includes two reports: one that lists all available Windows updates, and another that lists all Windows devices with missing updates.
- Audit Reports – This category includes two reports: one that lists all events occurring on each enrolled device, and another that lists all updates to the UEM profile password history on Macs.
- Action Reports – Action reports list all the remote actions executed through Hexnode UEM console.
- Policy Reports – This report provides detailed information about all the policies created and associated through the Hexnode console.
- Local Account Reports – The Local Accounts report lists all activities of the local accounts on macOS and Windows devices, with the reported time displayed in the device’s local time.
How to create scheduled reports on Hexnode UEM?
To create a scheduled report:
- Login to the Hexnode UEM portal.
- Navigate to the Reports tab and select a report category.
- Select the specific report that needs to be scheduled and click on Schedule Report.

- Access level – Select the type of report to be created:
- Private – only technicians logged in to the Hexnode portal can download these reports.
- Public – anybody with access to the download link can download these reports.
- Download link validity – Choose how long you want to keep the download link valid, starting from 1 month to 3 months.
- Time settings – You can decide how frequently the reports should be generated:
- Daily – reports will be generated daily.
- Weekly – reports will be generated weekly. You can specify the day(s) in the week you wish to receive the reports.
- Monthly – reports will be generated monthly. You can specify the month(s), and day of the month(s) you wish to receive the reports.
- Send report at (India Standard Time) – Specify the time in hour(s) and minute(s) at which the scan has to be initiated.
- Select report type – Choose the type of report you want to generate: Built-in or Custom reports.
- Select reports – Choose the report you want to schedule. The options presented in this field will be changed depending on the chosen report type.
- Select days of report – If the selected report is Location History, you can specify the number of days’ location details that need to be included in the report.
- Recipient email address(es) – Enter the email IDs to which the report has to be sent. Multiple email IDs can be given, separating each of them with a comma.
- Email subject – The email subject by default is ‘Scheduled Report’. It can be modified to anything of your choice.
- Email body – You can specify what has to be entered as the body of the mail when the report is sent.
- Click on Save to continue or Cancel to discard the report.
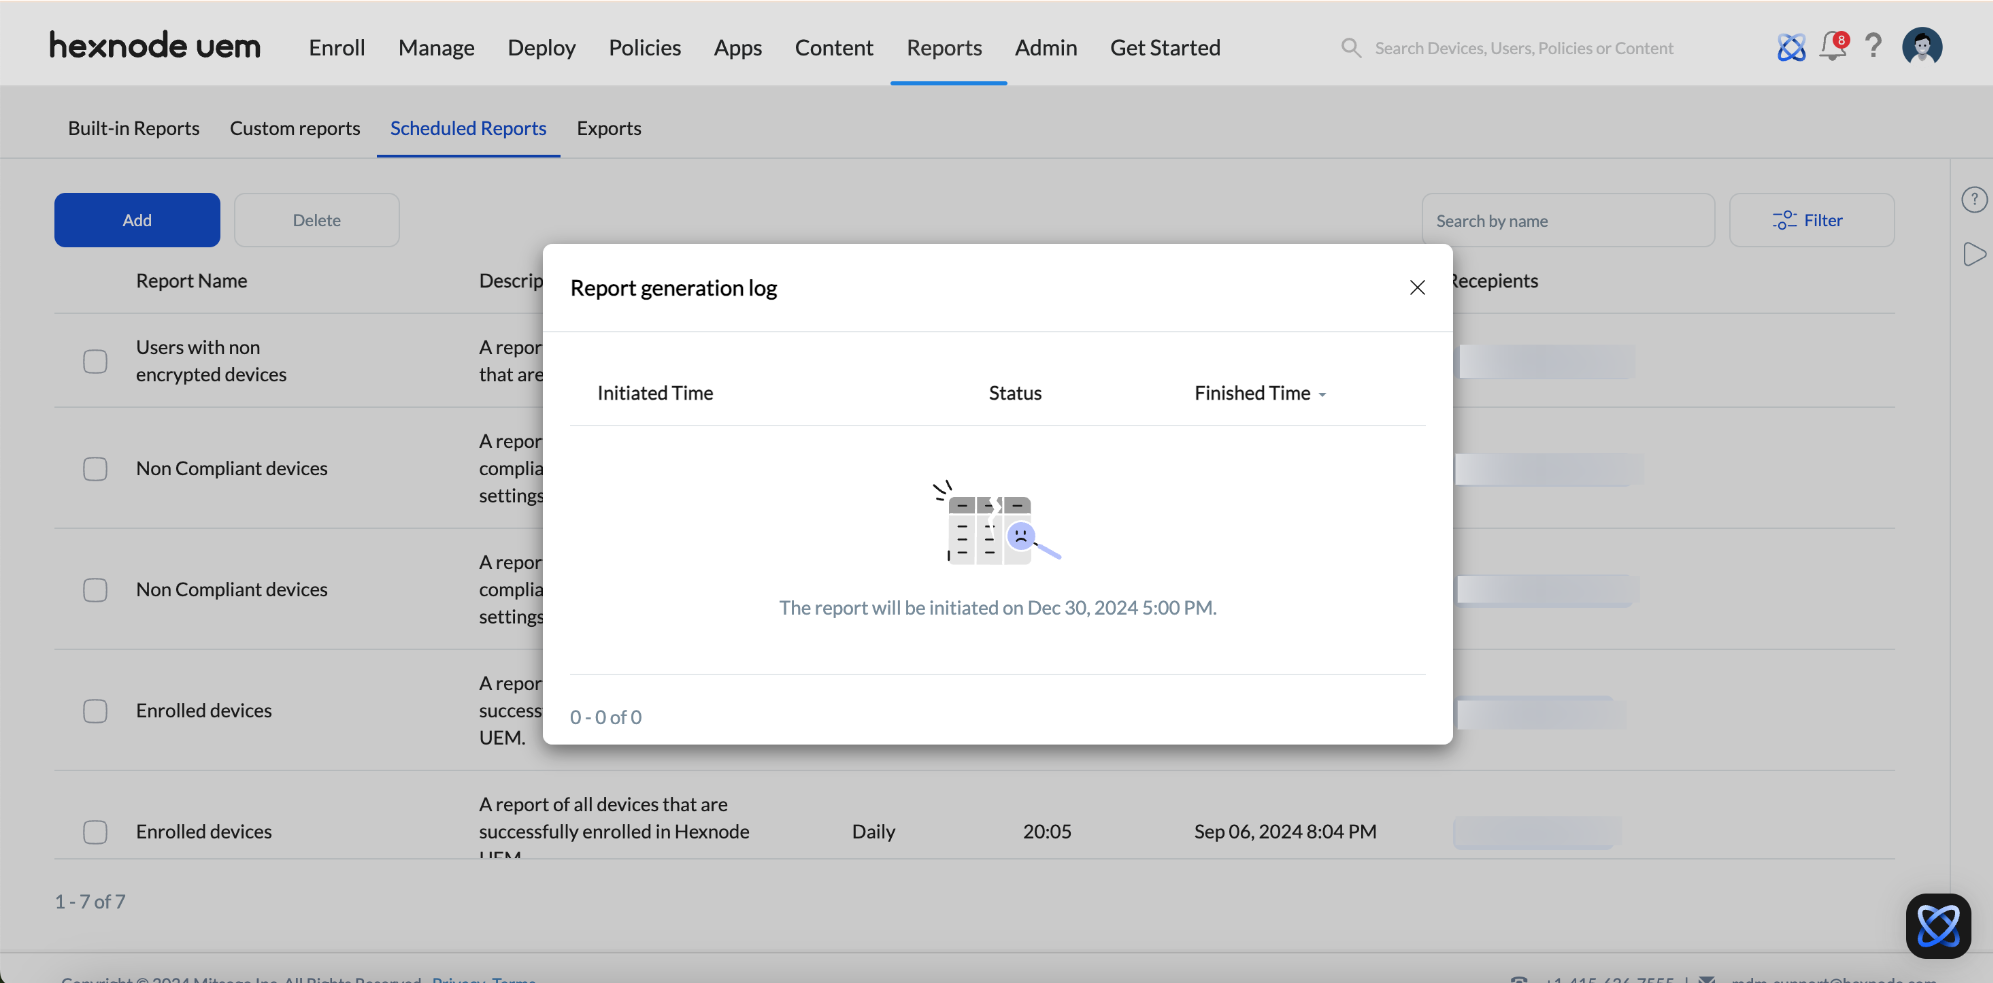
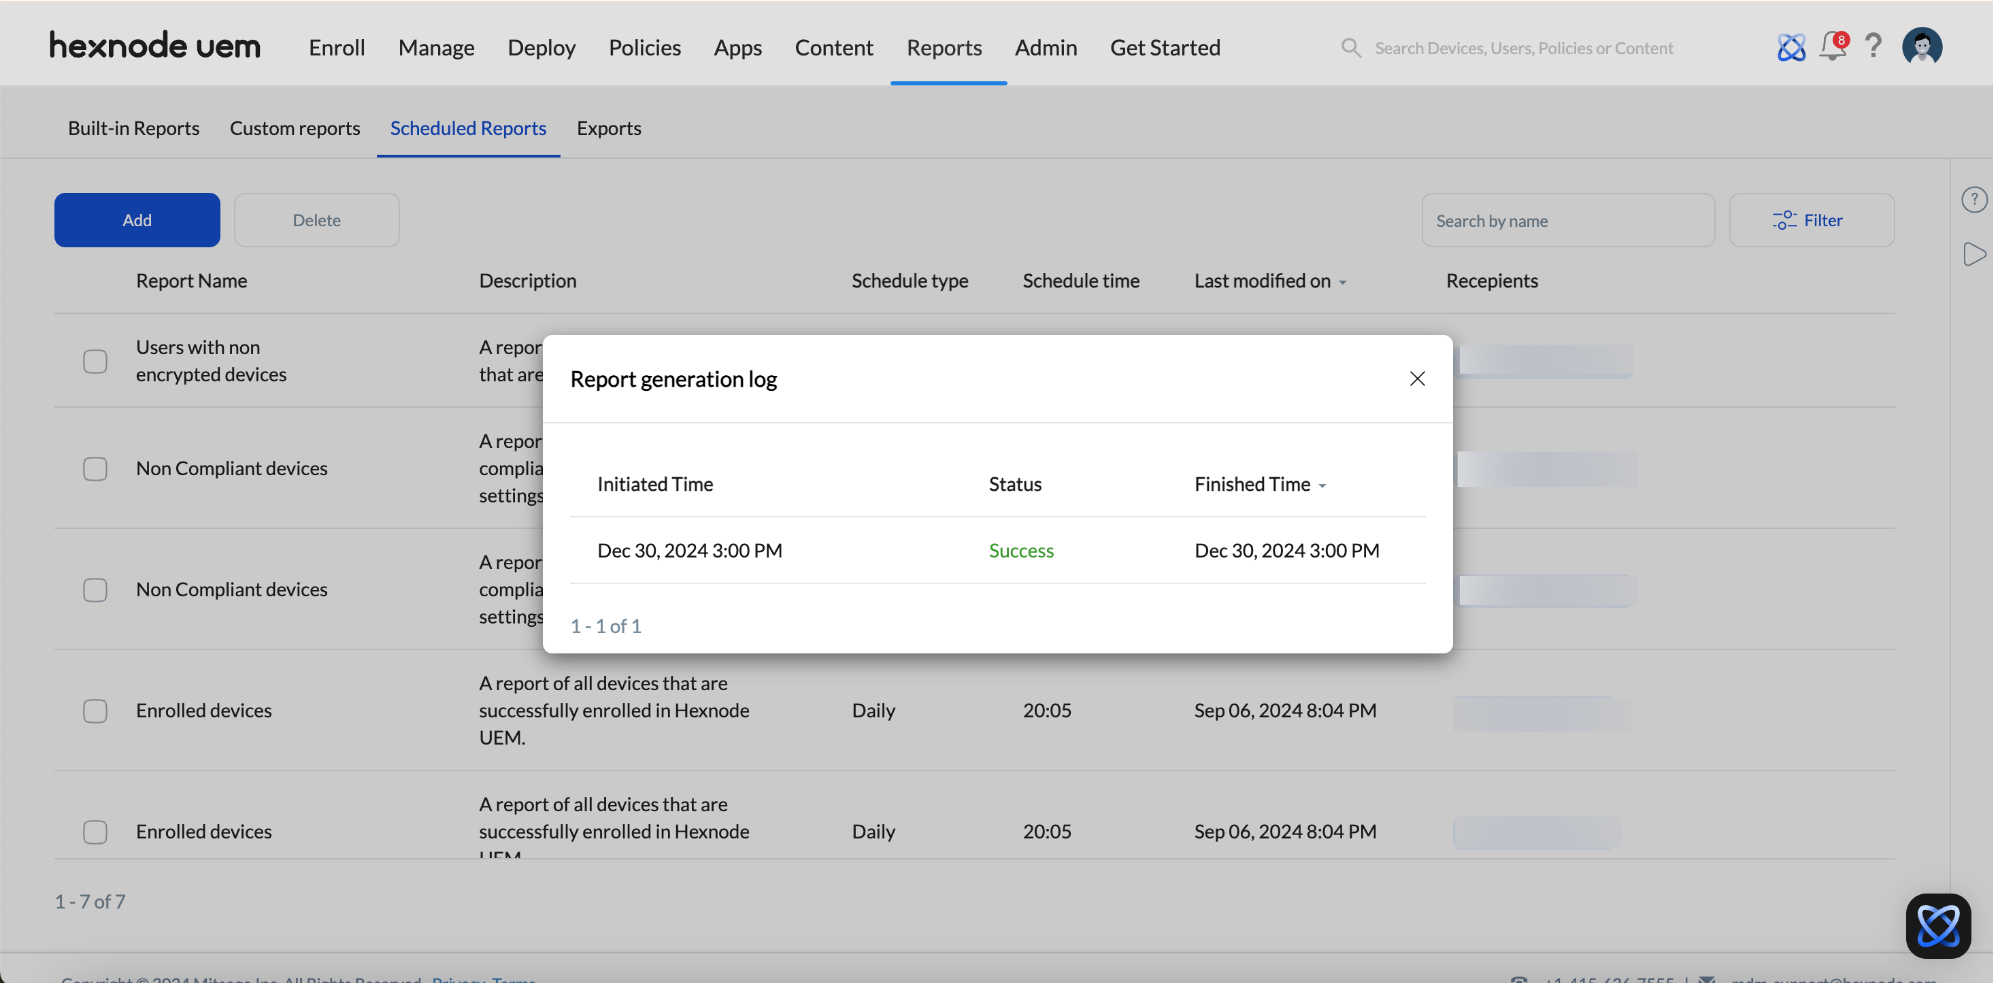
- Once the report is configured, it appears under the Scheduled Reports sub tab. An information button is present next to each scheduled report, which when clicked, opens the Report generation log displaying details such as the initiation time of the report generation, current status, and completion time of the scheduled report.
If the report has not been generated yet, the Report generation log will display a message with the scheduled initiation date and time, such as “The report will be initiated on [date] [time].”