Category filter
How to leverage Google Workspace for easy endpoint management?
Google Workspace, formerly G Suite, is a collection of business software developed and marketed by Google to assist organizations with their day-to-day operations. Hexnode offers an integration that enables the businesses to collaborate Google Workspace with the UEM. The integration facilitates a simplified device and user management as the UEM can leverage the superior functionalities of Google Workspace to assist Hexnode in its processes. The collaboration offers four main features: Android Enterprise integration, ChromeOS device management, single sign-on for enrollment authentication, and user directory synchronization.
Refer the documentation on How to integrate Google Workspace with Hexnode to learn more.
Android Enterprise (AE)
The Google Workspace integration automatically sets up Android Enterprise via the Google domain in Hexnode. This enables you to enroll work-critical devices running Android OS 5 or later to Google’s enterprise (AE) program to enjoy enhanced management on those devices. Once the integration is completed, the devices can be enrolled as either Device Owner or Profile Owner in Hexnode.
Device Owner enrollment is suggested for business-owned devices as it creates a fully managed work environment with complete administrator access on the device. Profile Owner is best suited for BYOD as it segregates the device into two compartments, one for personal use and the other for corporate use.
Refer the documentation on How to enroll Android devices in Android Enterprise using Google Workspace to learn more.
Managing ChromeOS devices
Google Workspace integration plays a crucial role in enrolling and managing ChromeOS devices in Hexnode UEM. Once integrated, all users and their assigned ChromeOS devices sync with the Hexnode UEM console. Upon successful sync, ChromeOS devices can be managed directly from the Hexnode UEM console.
Refer to the documentation on enrolling ChromeOS devices in Hexnode UEM to get started on managing ChromeOS devices through the Hexnode UEM console.
User directory sync
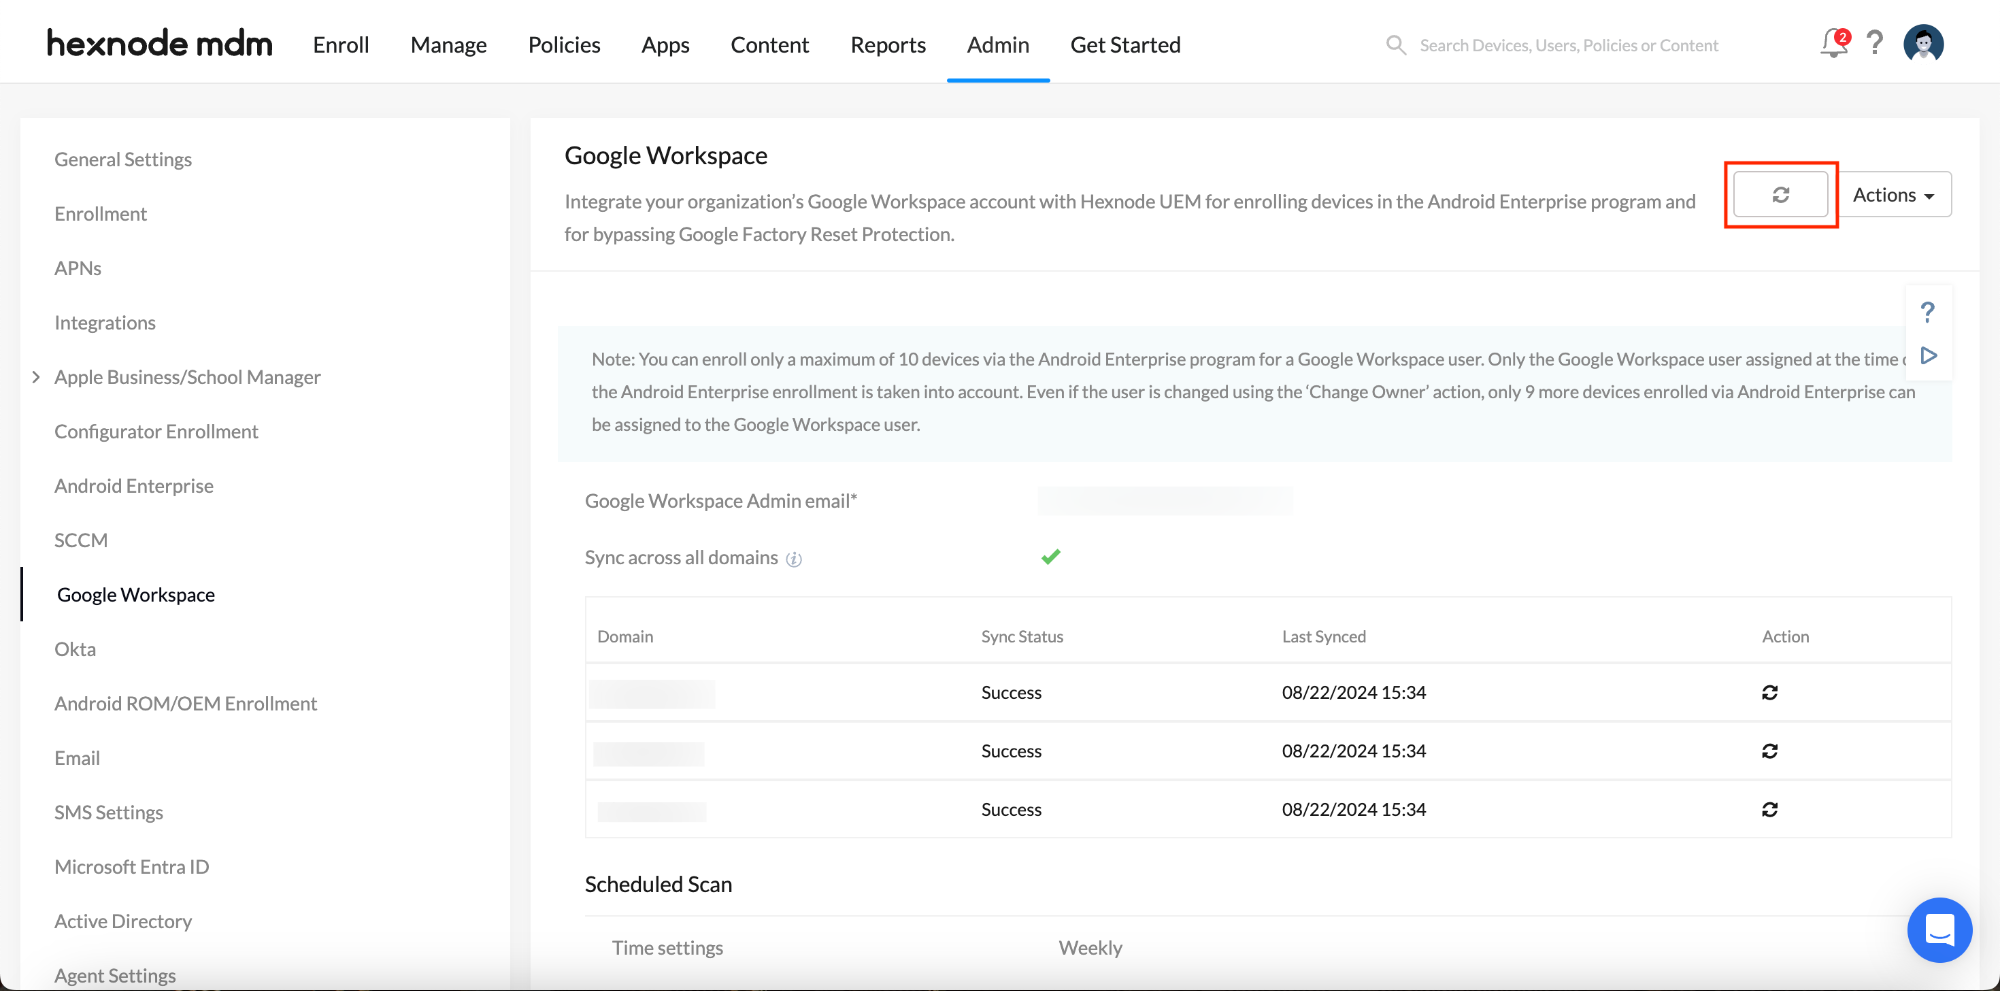
The devices enrolled in Hexnode are assigned to a user. This enables you to better manage the device by associating managerial policies either to the device or the user. This requires you to enroll all your corporate users in Hexnode. But if you have already added these users in Google Workspace, you can sync the user directory to the UEM via the integration.
Once you have completed the integration procedures, go to Admin > Google Workspace and click on the sync icon. This will import all your user and user groups in Google Workspace to Hexnode. Additionally, if you add or edit the users in Google Workspace, similar changes will be made in Hexnode during the next sync.
Enrollment with Authentication
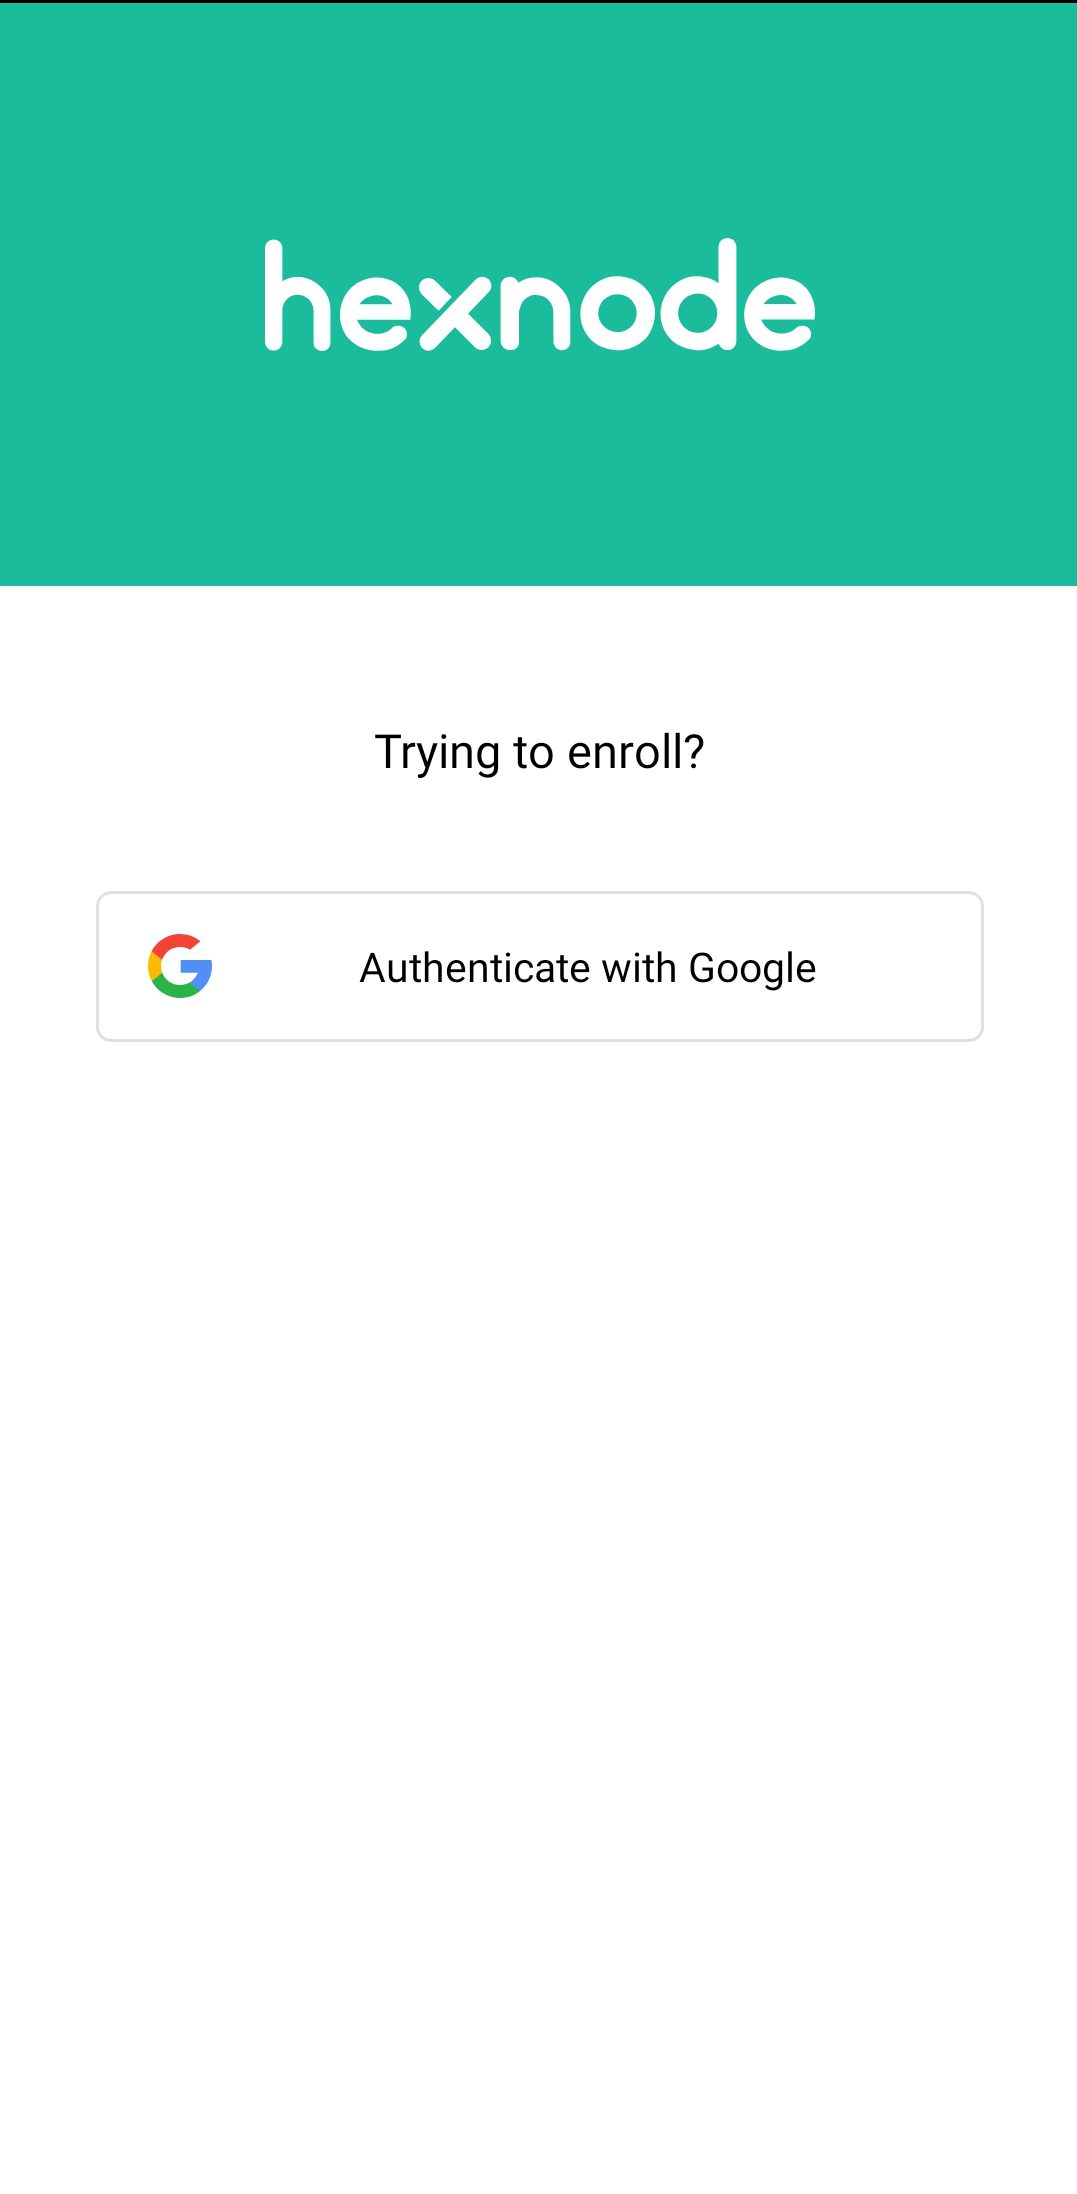
Hexnode supports the enrollment of devices scaled across different OS platforms like Android, iOS, macOS, iPadOS and Windows. Since most of the devices are enrolled by the end-users, it is essential to increase the security of the enrollment procedure. This can be achieved by enforcing user authentication during enrollment. For Google Workspace integrated organizations, users can sign in to their Google Workspace account during enrollment for authentication. Google Workspace validates the sign-in action and communicates the result back to Hexnode. The users would be allowed to enroll the device if the sign-on was successful.
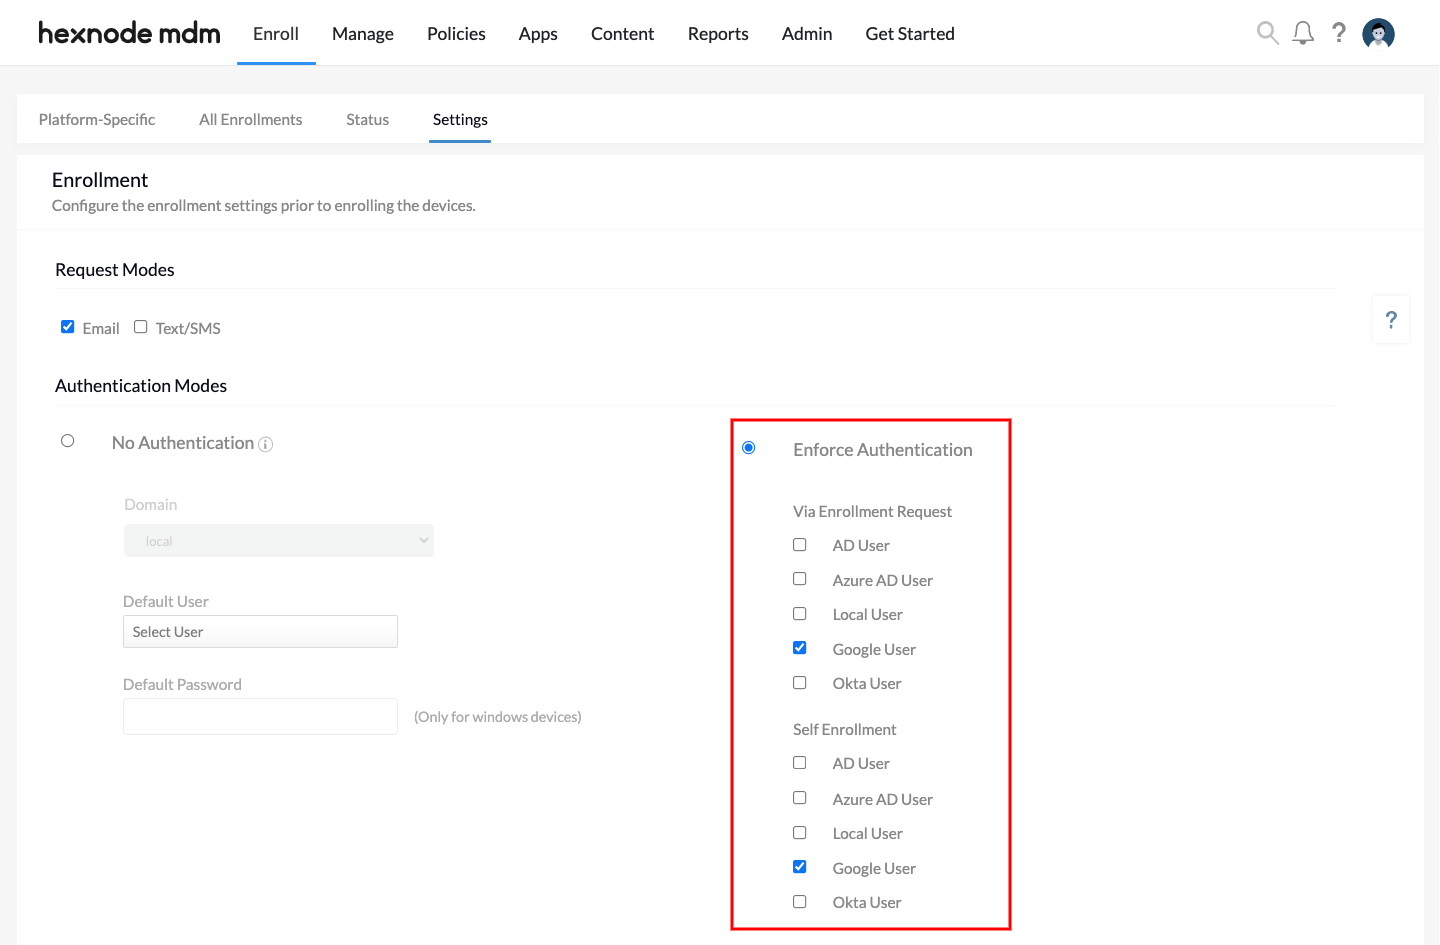
To mandate user authentication, enable Google Workspace authentication for enrollment in Hexnode. The platform-wise enrollment instructions are detailed below.
In your Hexnode portal
- Go to Enroll > Settings > Authentication Modes.
- Choose Enforce Authentication.
- Select Google User under Via Enrollment Request or Self Enrollment.
- Save the settings.
Choose Via Enrollment Request to send an email or text message to the required end-users with detailed instructions on how to enroll the device and other authentication details. The mode of sending the request can be selected from under Request Modes on the same tab.

Choose Self Enrollment if you do not want to send enrollment requests to your end-users through Hexnode. In this case, you may have to convey the details to the users directly.
On the device
Android
- Download the Hexnode UEM app on your device.
- Open the app and enter the server address or scan the QR code. The server address will be of the form “yourportal.hexnodemdm.com”.
- Click on Authenticate in with Google.
- Enter the username and password for your Google user account and proceed.
- Follow the on-screen instructions to complete the enrollment procedure.
iOS
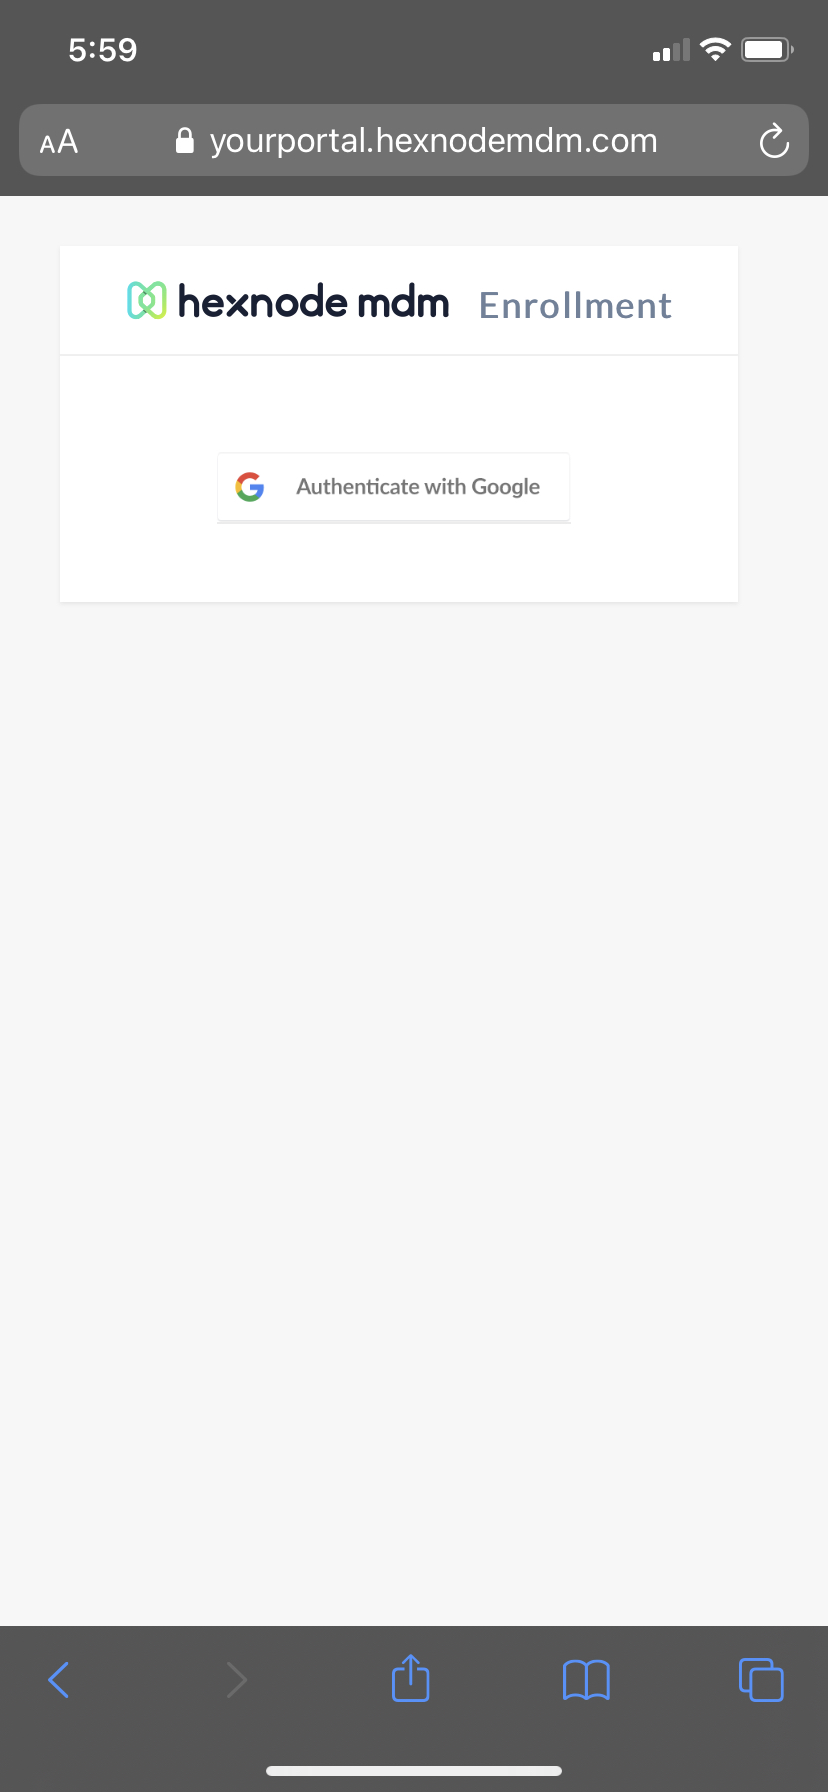
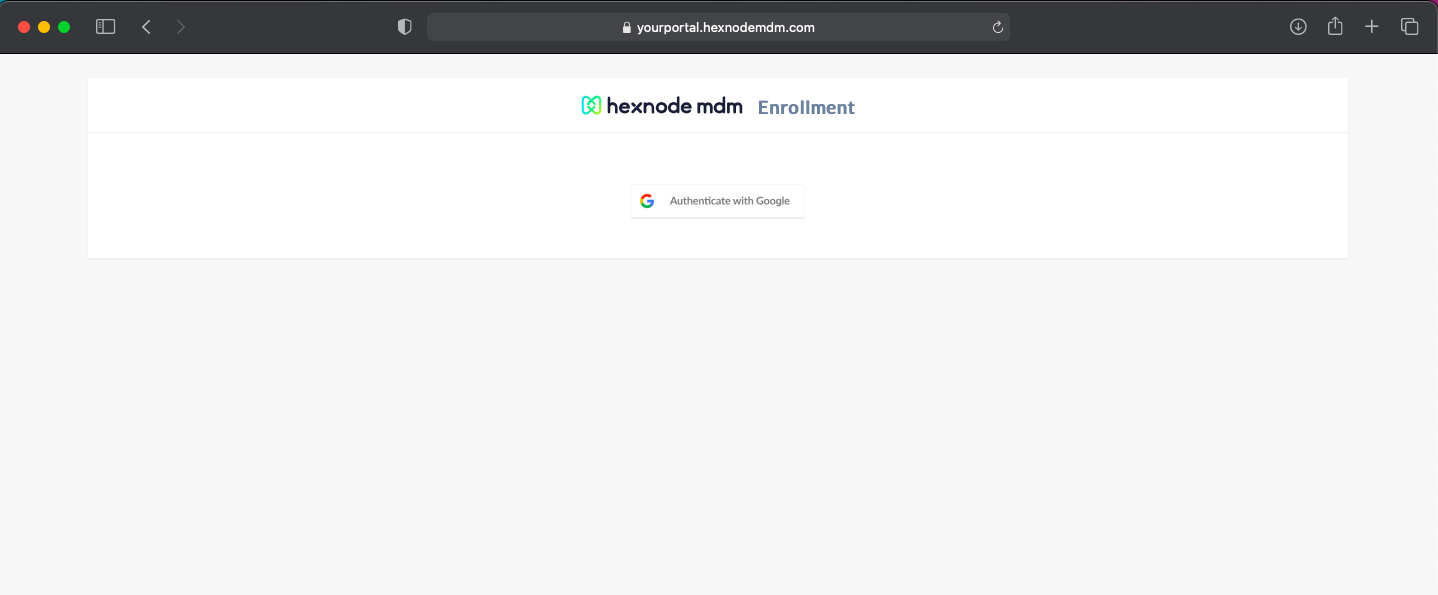
- Open Safari browser and enter the enrollment URL. It would look like this: https://yourportal.hexnodemdm.com/enroll/.
- Agree with the terms and conditions on the screen and click Enroll.
- Choose the option to sign in with Google and use the Google directory credentials to sign in.
- Provide the necessary permissions to allow profile download.
- Once downloaded, navigate to Settings > General > Profile. Choose Profile Service.
- Click Install to install the configuration profile and certificate.
- Click Trust to allow remote management.
- When the profile is installed, click Done. This will initiate the Hexnode UEM app installation.
- Once the app is installed, allow the MDM to access the location and send notifications.
macOS
- Open any web browser on your Mac.
- Enter the enrollment URL. It will be in the format “https://yourportal.hexnodemdm.com/enroll”.
- Click Enroll.
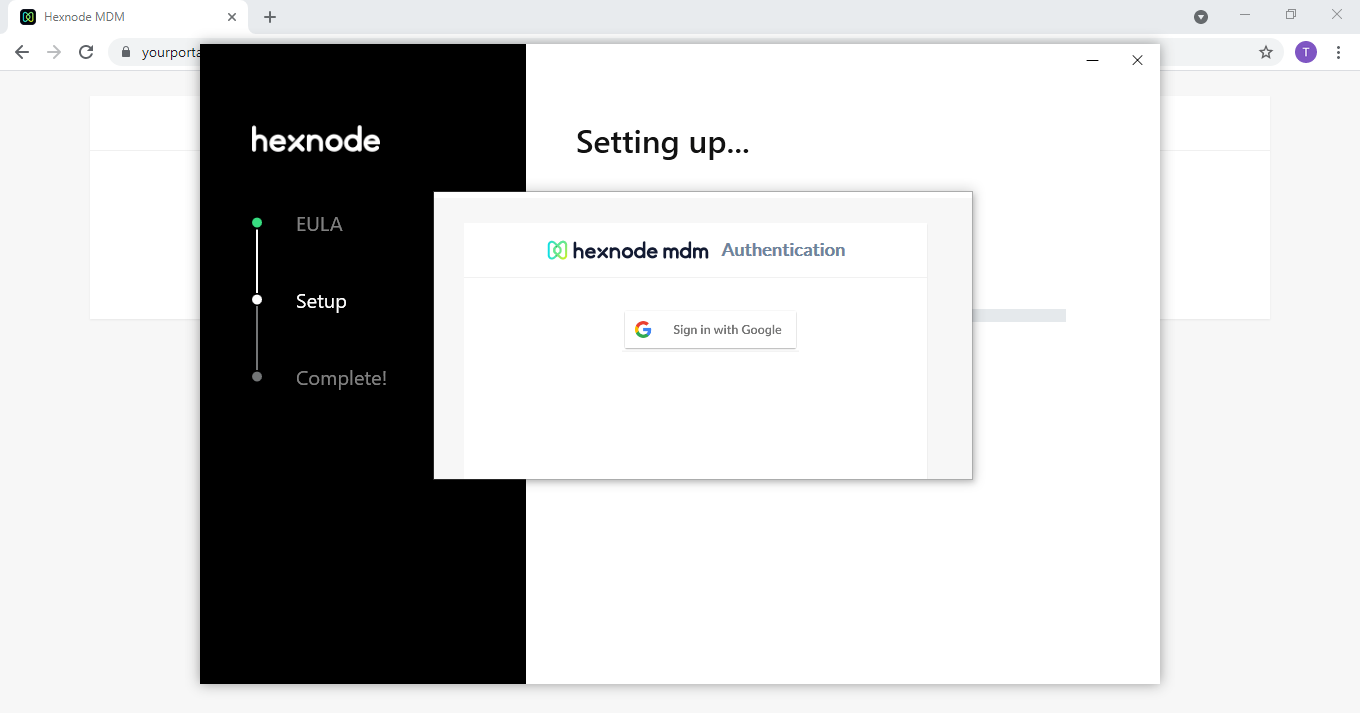
- Click on Authenticate with Google and enter your Google username and password.
- Click Submit. The MDM profile gets downloaded.
- To install the MDM profiles, click Continue and click Install.
- Enter the Mac administrator’s username and password.
Windows
- Open the web browser and enter the Hexnode enrollment URL. It should be in the format https://yourportal.hexnodemdm.com/enroll/.
- Download and install the app on the device.
- Agree to the Hexnode EULA and proceed with the device enrollment.
- You will be asked to validate your identity. Authenticate by entering your Google directory credentials.
- Follow the on-screen instructions to complete the enrollment.
