Category filter
Set up required apps on chromeOS devices using Hexnode UEM
This document provides a step-by-step guide for IT administrators to set up required apps on ChromeOS devices.
In any enterprise setting, ensuring that all managed devices have the necessary apps installed from initial setup helps maintain productivity and compliance. By defining a set of required apps, IT teams can make sure every device used within the organization has consistent access to critical tools and services. This eliminates gaps caused by missing applications and reduces the need for troubleshooting or additional support. With Hexnode UEM’s Required Apps policy, organizations can efficiently configure required apps on ChromeOS devices, installing them silently without user intervention. Additionally, IT admins can manage permissions for each app and choose to pin frequently used apps to the toolbar for quicker access.
How to set up required apps on ChromeOS devices?
To set up required apps on ChromeOS devices,
- Log in to your Hexnode UEM portal.
- Navigate to Policies > New Policy. Provide the following details,
- Policy name– Assign a suitable name for the policy. This is a mandatory field.
- Description– Provide a brief description of the policy.
- Choose ChromeOS > App Management > Required Apps and click Configure.
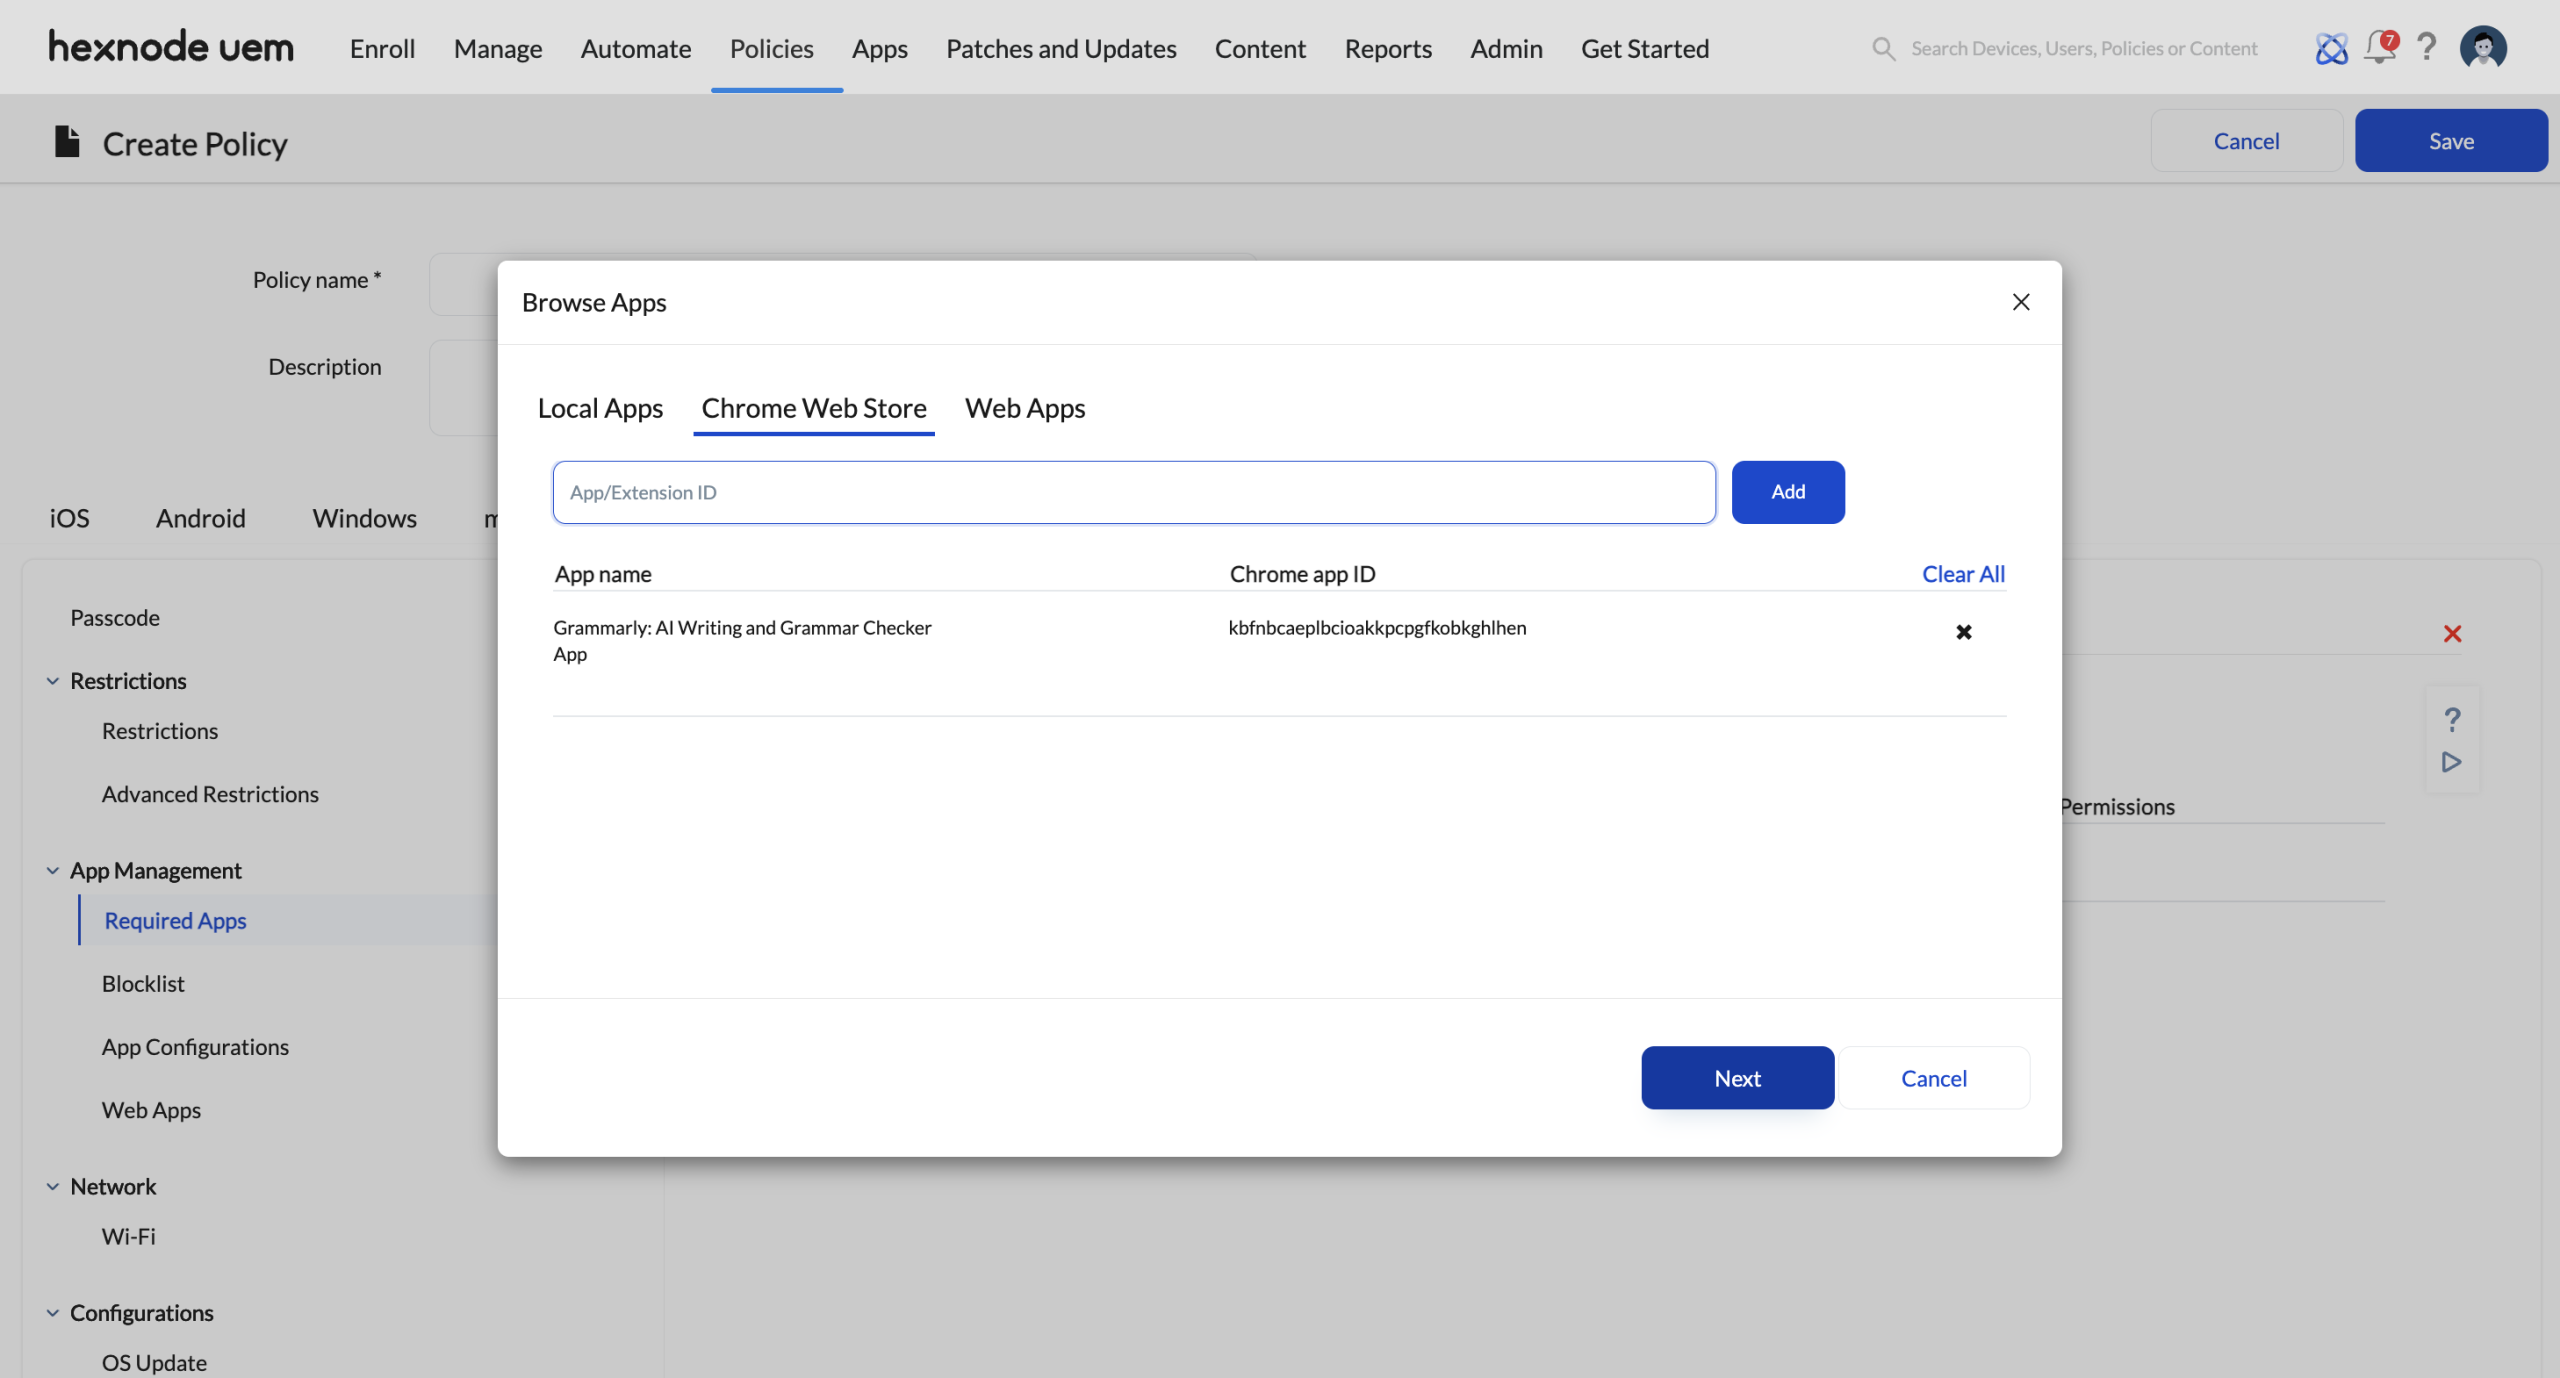
- Click +Add to include an app or an app group from the local app repository. You can also add apps from the Chrome Web Store or Web Apps section.
- To add an app from the Chrome Web Store, enter its app ID, which is a unique 32-character string assigned to every ChromeOS app. You can find an app ID by opening it in the Chrome Web Store page and checking the URL, it’s the string after the final slash. For example, in https://chromewebstore.google.com/detail/ai-grammar-and-spell-chec/kdfieneakcjfaiglcfcgkidlkmlijjnh, the ID is kdfieneakcjfaiglcfcgkidlkmlijjnh.
- After adding the app using its app ID, you can configure its permissions by clicking Configure next to the app. You can choose to Allow or Block permissions fully or specific permissions.
- To pin an app to the toolbar, check the Pin to toolbar option next to the corresponding app.
- Once the apps are selected and configured, click Save to add them.
Associate the policy with target entities
- Navigate to Policy Targets > Domains/OUs.
- Click on +Add Domain/OUs. From the list, select the Google Workspace account integrated with Hexnode, indicated by the (Google) tag.
- The parent OU will be listed and is indicated with a briefcase icon to differentiate it from other domains.
- Click on the dropdown next to the parent OU to view its child OUs. Select the required Organizational Units and click OK.
- Associate the policies to the OUs, to which the target devices are assigned.
- Click Save to associate the policy to the devices with the selected Organization Units.
What happens at the device end?
Once the policy is associated, the apps will be installed silently on the device without user interaction and cannot be uninstalled.
