Category filter
How to enroll devices in Android Enterprise using QR code
Android Enterprise (formerly Android for Work) provides advanced management capabilities for business devices. Hexnode UEM supports QR code enrollment for three distinct Android Enterprise modes:
- Device Owner: Full control (Corporate-owned).
- Profile Owner: Work Profile (BYOD).
- Work Profile on Company-Owned Device (WP-C): Work Profile on corporate hardware.
Prerequisite: Before proceeding, ensure you have enrolled your organization in the Android Enterprise program.
1. Enrollment as Device Owner (Fully Managed)
Use Case: Best for corporate-owned devices requiring full control. Only corporate-approved apps are available.
Supported Versions:
- Android 7.0+
Pre-condition: The device must be Factory Reset and have no personal Gmail account linked.
Step 1: Configure Enrollment Profile (Portal Side)
Before handling the device, ensure the correct QR code is ready in the Hexnode portal.
- Navigate to Enroll > Platform-Specific > Android > Android Enterprise > Organization.
- Alternative Path: Enroll > All Enrollments > Enterprise > Android Enterprise > Organization or Admin > Android Enterprise > Organization.
- A QR code for the default enrollment profile will be displayed.
- Verify Profile Type: Ensure the Enterprise management type was set to Device Owner during the profile creation.
- Action: If you need to change the profile, select the desired profile from the dropdown or create a new one at Enroll > Platform-Specific > Android > Android Enterprise > Enrollment Profiles.
- The QR code will update automatically based on the selected profile.

Critical Warning: Do not remove or delete the default enrollment profile from the Hexnode UEM console until the device has fully completed its enrollment. Doing so will cause the enrollment process to fail.
Step 2: Initiate Enrollment (Device Side)
- Turn on the factory-reset device.
- On the Welcome Screen (Language selection), tap the screen six times in the same spot.
- Connect the device to a Wi-Fi network when prompted.
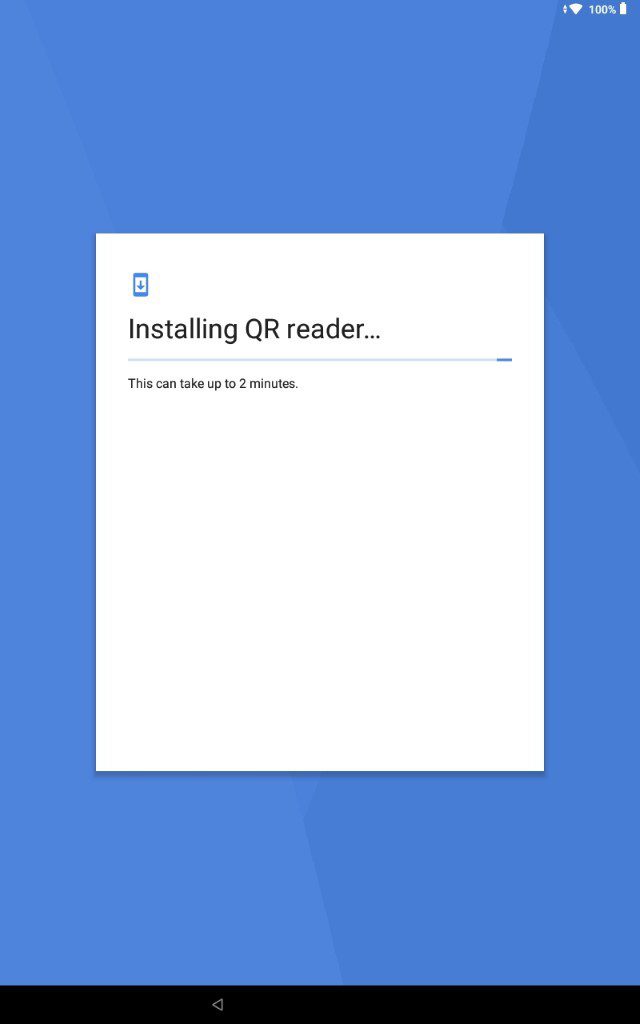
- The device will automatically download and install a QR code reader.
Step 3: Scan and Configure
- Open the QR code reader on the device and Scan the QR code displayed in the Hexnode portal (from Step 1).
- Tap Accept & Continue to proceed with setting up the work device.
- Follow the on-screen prompts to enable necessary Hexnode UEM app configurations:
- Device Administration
- Usage Access
- Draw Over Apps
- Tap Next and complete the remaining setup steps.
- Once finished, the device is successfully enrolled in Device Owner mode.
2. Enrollment as Profile Owner (BYOD)
Use Case: Best for personal devices (BYOD). Creates a separate “Work Profile” container. The IT admin controls only the Work Profile, not the personal data.
Supported Versions:
- Standard Android: 5.0 and above.
- Samsung Knox: 6.0 and above.
Step 1: Install the Hexnode App
- Open the Google Play Store on the personal device.
- Search for and install the Hexnode For Work app.
Step 2: Retrieve the QR Code (Portal Side)
- Log in to the Hexnode UEM portal.
- Navigate to Enroll > Platform-Specific > Android > QR Code, Email or SMS.
- Note: You can scan this code directly from the screen or send it to the user via email as an enrollment request.
Step 3: Scan and Enroll (Device Side)
- Open the installed Hexnode For Work app.
- Tap the QR code symbol on the screen to open the scanner.
- Scan the QR code retrieved in Step 2.
- Agreements: Agree to the End-User License Agreement to proceed.
- Setup: Tap Continue to enter the work profile setup screen.
- Follow the on-screen instructions.
- Note: The app may automatically minimize and relaunch after a few seconds. This is normal behaviour as the device creates the work profile.
Step 4: Finalize Enrollment
Once the work profile creation is complete, you will see two versions of the Hexnode app on the device:
- Badged App: The app with the briefcase badge is the managed work app.
- Unbadged App: The app without the badge was used for the initial setup.
Action Required: Open the Hexnode For Work app without the badge and tap Continue to uninstall it. This removes the setup agent, leaving only the managed work profile.
3. Enrollment as Work Profile on Company-Owned Device (WP-C)
Use Case: Corporate-owned devices that require data separation (Work vs. Personal) but are not fully locked down.
Supported Versions:
- Standard Android: 10.0 and above.
- Samsung Knox: 11.0 and above.
Pre-condition: The device must be Factory Reset.
Step 1: Configure Enrollment Profile (Portal Side)
- Log in to the Hexnode UEM portal.
- Navigate to Enroll > Platform-Specific > Android > Android Enterprise > Organization.
- Alternative Path: Enroll > All Enrollments > Enterprise > Android Enterprise > Organization.
- A QR code for the default enrollment profile will be displayed.
- Verify Profile Type: Ensure the selected enrollment profile has the Enterprise Management Type set to Work Profile on a company-owned device.
- Action: If you need to create a new profile with this setting, navigate to Enroll > Platform-Specific > Android > Android Enterprise > Enrollment Profiles.
- The QR code will automatically update to reflect the selected profile configuration.
 using QR code")
Critical Warning: Do not remove or delete the default enrollment profile from the Hexnode UEM console until the device enrollment is fully complete. Doing so will cause the process to fail.
Step 2: Initiate Enrollment (Device Side)
- Turn on the factory-reset device.
- On the Welcome Screen (Language Selection), tap the screen six times in the same spot.
- Connect the device to a Wi-Fi network.
- The device will automatically install a QR code reader.
Step 3: Scan and Setup
- Scan: Use the device to scan the QR code displayed in the Hexnode portal (from Step 1).
- Note: The device will automatically connect to the Wi-Fi network configured in the portal profile (if applicable).
- Accept: Tap Accept & Continue to begin setting up the work profile.
- Agree: Accept the End-User License Agreement.
- The system will now initiate enrollment, registering the device with Hexnode UEM and creating the managed work account.
- Follow the on-screen prompts to complete the device setup.
Step 4: Finalize Configuration
Upon completion, you will see two Hexnode For Work apps on the device: one with a briefcase badge (Work) and one without (Personal/Setup).
- Open the Hexnode For Work app without the badge.
- Tap Continue to uninstall this setup app.
- Your device is now fully enrolled in WP-C mode.
Frequently Asked Questions (FAQs)
Q1: What is the difference between “Device Owner” and “WP-C”?
- Device Owner: The organization has full control over the entire device. There is no separation for personal data.
- WP-C: The organization owns the device, but a “Work Profile” is created to separate corporate data from personal usage, offering the user privacy on a company device.
Q2: What is the main difference between Profile Owner and WP-C?
The primary difference is device ownership and the enrollment method:
- Profile Owner (BYOD): Designed for personal devices. The user initiates enrollment by downloading an app. The organization controls only the Work Profile.
- WP-C (Company-Owned): Designed for devices owned by the organization. Enrollment requires a factory reset (6-tap method). The organization controls the device’s lifecycle but allows a private “Personal” profile for the employee.
Troubleshooting
1. Error Message: “Your device is not authorized to be enrolled”
Description: This error occurs after entering the server name, indicating that the Hexnode portal is actively blocking the enrollment request based on current administrative rules.
Probable Causes:
- Platform Restrictions: The portal is configured to block Android device enrollment entirely.
- Pre-Enrollment Enforcement: The portal is configured to allow only pre-approved devices (imported via Serial Number/IMEI), and this specific device is not on the list.
Solution:
Step 1: Check Portal Restrictions
- Log in to the Hexnode UEM portal as an Administrator.
- Navigate to Admin > Enrollment.
Step 2: Update Enrollment Rules
- Under Enrollment Restrictions, ensure the checkbox for Android is checked (allowed).
- Check the Pre-approved Device only setting:
- If you are enrolling a new, ad-hoc device, uncheck this option.
- If you want to keep this option checked, you must first add the device’s Serial Number/IMEI to the Pre-enrolled devices list in the portal.
- Save the settings and retry enrollment on the device.
2. Error Message: “Couldn’t find your Google Account”
Description: This error appears during Device Owner enrollment when using the DPC identifier afw#hexnodemdm.
Probable Cause: Factory Reset Protection (FRP) is active. The device was factory reset without first removing the previously synced Google account, locking the device to the original credentials.
Solution:
To resolve this, you must unlock the device and properly clear the account:
- Unlock: Enter the credentials of the previously configured Google account to bypass the lock.
- Remove Account: Once logged in, navigate to Settings > Accounts and remove the Google account.
- Reset: Perform a Factory Reset on the device again.
- Retry: Start the enrollment process from the beginning.
