Category filter
Automating the SCEP Lifecycle: Zero-Touch Certificate Renewal
In enterprise environments, managing 802.1X Wi-Fi certificates manually is inefficient. This playbook defines the verified lifecycle management for SCEP (Simple Certificate Enrollment Protocol) within Hexnode UEM. By leveraging Hexnode’s real-time communication architecture (MQTT for Windows/Android/macOS and APNs for iOS), the system facilitates the deployment of configuration profiles that allow devices to request and renew certificates automatically from an internal Certificate Authority (CA), minimizing connectivity downtime.
Logical Architecture
The Automated Certificate Renewal process operates as a policy-driven loop between the endpoint, Hexnode UEM, and the Enterprise CA:
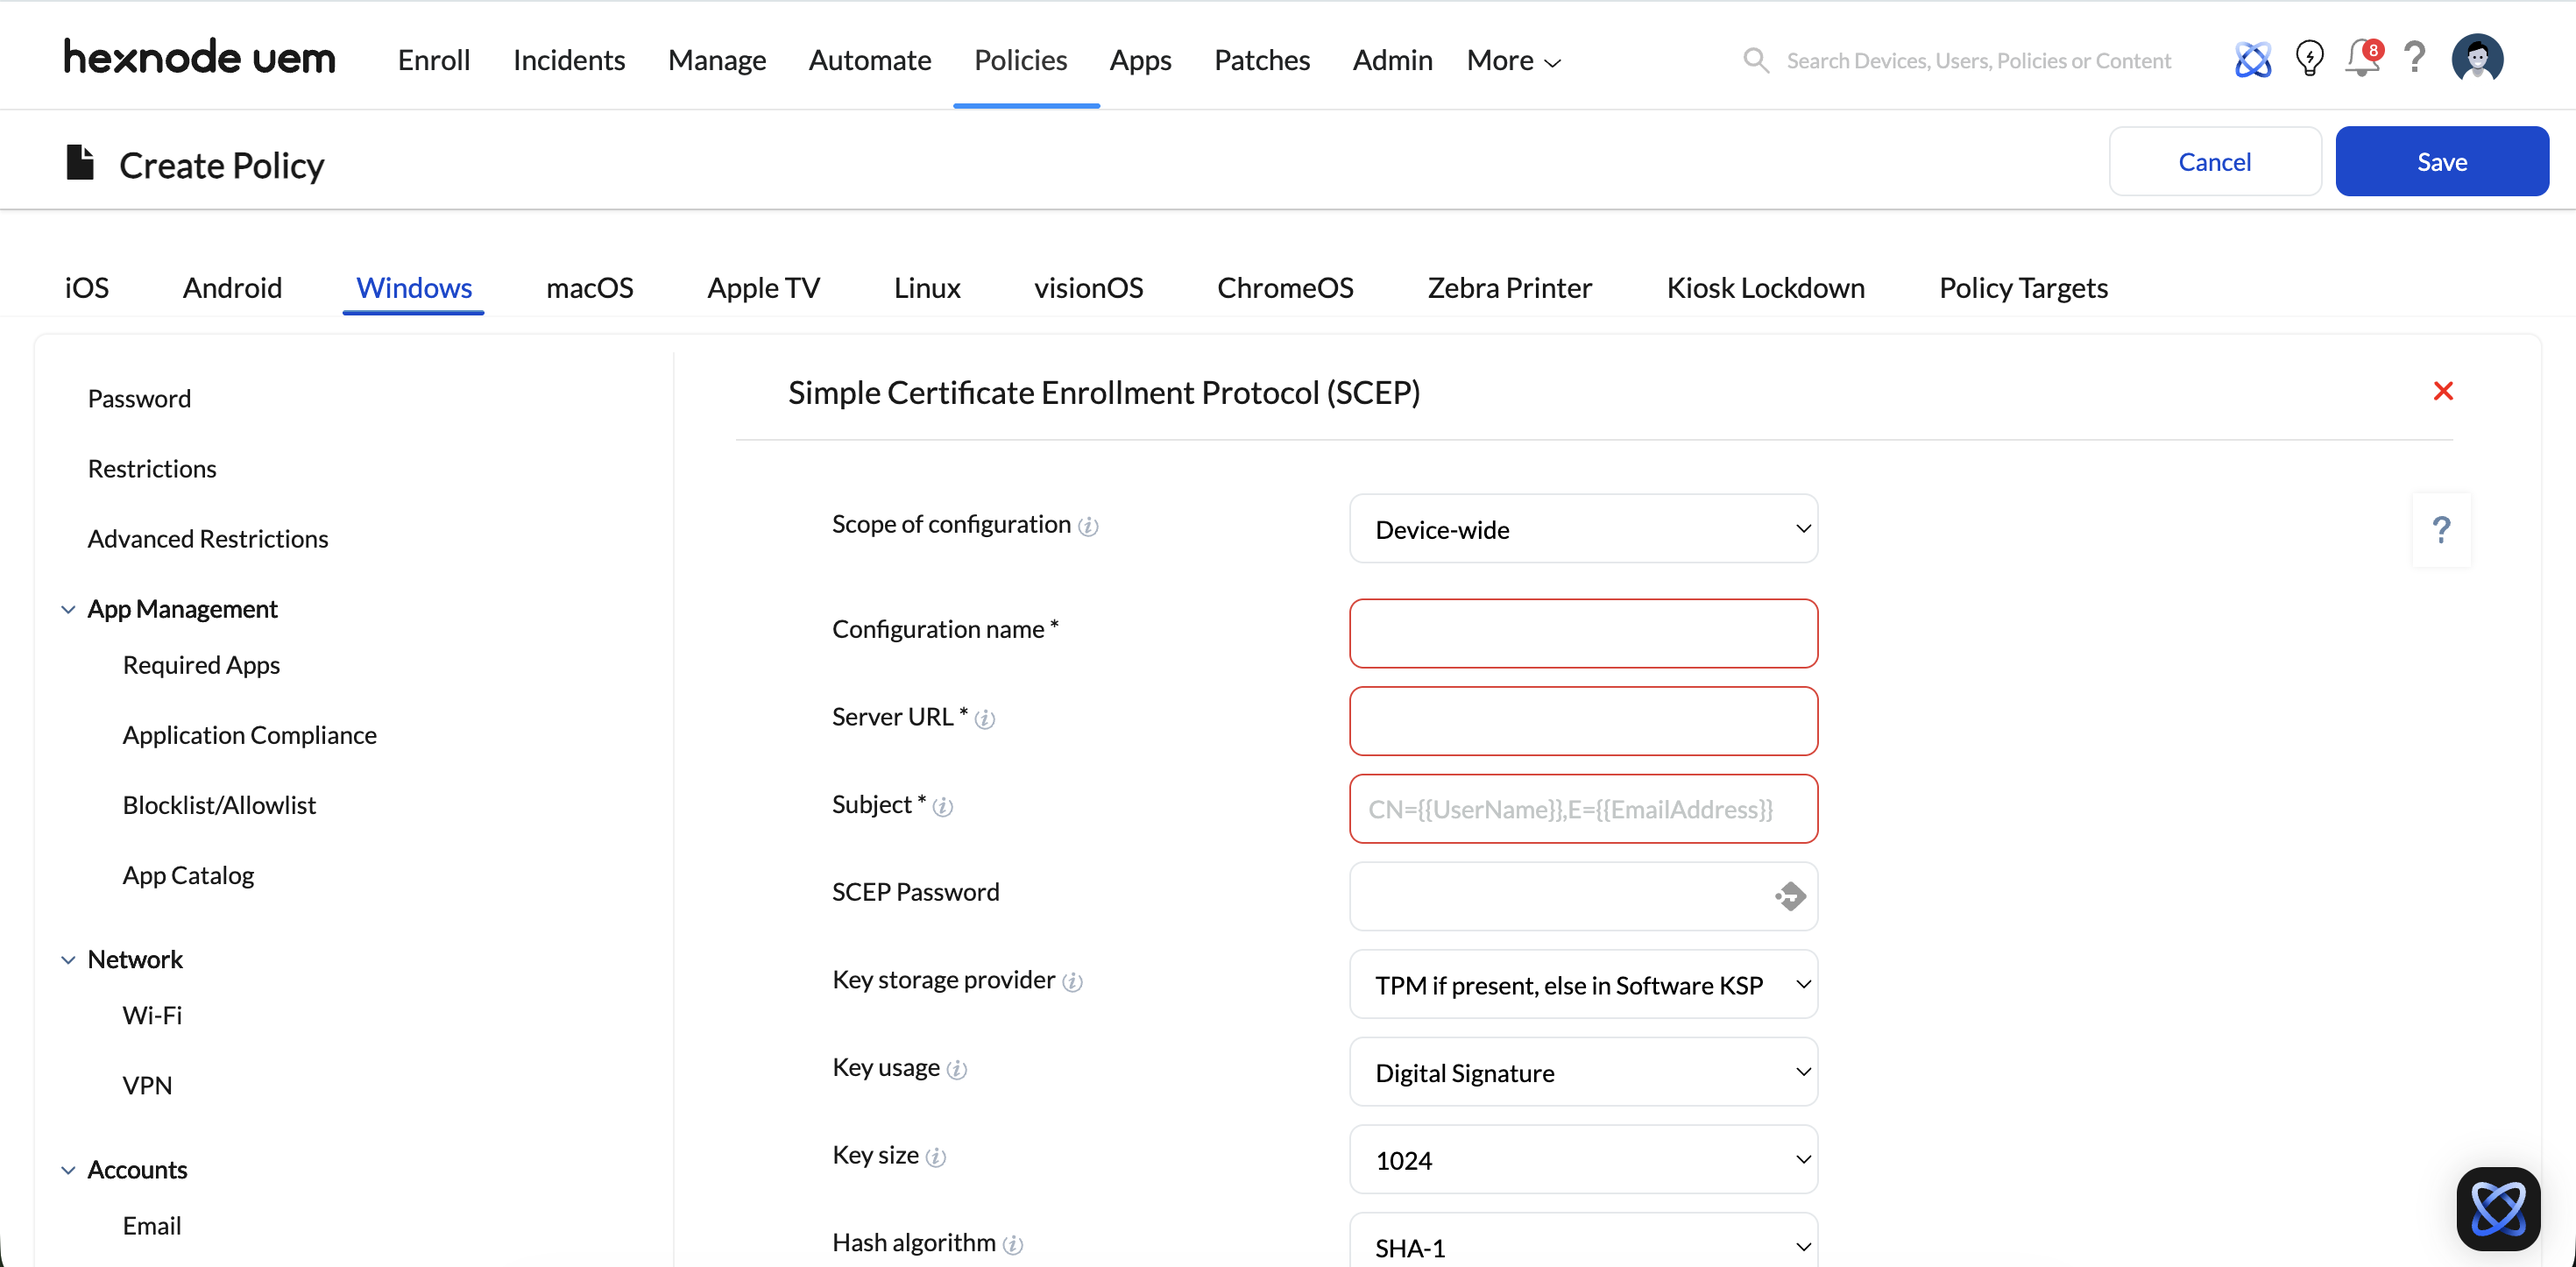
- The Policy Engine: The Hexnode UEM Console defines the SCEP parameters (URL, Challenge Password, Subject Name).
- The Signaling Plane: Policy updates and profile associations are communicated immediately via MQTT (Android/Windows/macOS) or APNs (iOS).
- The Registration Authority (RA):
- Static SCEP: The device communicates directly with the SCEP server URL using a pre-shared secret.
- Dynamic SCEP (Microsoft NDES): Hexnode acts as the intermediary validator. It generates a dynamic challenge password for the specific device and embeds it in the profile configuration, ensuring only managed devices can request certificates.
- The Delivery Mechanism: The SCEP profile is installed on the device. The device’s operating system generates a private key and sends a Certificate Signing Request (CSR) to the NDES/SCEP gateway.
Execution Logic: The SCEP Lifecycle
This workflow follows the standard SCEP protocol supported by Hexnode.
Phase 1: Configuration & Deployment
Administrators configure a SCEP Policy in the Hexnode portal.
- Settings:
- URL: The public or accessible internal URL of the NDES/SCEP server.
- Subject Name: Dynamic variables (e.g., %CN=%DeviceName%, Email=%useremail%) are used to create unique identities for each device.
Phase 2: Enrollment (Device-Initiated)
Upon receiving the policy:
- Key Generation: The device generates a public/private key pair locally (Private key remains in the device’s secure store).
- CSR: The device sends a signed CSR to the configured SCEP URL.
- Validation: The CA/NDES server validates the challenge password provided in the CSR.
- Issuance: The CA signs the certificate and returns it to the device.
Phase 3: Automated Renewal
Renewal is handled by the device’s operating system and the SCEP protocol constraints defined in the policy.
- Trigger: The device OS monitors the certificate’s NotAfter date. As the certificate approaches expiration (typically a percentage of the validity period), the OS automatically initiates a new SCEP request to the URL defined in the Hexnode profile.
- Continuity: The new certificate replaces the expiring one in the device store.
Phase 4: Association (Wi-Fi Binding)
To ensure connectivity:
- Profile Link: The SCEP certificate is selected as the Identity Certificate within the Wi-Fi Policy (WPA/WPA2 Enterprise).
- Effect: When the SCEP certificate is renewed by the OS, the Wi-Fi profile automatically utilizes the updated credential without manual reconfiguration.
Governance & Reliability
- Retry Logic: To handle network fluctuations, Hexnode SCEP policies allow administrators to configure “Retries” (number of attempts) and “Retry Delay” (time between attempts) for the certificate request.
- Identity Validation: Usage of Dynamic SCEP ensures that even if the SCEP URL is exposed, only devices with a valid, Hexnode-issued challenge password can obtain a certificate.
Implementation Checklist
- Configure SCEP Server: Ensure your NDES/SCEP server is active and accessible to external devices (or via internal network if on-prem).
- Create SCEP Policy: Navigate to Policies > [Platform] > Security > SCEP.
- Bind to Wi-Fi: Navigate to Policies > [Platform] > Network > Wi-Fi. Set “Identity Certificate” to the SCEP configuration created in Step 2.
- Deploy: Associate the policy with the target device or group. Verify installation in the Action History tab.

