Category filter
How to install SentinelOne agent on Windows devices?
SentinelOne is a cloud-native endpoint security platform designed to autonomously prevent, detect, and respond to cyber threats such as ransomware, fileless malware, and zero-day attacks across enterprise environments. By leveraging advanced AI and machine learning, SentinelOne continuously monitors endpoints for malicious behavior, unauthorized access, and suspicious processes.
The SentinelOne Agent, once installed on a Windows device, continuously monitors system activity and enforces real-time threat prevention and response. By providing comprehensive visibility and automated protection, SentinelOne empowers organizations to operate securely in today’s complex threat landscape.
In this document, we will explore how to deploy the SentinelOne agent on Windows devices managed by Hexnode UEM.
How to deploy SentinelOne?
Step 1: Download the latest SentinelOne agent installer package for Windows.
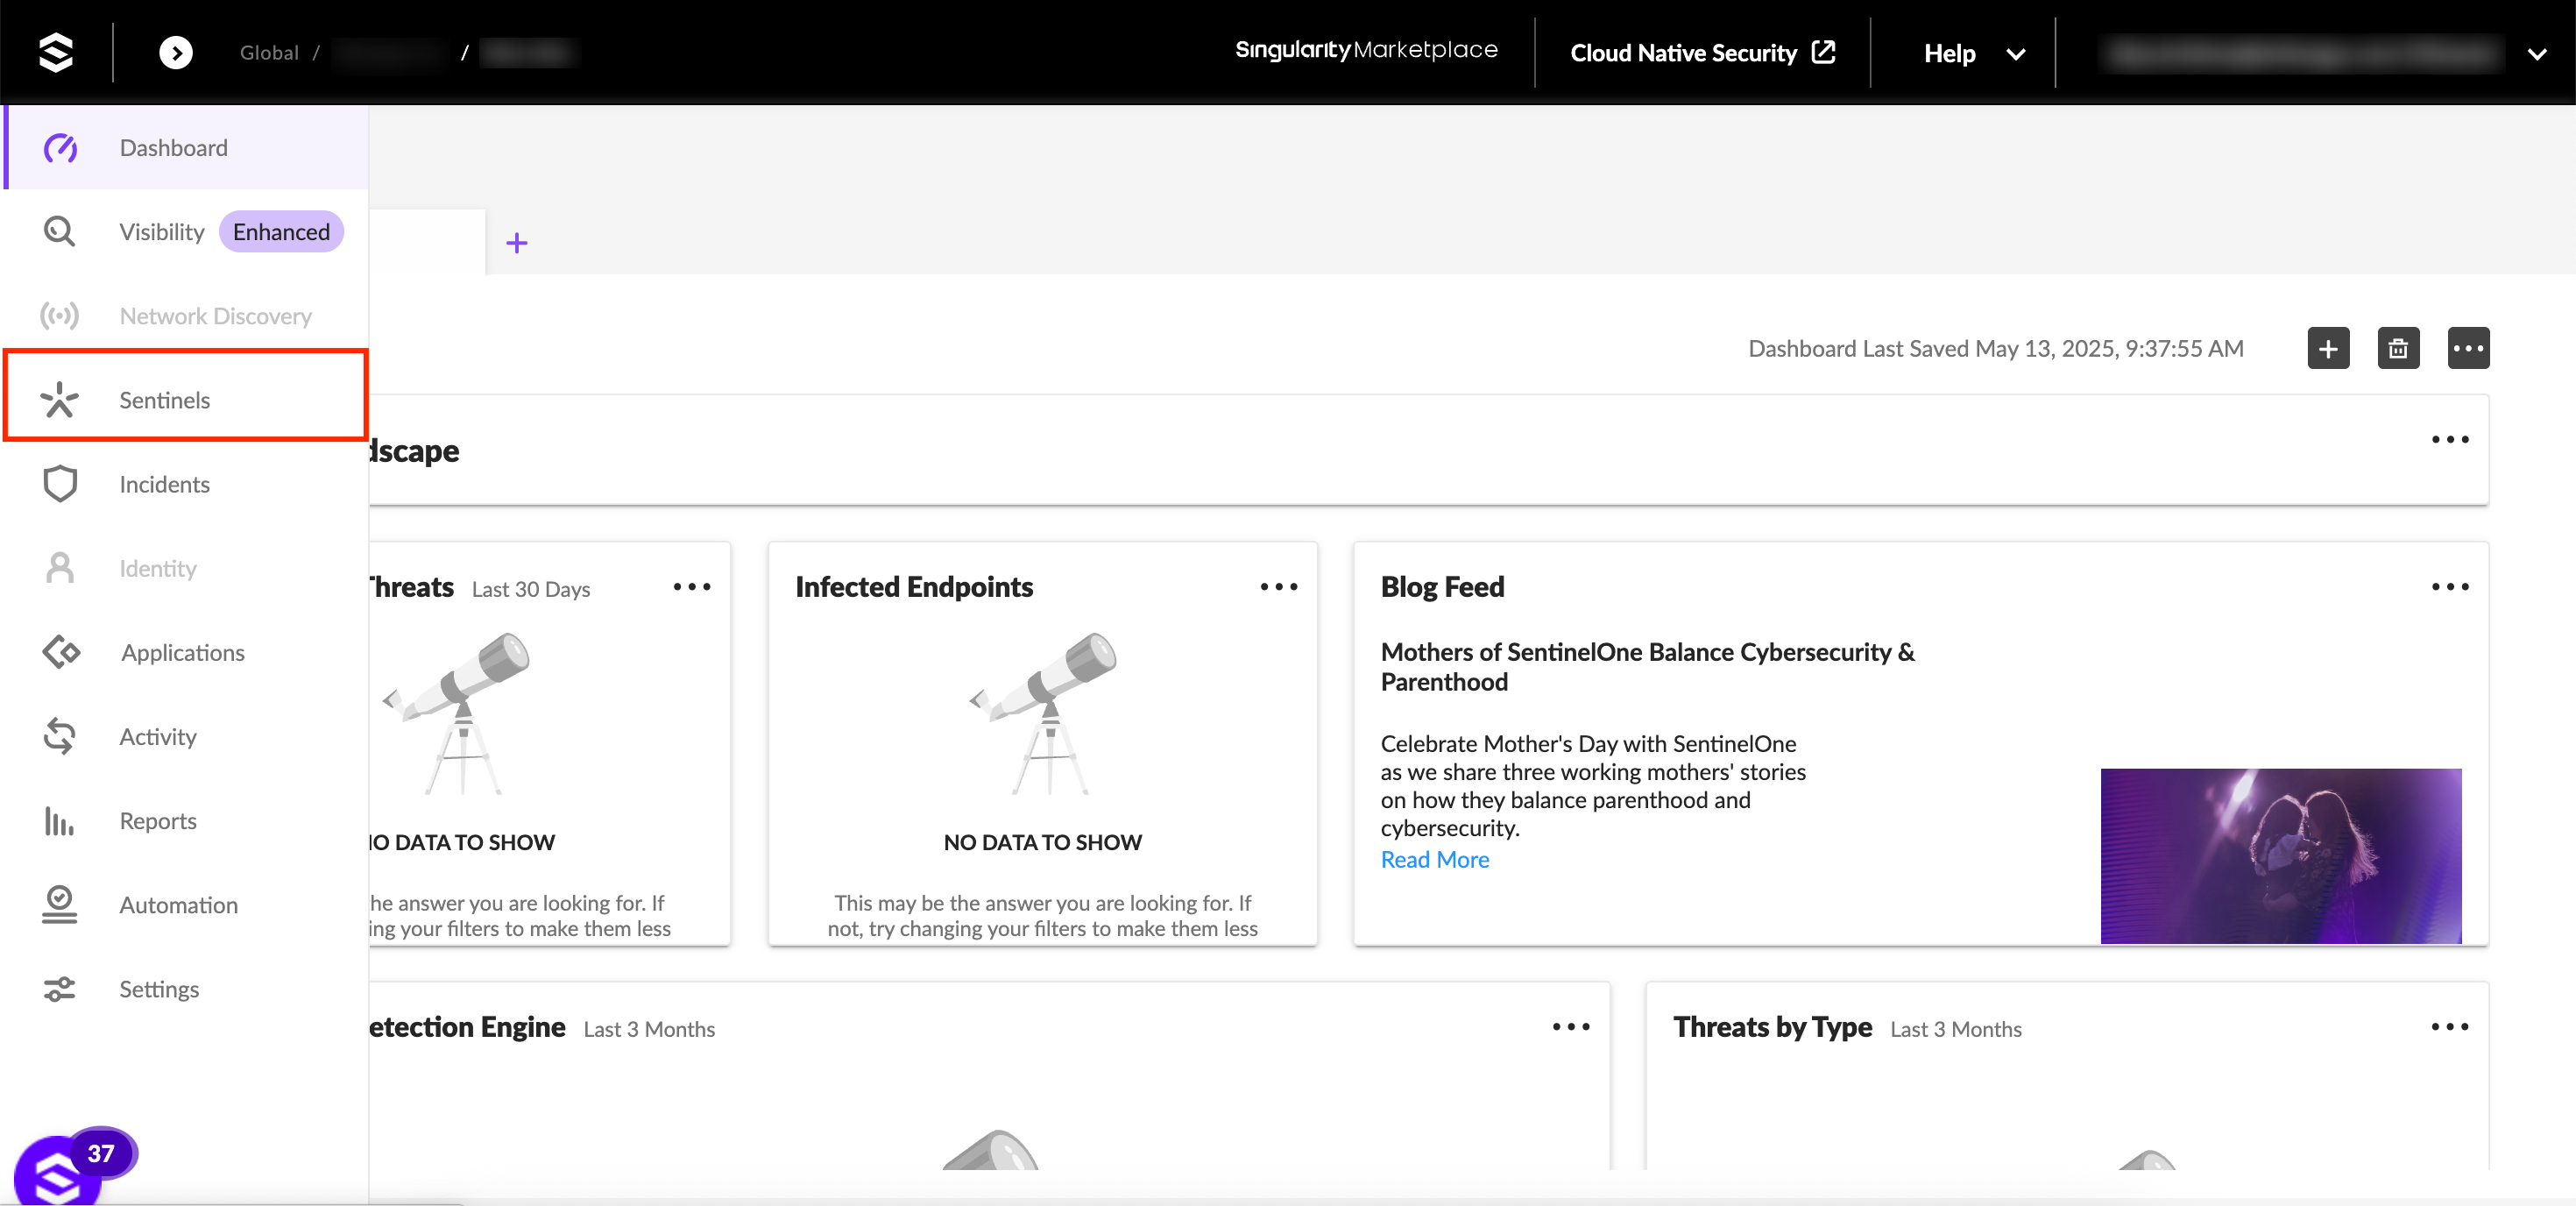
- Login to your SentinelOne portal.
- Click on Sentinels from the main navigation panel on the left.
- On the Sentinels page, navigate to the Packages subtab and set the platform filter type to Windows.
- Locate the package with the highest build number (latest version) and choose the MSI file type.
- Copy the Site Token to your clipboard.
- Generate a download URL for the downloaded MSI file by uploading it to a cloud storage platform/file sharing service.

Step 2: Deploy the SentinelOne using Hexnode UEM
There are two methods to deploy the SentinelOne on your Windows devices:
Method 1: Execute a script to deploy the application to the devices.
- Login to the Hexnode UEM portal.
- Go to the Manage tab and select the required devices.
- Click on the Actions drop-down and select the Execute Custom Script option.
- Click Choose File to upload the PowerShell script given below.
- Click Execute.
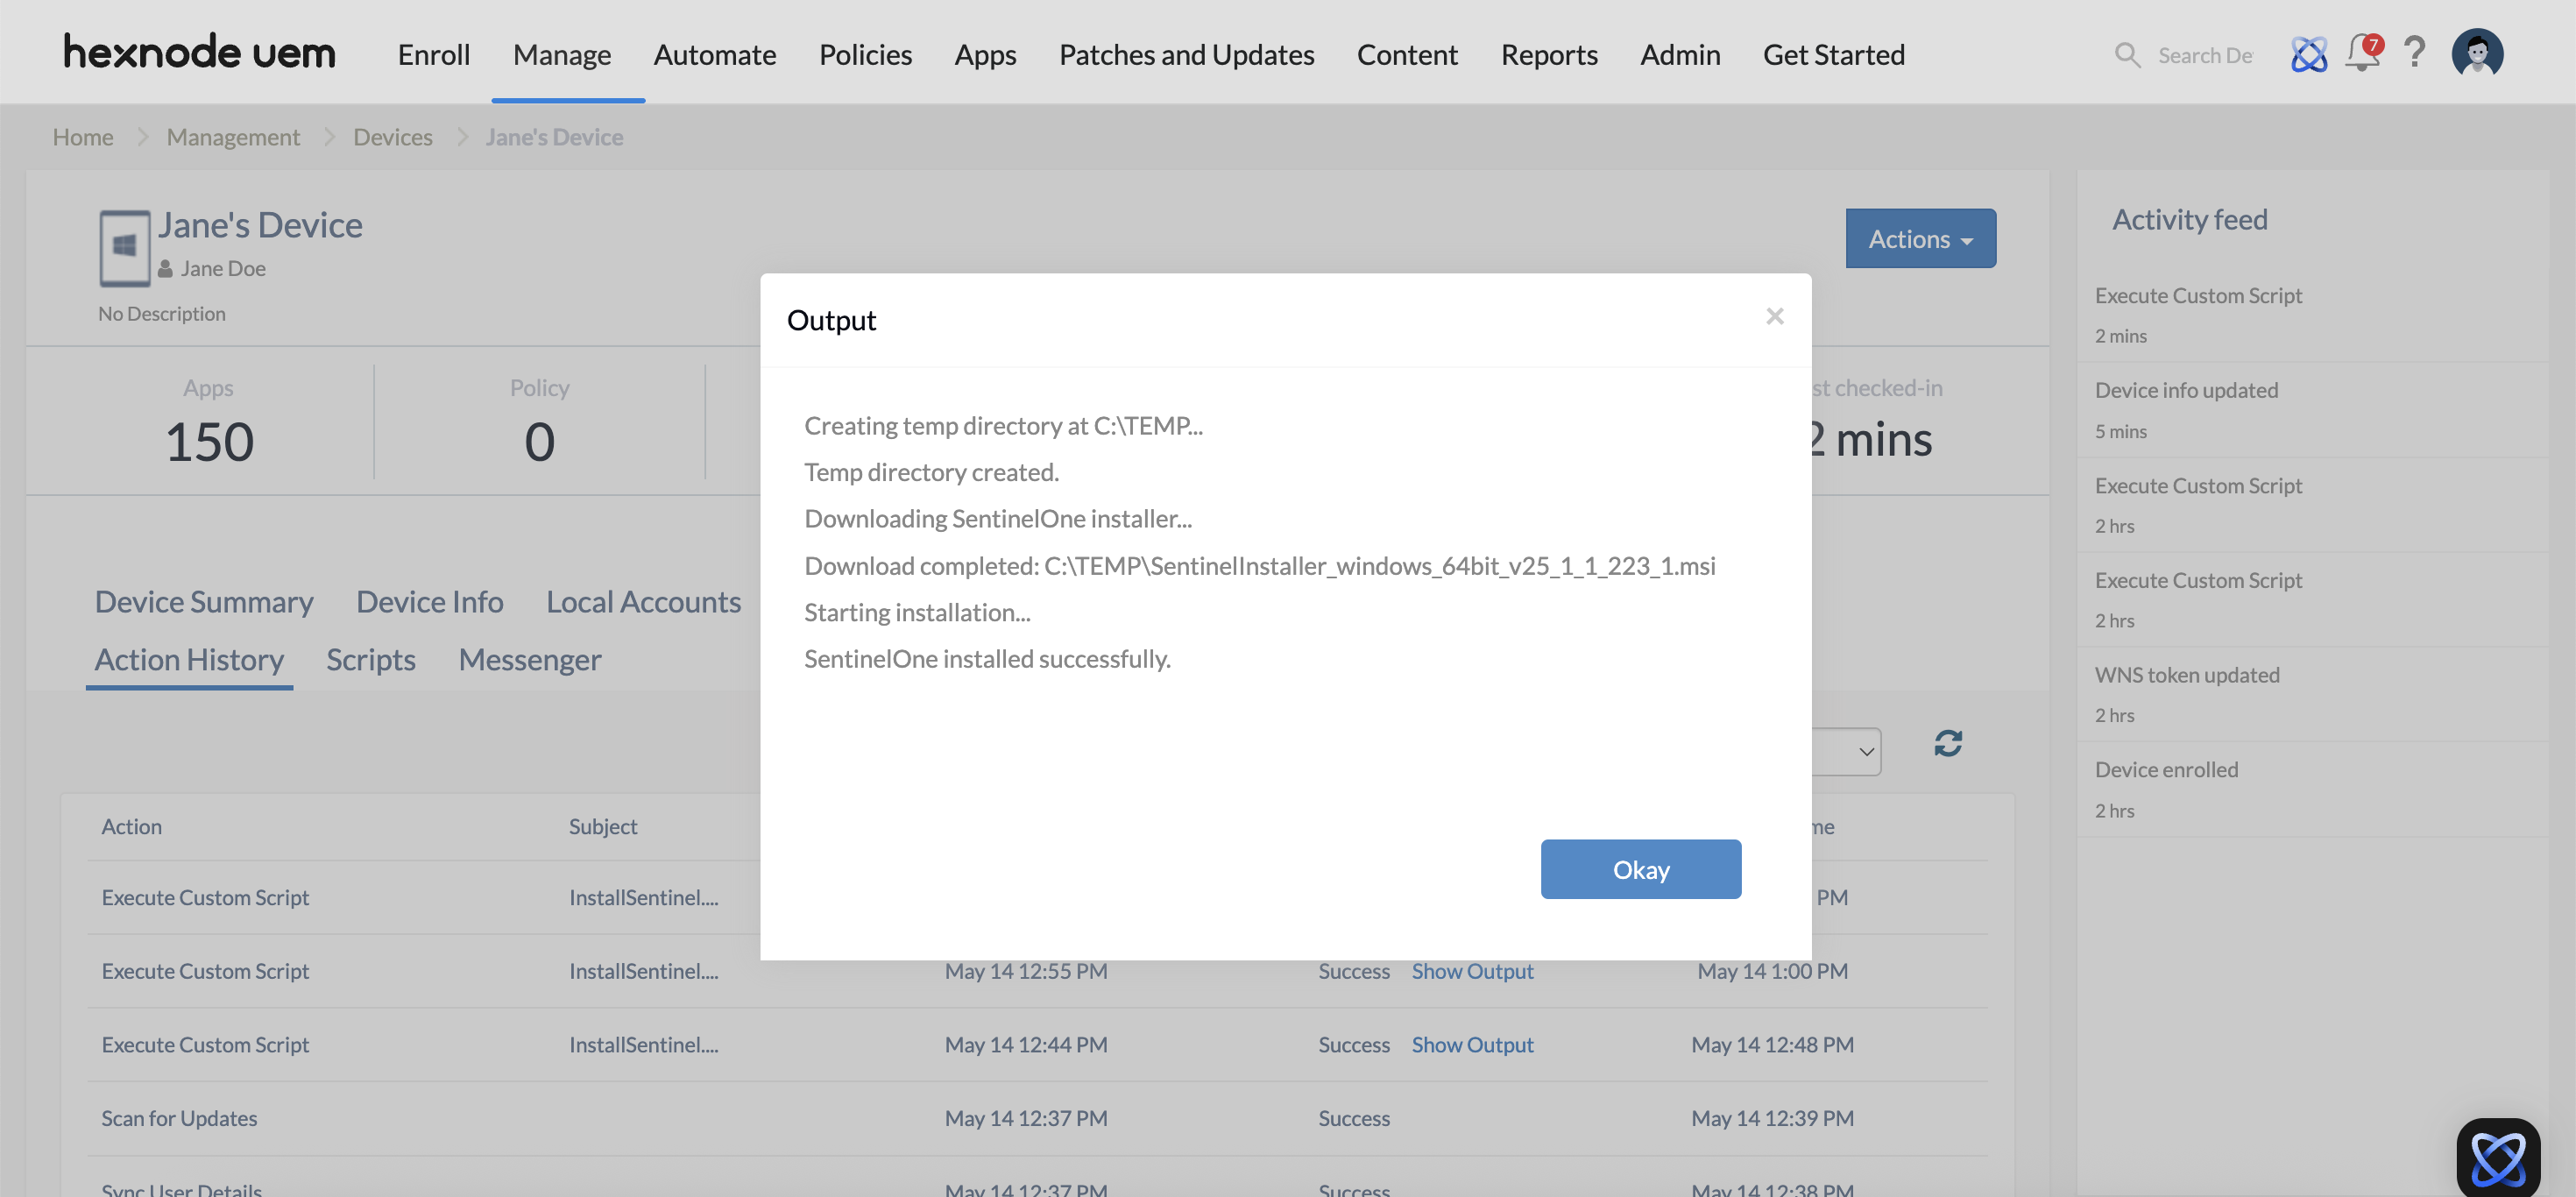
- Navigate to the Action History tab of the devices to check if the application has been installed successfully.
|
1 2 3 4 5 6 7 8 9 10 11 12 13 14 15 16 17 18 19 20 21 22 23 24 25 26 27 28 29 30 31 32 33 34 35 36 37 38 39 40 41 42 |
$Token = "Your-site-token" $DownloadUrl = “Your-Download-URL” $InstallerPath = "C:\TEMP" $InstallerFile = Join-Path -Path $InstallerPath -ChildPath (Split-Path -Path $DownloadUrl -Leaf) #Create the temporary directory if it doesn't exist Write-Host "Creating temp directory at $InstallerPath..." try { if (-Not (Test-Path $InstallerPath)) { New-Item -Path $InstallerPath -ItemType Directory -Force -ErrorAction Stop } Write-Host "Temp directory created." } catch { Write-Host "Error creating temp directory: $($_.Exception.Message)" exit 1 } #Download the SentinelOne installer Write-Host "Downloading SentinelOne installer..." Try { Invoke-WebRequest -Uri $DownloadUrl -OutFile $InstallerFile -ErrorAction Stop Write-Host "Download completed: $InstallerFile" } catch { Write-Host "Failed to download installer: $($_.Exception.Message)" exit 1 } #Execute silent installation Write-Host "Starting installation..." try { Start-Process msiexec.exe -ArgumentList "/i "$InstallerFile" /q /norestart SITE_TOKEN=$Token" -Wait -NoNewWindow Write-Host "SentinelOne installed successfully." } catch { Write-Host "Installation failed: $($_.Exception.Message)" exit 1 } |
Assign the generated download URL to the variable $Download_Url and the site token copied from the SentinelOne console to the variable $Token. This URL should be accessible by the target devices.
Method 2: Deploy the SentinelOne MSI file using the Install Application action.
- Login to the Hexnode UEM portal.
- Add the downloaded application to the Hexnode app inventory.
- Next, navigate to Manage > Devices and select the required devices.
- Click on Actions > Install Application.
- Select the uploaded SentinelOne application from the list and click Next.
- Click Configure to specify the app installation settings:
- Check the Enable logging checkbox and provide the Log path to save the generated logs in an existing folder on your device.
- Check the option Add command line parameters and specify the following parameters in the given field:
1/quiet /passive /norestart SITE_TOKEN= 'Enter site token'
For example, if site token = qwertyuiop, then the parameters will be,
/quiet /passive /norestart SITE_TOKEN=qwertyuiop
- Set the Success Criteria to Path exists.
- Click on Install.
- After deployment, go to the SentinelOne portal and navigate to Sentinels > Endpoints to verify that the application has been successfully installed on the selected devices.
What happens at the device end?
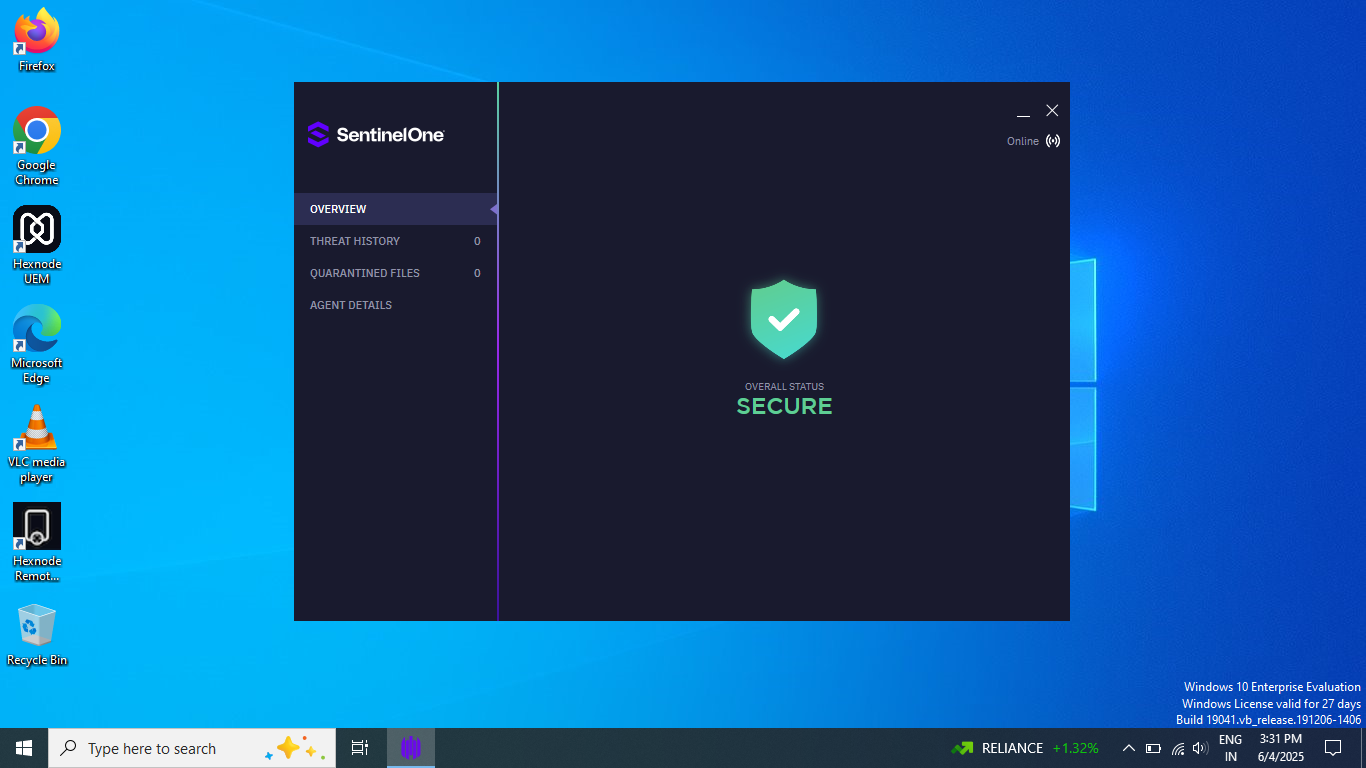
The SentinelOne agent app gets installed on the device. The agent runs silently in the background and begins monitoring the device for threats in real-time.
Once installed, the device appears in the SentinelOne portal under Sentinels > Endpoints. From this portal, the device’s security status and activities can be continuously monitored and managed.
Frequently Asked Questions (FAQs)
1. Is a system reboot mandatory following the installation of the SentinelOne agent?
While the SentinelOne agent initiates system monitoring immediately upon installation, a reboot is highly recommended. This ensures that all kernel-level drivers, particularly those governing network and file system monitoring, are fully engaged.
2. Is it possible to deploy the SentinelOne agent to an endpoint that currently has an existing endpoint protection solution?
Yes. SentinelOne is engineered to coexist with other endpoint protection solutions. However, to ensure optimal system performance and mitigate potential resource contention, it is considered a best practice to uninstall legacy security software once the SentinelOne agent has been successfully deployed and verified.
3. SentinelOne utilizes Site Tokens to group and manage devices within its console; can a single Site Token be utilized for every department within an organization?
While a single Site Token can be utilized globally, it is considered a best practice to use unique Site Tokens for different departments or geographical locations. This configuration allows the SentinelOne management console to automatically categorize endpoints, facilitating granular security policy application and reporting.
4. What are the consequences of providing an incorrect Site Token within the Hexnode PowerShell deployment script?
If an invalid Site Token is provided within this script, the SentinelOne agent will complete the local installation process on the Windows endpoint successfully. However, the SentinelOne agent will be unable to authenticate or “check in” with the organizational SentinelOne management portal, resulting in the endpoint remaining in an unmanaged state.
Troubleshooting
1. Error 1603 during MSI installation.
Probable Cause:
A previous or partially installed SentinelOne is already on the device.
Solution:
Uninstall the old version before re-deploying via Hexnode.
2. Agent installs but remains in “Unauthorized” or “Pending” state.
Probable Cause:
If the device clock is off by more than a few minutes, the SSL handshake with the SentinelOne cloud fails.
Solution:
Ensure that “Set time automatically” is enabled on the device. SentinelOne requires a valid timestamp for security tokens.
3. MSI Error 1603: Fatal error during installation.
Probable Cause:
A previous Windows Update or software removal requires a reboot to clear files in the PendingFileRenameOperations registry.
Solution:
Restart the device, then try the installation again once the device is back online.
