Category filter
How to configure Android Enterprise using Google Workspace?
Android Enterprise is a program that creates a work container on your device, thus separating the work app/data from your personal app/data. Hexnode’s integration with Google Workspace further simplifies the Android Enterprise enrollment process.
You can integrate your organization’s Google Workspace account, thus facilitating the users/user groups in your Google Workspace domain to sync with Hexnode UEM. To enable Android Enterprise enrollment using Google Workspace, your organization should create a service account with Google, and provide specific API access to apply the configurations to the managed devices.
Core Enrollment Workflow:
- Enroll your organization in Android Enterprise using the Google domain.
- Enroll devices in either Profile Owner or Device Owner mode.
- Apply configurations to the managed devices.
Requirement: Your Organization should have a Google Workspace Account.
1. Enroll your organization in Android Enterprise using Google domain
To enroll your organization in Android Enterprise using Google Workspace domain, your organization requires a service account.
Step A: Create a Google Service Account
Your organization requires a service account with Google to configure Android Enterprise using Google Workspace. Hexnode UEM uses this service account to push configurations to the devices.
- Login: Use Google Workspace admin credentials to log in to the Google Cloud Console.
- Project Setup: Click Create Project. Provide a suitable project name; a corresponding project ID will be generated.
- Credentials: From the left Navigation Menu, select APIs and Services > Credentials.
- Service Account Creation:
- Click Create Credentials and select Service account.
- Service account name: Provide a suitable name.
- Service account ID: Automatically generated (edit if needed).
- Service account description: Provide a suitable description.
- Click Create and Continue.
- Role Assignment (Optional): Grant the service account access to the project. Choose Service Accounts > Service Account Admin and click Continue, then Done.
- Client ID: Click on the newly created service account’s email. Under Advanced settings, copy the generated Client ID.
- JSON Key: Navigate to Keys at the top. Click Add Key > Create new key, choose JSON, and click Create.
- A JSON key will download; you will upload this to the Hexnode MDM server later.
- Enable SDK: Go to Enabled APIs & Services via the Navigation menu. Click +ENABLE APIS AND SERVICES, search for Admin SDK API, and click Enable.
Step B: Manage API Client Access for MDM
This provides Hexnode with specific API access. Ensure you Enable API access in the Admin console.
- Log in to Google Admin Console and click on Security.
- Navigate to Access and data control > API Controls.
- Under Domain wide delegation, click MANAGE DOMAIN WIDE DELEGATION and select +Add new.
- Authorization Details:
- Client ID: Paste the ID from your JSON file or Google Cloud console.
- OAuth Scopes: Paste these links (separated by commas):
- https://www.googleapis.com/auth/admin.directory.user (Individual user sync)
- https://www.googleapis.com/auth/admin.directory.group (User group sync)
- https://www.googleapis.com/auth/admin.directory.domain (Domain fetching)
- Click AUTHORIZE.
IMPORTANT
- To sync users, groups, and domains, scopes must be comma-separated.
- The directory.domain scope is mandatory. If omitted, domain sync will fail with the error: “Google Workspace domain names could not be retrieved.”
Step C: Configure Additional Services & Tokens
- Enable Services: In Google Admin Console, go to Apps > Additional Google services.
- Click Change (top-right) and set Service status to “ON for everyone”.
- Warning: If this is not ON, app installations may fail on enrolled devices.
- Generate EMM Token: Go to Devices > Mobile & endpoints > Settings > Third-party integrations > Android EMM.
- Click Manage EMM providers, then click GENERATE TOKEN and copy it.
2. Integration of Google Workspace with Hexnode UEM
- Login to Hexnode UEM portal.
- Navigate to Enroll > Platform – Specific > Android > Android Enterprise.
- Set Enrollment type to Google Domain and click Configure Google Workspace.
- Enter Details:
- Admin Email: Your Google Workspace admin email address.
- JSON Key: Upload the .json file downloaded previously.
- Configure Domains:
- Sync across all domains: Automatically syncs all users/groups across all domains.
- Choose Domain(s): Syncs only selected domains.
- Click Save, paste the Token from the Google Admin Console, and click Enroll.
3. Link Organizational Unit to EMM provider
This step ensures your Google directory structure is correctly mapped for app distribution.
- In Google Admin Console, go to Devices > Mobile & Endpoints > Settings > Third-party integrations.
- Search for your Organizational Unit, select it, and click Android EMM.
- Choose the Organization ID associated with your Hexnode portal from the Select EMM Provider dropdown and click Save.
Notes:
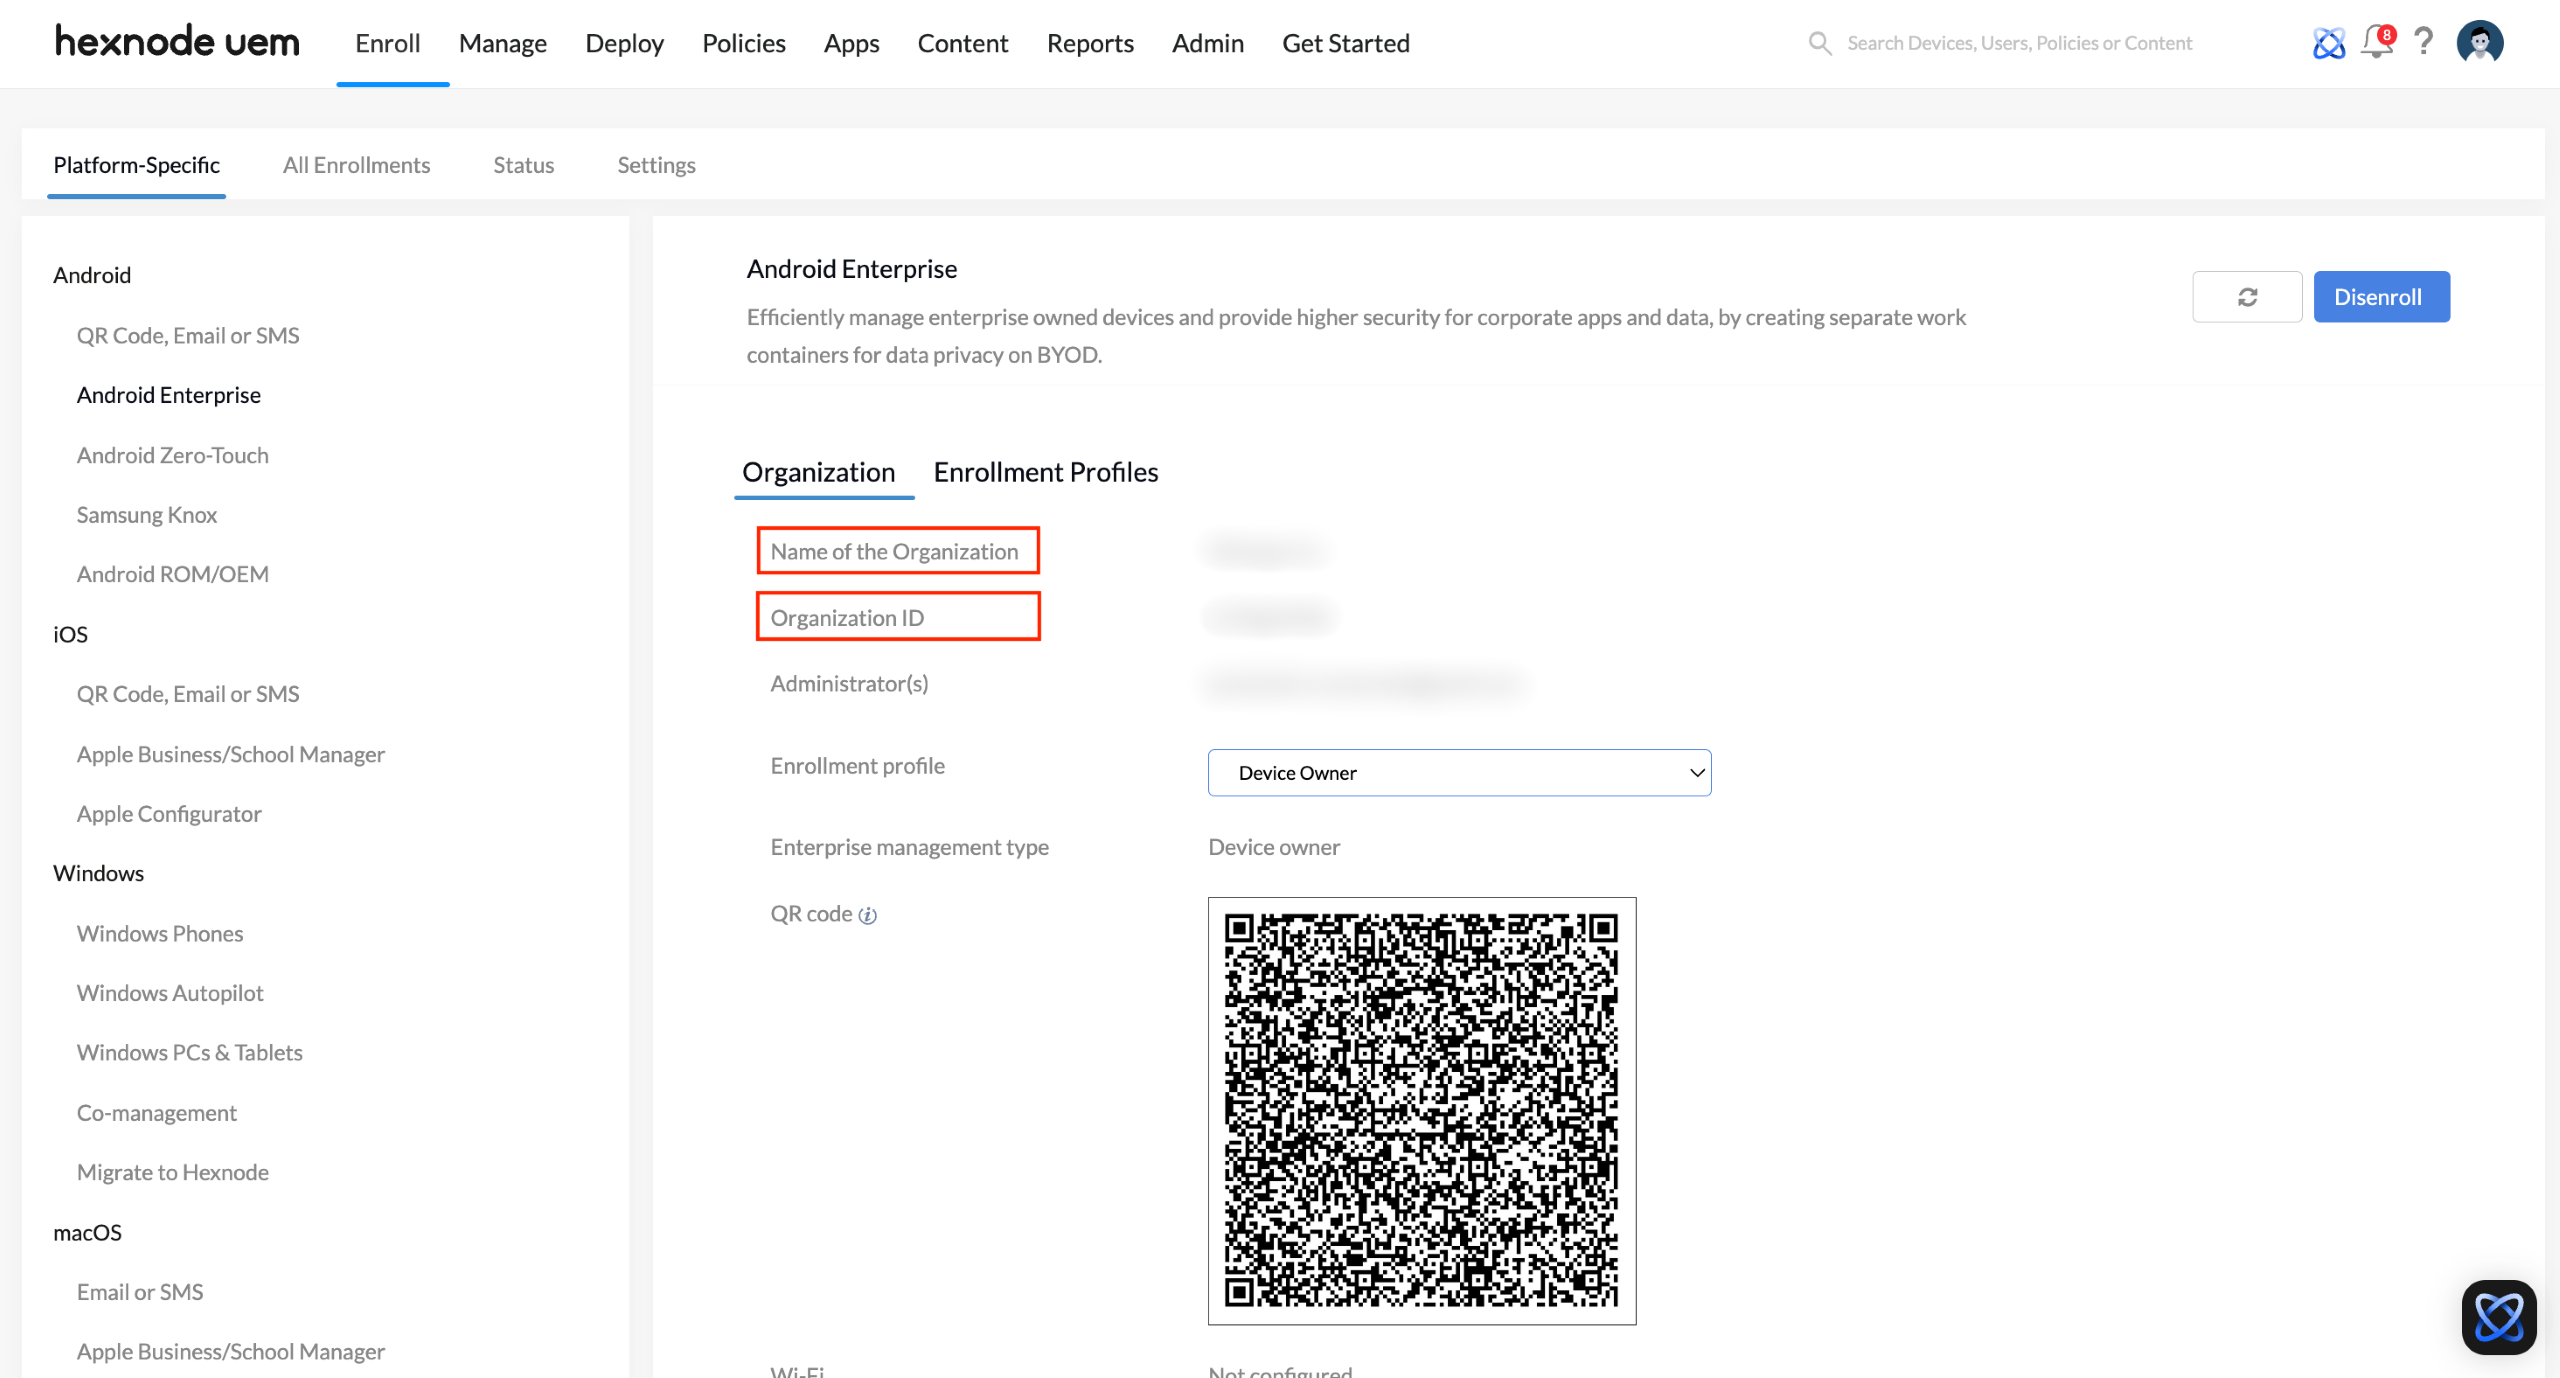
- Retrieve Organization ID: In Hexnode, go to Enroll > Platform-Specific > Android > Android Enterprise > Organization.
- App Install Issues: If the OU is not linked, store app installations may remain stuck in the ‘Initiated’ state.
4. Maintenance and Sync Configuration
- Scheduled Scans: In Hexnode, navigate to Admin > Google Workspace > Actions > Modify > Scheduled Scan. Choose Daily or Weekly to initiate automatic synchronization at specific times.
- Refresh Domains: Click Refresh Domains in the portal if newly added Google domains are not visible.
- Enrollment: Once the organization is configured, you can begin enrolling devices using Google Workspace credentials.
5. Unbinding, Re-enrolling, and Disenrolling
Removing EMM Provider (Unbinding)
To disenroll the Android Enterprise program from the Google side:
- In Google Admin Console, go to Devices > Mobile & endpoints > Settings > Third-party Integrations > Android EMM > Manage EMM providers.
- Select your EMM provider and click Remove.
- This action also removes the Android Enterprise account integrated with Hexnode.

Re-enroll Android Enterprise account
To re-configure after removal:
- In Google Admin Console, follow the path above to Manage EMM providers and click Add EMM Provider (available only if no others exist).
- Click GENERATE TOKEN and copy it.
- In Hexnode UEM, navigate to Enroll > Platform-Specific > Android > Android Enterprise and click Re-Enroll.
- Paste the Token and click Enroll.

Disenroll from Android Enterprise program
To remove the program and all associated data from the Hexnode side:
- Navigate to Enroll > Platform-Specific > Android > Android Enterprise.
- Click Disenroll.
- Warning: This removes all devices enrolled in Android Enterprise and all related data from Hexnode UEM.

Frequently Asked Questions (FAQs)
Q1. Why is the “Admin SDK API” necessary during setup?
The Admin SDK API allows Hexnode to communicate with your Google Workspace directory. Without enabling this API, Hexnode cannot retrieve user lists, groups, or organizational units for synchronization.
Q2. What happens if I don’t set the Service Status to “ON for everyone”?
If the service status for “Additional Google services” is not enabled, the Managed Google Play Store will be inaccessible to devices. This typically causes app deployments to fail or stay indefinitely in a “Pending” or “Initiated” state.
Q3. Can I sync only specific departments within my Google Workspace?
Yes. During the integration step in the Hexnode portal, you can choose the “Choose Domain(s)” option to limit synchronization to specific domains, or use the “Link Organizational Unit” step in the Google Admin Console to apply EMM settings only to specific OUs.
Troubleshooting
1. “Account action required” error on Google Workspace enrolled devices.
Description: On Android devices enrolled via Google Workspace, attempting to launch any Google apps results in a redirection to the Hexnode UEM homepage. The device displays an “Account action required” notification.
Possible Cause: This issue typically occurs if the Google Workspace account used during the initial enrollment process is removed or deleted from the device.
Solution:
- Restore Account: To maintain access to Google services, ensure the original Google Workspace account remains active on the device.
- Change Accounts: If you must use a different account, you cannot simply swap them. You must factory reset the device and re-enroll it using the desired Google Workspace account. This ensures all Google services remain accessible without permission errors.
2. Accessing purchased apps and content: Issues after switching from Google Workspace to Gmail account.
Description: When a user attempts to switch the primary Google account on an Android device from a Google Workspace account to a standard Gmail account, access to previously purchased apps and content is blocked.
Solution:
- Account Linking: Apps and content purchased via the Google Play Store are permanently tied to the account used at the time of purchase.
- Retaining Access: To keep your content, you must maintain the Google Workspace account as the primary account. While you can add a Gmail account as a secondary, switching the primary account will result in a loss of access to those specific licenses. There is currently no direct workaround to transfer content between different Google accounts.
3. Unable to remove the work profile on Google Workspace enrolled devices (WP-C).
Description: On devices enrolled using the “Android Enterprise Work Profile on Company-owned devices (WP-C)” method, users find that the option to manually remove the work profile in the device settings is greyed out.
Solution:
- Security Logic: Enrolling via WP-C creates a persistent, managed work profile to separate corporate data. Because this is a company-owned deployment, the system prevents users from independently removing the profile to maintain security and compliance.
- Removal Process: The work profile can only be removed by factory resetting the device.
