

Category filter
Managing Users in Hexnode
Hexnode UEM lets you seamlessly create and manage users in your organization. You can enroll users individually or in bulk, depending on your requirement. Once the users are created, you can directly manage all the devices under a specific user by associating policies and actions to the user. Hexnode’s integration with Microsoft Active Directory (AD), Microsoft Entra ID, Google Workspace and Okta lets you easily import your directories to the Hexnode portal.
Adding a new user
To create a local user account,
- Go to Manage tab > Users.
- Click New user.
- Enter the Display Name [Mandatory], Email [Mandatory], Alternate Email, Mobile and Password for the user in the provided fields. The users can enroll their devices with the user password set here.
- You can check the Send enrollment request option if you want to send an enrollment request to the new user.
- Click Save.
You can create users in bulk by uploading a CSV file that contains the required details of all the users to be added to the portal. Once the CSV file is uploaded, the users added in the CSV file will get created automatically.
To create users in bulk,
- Go to Manage > Users.
- Click Bulk user.
- If the Enrollment Mode is set to Open Enrollment in the Enrollment Settings page, select the user domains to which the enrollment requests are to be sent and click on Continue to proceed to the Enrollment Request page.
If the Enrollment Mode is set to Authenticated Enrollment, you will get automatically navigated to the Enrollment Request page.
In the Enrollment Request page, choose the required domain and change the “Send enrollment request to” option to Bulk User.
- Upload the CSV file with all the users and their details. You can get a sample CSV file by clicking on Download sample CSV file. In the CSV file, enter the Name, Email, Mobile Number, Ownership, Device Name and Password. You can assign any password of your choice for each user. If Self Enrollment is enabled, users can enroll their devices to Hexnode by authenticating with this password.
- Click on Next and verify the details of the CSV uploaded. Choose the mode through which the enrollment request is to be sent and click on Send.
Editing a user
To edit the details of a local user,
- Navigate to Manage tab > Users.
- Select a local user.
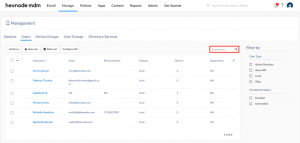
- Click on the Actions dropdown and select Edit User.
- Edit the required fields in the Edit User window and click on Save.
Deleting a user
To delete a local user from the Hexnode portal,
- Navigate to Manage tab > Users.
- Select the user you want to delete.
- Click on the Actions dropdown and select Delete User.
View user details
To view the details of your organizational users,
- Log into your Hexnode MDM portal.
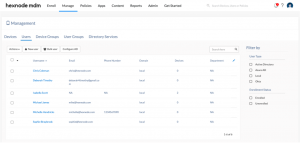
- Go to Manage tab > Users.
- You can use the Filter by option to filter the users based on the User Type, Enrollment Status, and Domains.
Sort
You can sort users either in ascending or descending order by clicking on a specific column name. By default, the User name column sorts in ascending order.
Search
You can search for a specific user by typing in the user name or email address in the search field held at the top right side of the users list view.
Filter
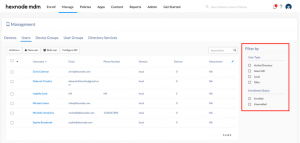
You can use the option Filter by to filter users based on the User Type, Enrollment Status, and Domains.


