Category filter
Pre-Approved Enrollment of devices
The Pre-Approved enrollment feature lets you import devices into Hexnode UEM, even before the enrollment is completed from the user end. You don’t have to wait around for users to enroll their devices to get started with management. You can proactively group devices and assign policies with all the configurations, restrictions and apps. Upon enrollment, the policies automatically take effect on the devices.
Pre-Approved enrollment involves bulk importing a list of devices. For added security, you can make pre-approved enrollment mandatory, allowing only the predefined list of devices to be enrolled.
- Navigate to Enroll > All Enrollments > Enterprise > Pre-approve.
- Select the Domain.
- Click on Choose file to upload the CSV file containing the mandatory information such as name, email, ownership, serial number and platform. All other fields, like mobile and device name, are optional. You can alternatively download a sample CSV file by clicking on Download sample CSV file and then edit the file with your entries accordingly.
- Click Next.
- If there is a mistake in the uploaded CSV file, an error message will be shown. Correct the CSV file and re-upload it.
- Hexnode UEM will automatically map keys for you. If there is any mistake in mapping, you have to map the keys manually. Hexnode will automatically identify these keys: Display Name, Email, Mobile, Ownership, Device Name, Serial Number and Platform.
- The data uploaded in the CSV file will be displayed. If you want to prevent sending enrollment requests to specific users from the displayed list, you may uncheck those users from the list. Click Next to select how enrollment requests need to be sent. If any selected users exist already on the portal, you can choose to either replace the existing users or skip adding them.
- Choose the option to Send enrollment request to the users either via Email/SMS and click on Send.
By default, the Manage tab of the Hexnode UEM console displays only enrolled devices. To view devices marked as pre-approved, navigate to Manage > Devices > Filter by > Enrollment Status and select the Pre-approved filter.
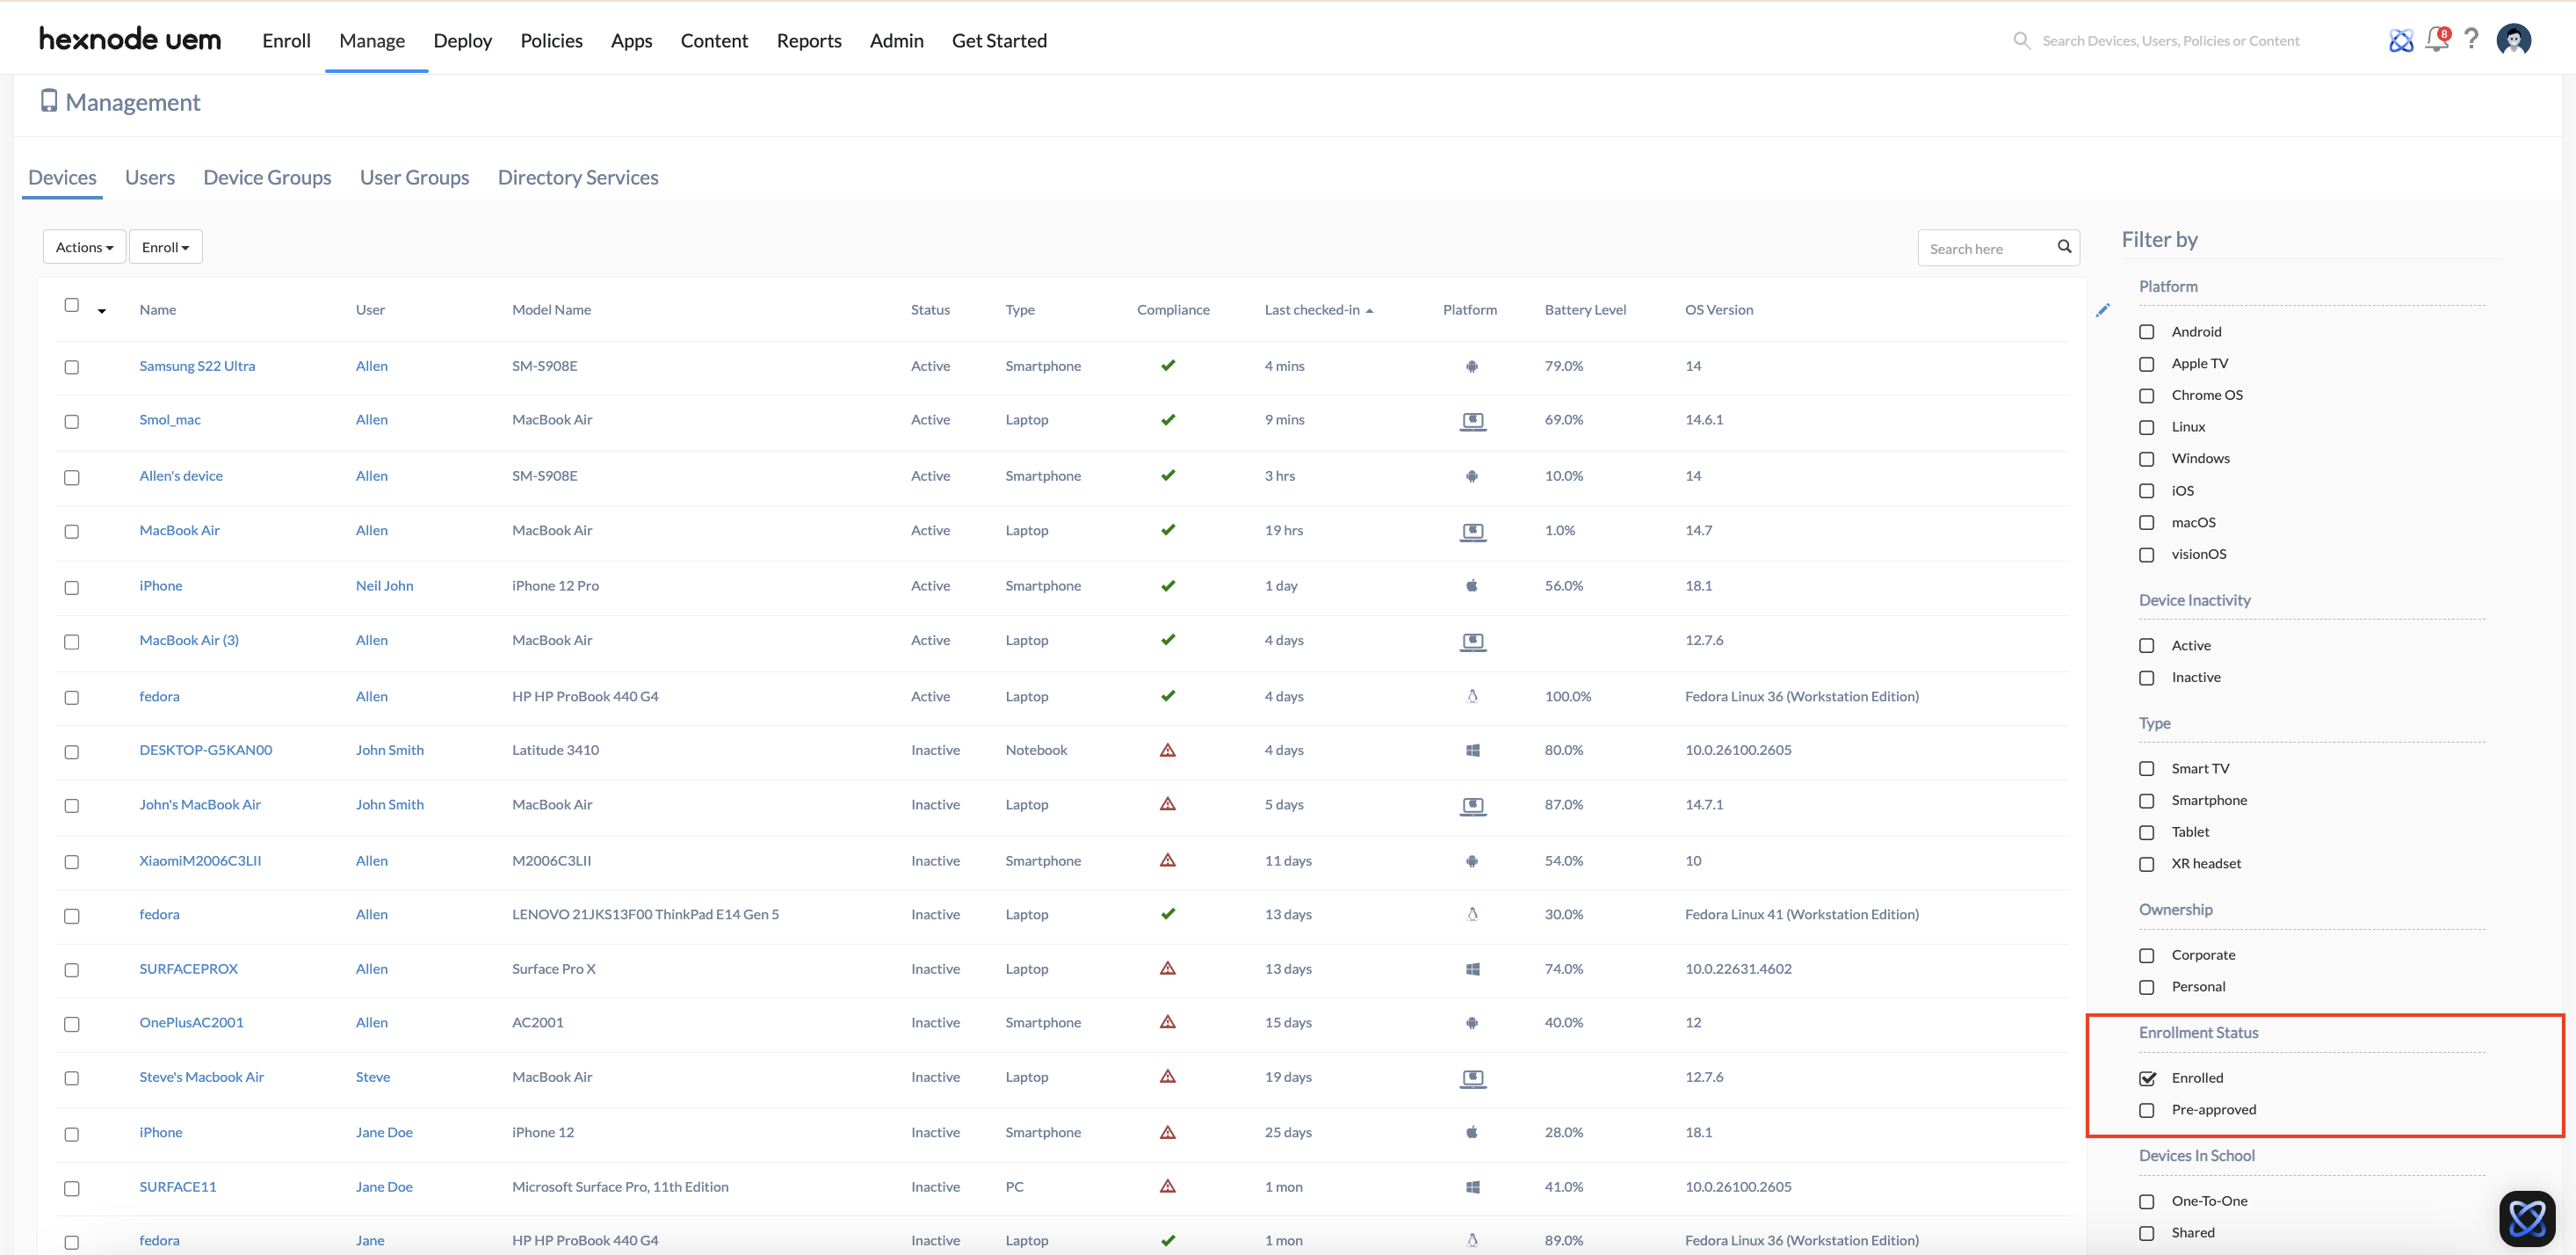
If you click on a device’s name, you will be taken to the device information page with a top banner “Pre-approved Device” if the device is pre-approved and the user has not yet enrolled the device.
Restricting enrollment to pre-approved devices
You can limit the enrollment to only a list of approved devices by enabling this feature. To allow only pre-approved devices to enroll in Hexnode UEM,
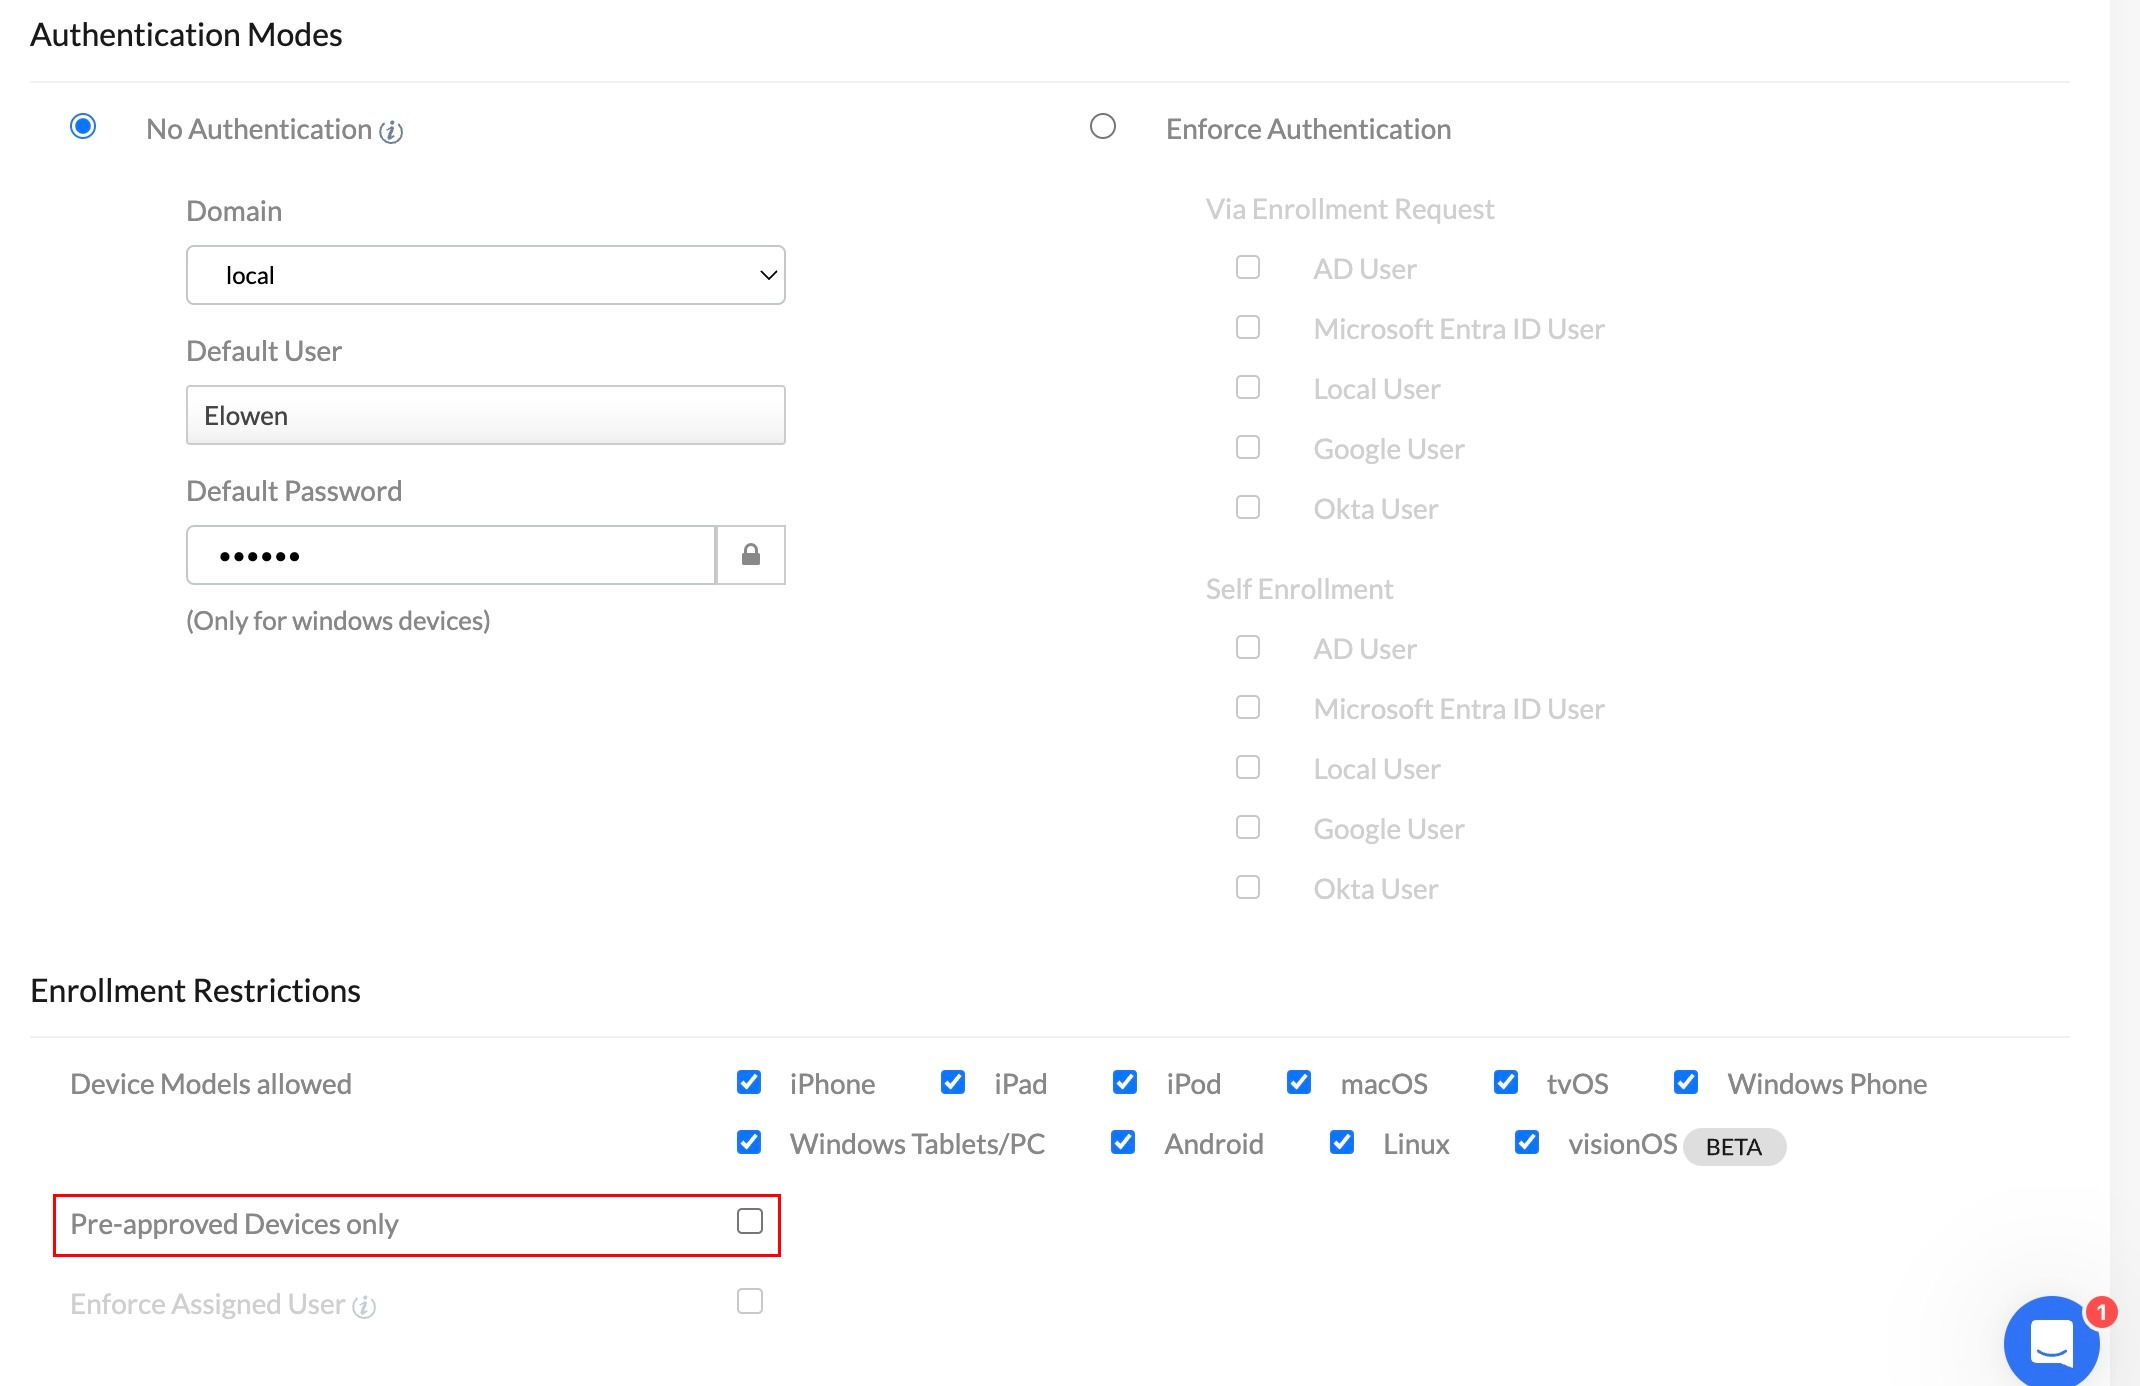
- Go to Enroll > Settings.
- Check the Pre-approved Devices Only option under Enrollment Restrictions.
- Save the settings.
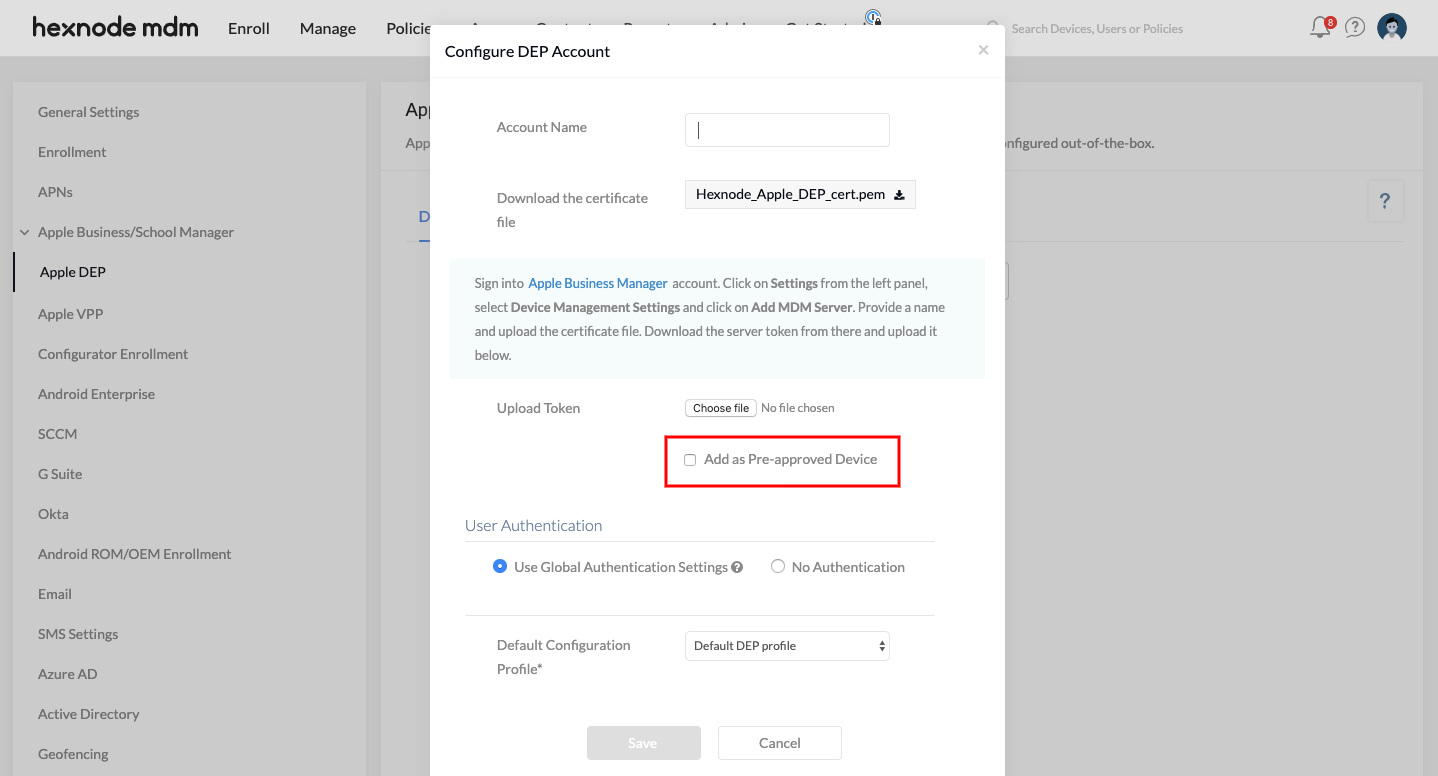
Pre-approved DEP enrollment
DEP devices can also be added as pre-approved in the Hexnode MDM portal.
To pre-approve DEP devices, check the option Add as Pre-approved Device while adding a DEP account from Admin > Apple Business / School Manager > Apple DEP > Add DEP Account.