Category filter
How to Scan Device Location?
Hexnode allows administrators to find the location of any enrolled iOS, Android, macOS, Windows, Android TV OS or visionOS device from the UEM console. An admin can even view the location history of each device from the console.
The Scan Device Location action is used to find the instantaneous location of the device. You can also schedule location tracking via policies to find device location at specified time intervals.

To enable this option, associate the Location Tracking
policy with the devices. For co-managed Windows devices
, use the Enable Location Tracking remote action instead.
Enable Scan Device Location
- Log in to your Hexnode UEM portal.
- Navigate to Policies.
- Create a new policy by clicking on New Policy.
- Provide a suitable name and description for the policy.
- Click on Location Tracking under General Settings and click Configure.
- You will have the following options to be configured.
- Enable Location Tracking: Check this option to enable location tracking with the devices.
- Location Update Interval: Choose the time interval to update the location from the drop-down list. It can take values from 15 mins to 24 hrs.
- Next, associate the policy with the target devices by navigating to Policy Targets.
- Select the Devices/Device Groups/Users/User Groups/Domains with which you want to associate the policy and click OK.
- Click Save.
Execute the Scan Device Location action
Successfully associating the policy with the target devices unlocks the Scan Device Location action on those devices.
To instantaneously scan the device location,
- Go to Manage > Devices.
- Either select the device or click on the device whose location you want to scan.
- Click on Actions > Scan Device Location.
![]()
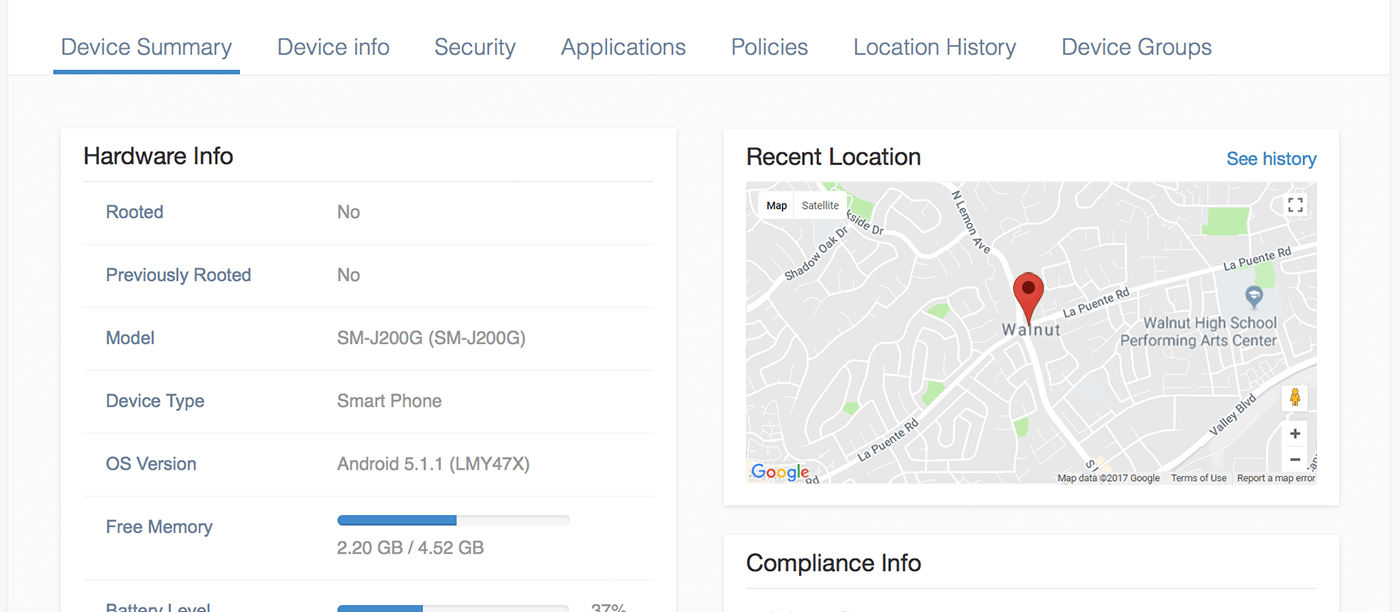
- Click on the Device Summary page to view the device location.
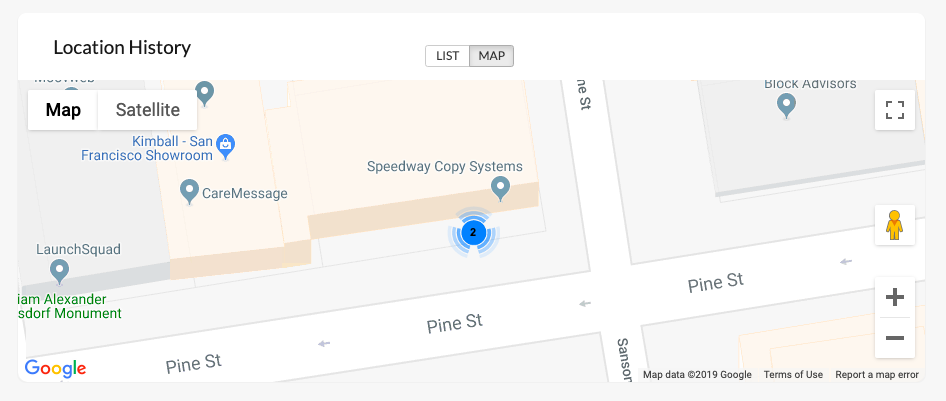
- Click on See history to view the location history.
You can also see the complete list of traversed locations from the Location History sub-tab on the device summary page.
For further information, check out Configuring Location Tracking.
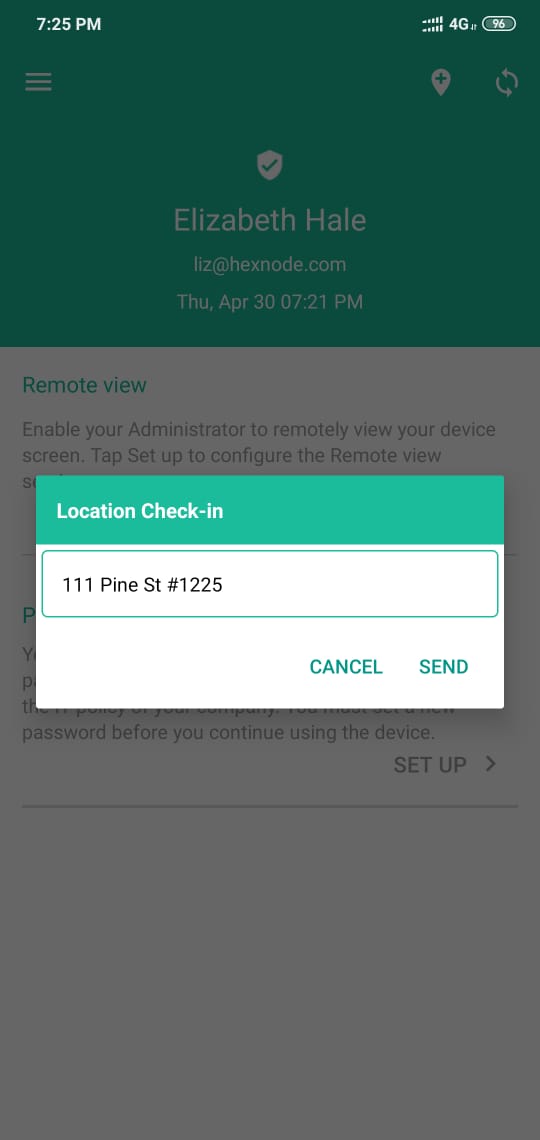
Location Check-in notes
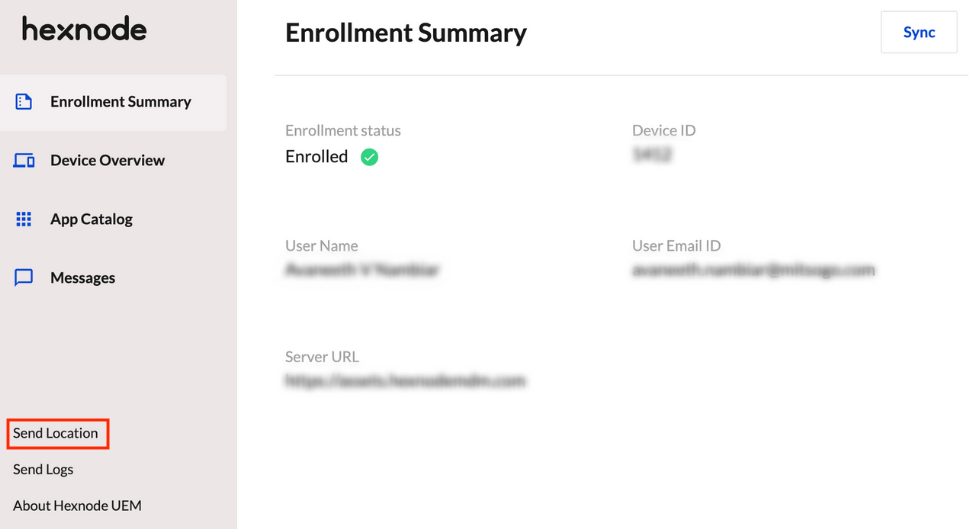
Apart from fetching the device location from the UEM console, Hexnode allows users to report their location with check-in notes manually. The location check-in icon is available on the Hexnode UEM app installed on your iOS, Android and Android TV OS devices.
The checked-in location, along with the check-in notes, can be viewed from the Location History tab under Reports > Location Reports. You can export the report as a CSV or PDF file, or you can schedule the report’s delivery to certain email addresses at specified times.