

Category filter
How to configure Location Tracking?
Location Tracking feature in Hexnode enables organizations to find lost or misplaced devices and fetch real-time device location information as well as the complete history of locations traversed by the device previously. Information about the time spent by an employee in a specific location helps administrators evaluate employee performance and make better business decisions.
The ability of Hexnode UEM to track device location remotely finds the best use in various industrial sectors such as distribution, warehousing, and all others where there is a necessity to track the location of company-owned devices used by field employees. Hexnode allows you to track the locations of Android, iOS, macOS, Windows and Android TV OS devices.
Periodic Location Tracking
Hexnode UEM enables administrators to fetch the location of devices at periodic time intervals. The time interval ranges from 15 minutes to 24 hours.
To enable Location Tracking on devices,
- Login to your Hexnode UEM portal > Navigate to the Policies tab > Click on New Policy to create a new one or click on any policy to edit an existing one > Enter the Policy Name and Description in the provided fields.
- Navigate to General Settings > Location Tracking > Configure.
- Select the option Enable Location Tracking to enable location tracking on your device.
- Select an appropriate Location Update Interval that indicates how frequently the location data needs to be updated. The time interval ranges from 15 minutes to 24 hours.
- Navigate to Policy Targets > + Add Devices.
- Select the required device(s) to which the policy needs to be associated > Click OK.
- Click on Save.
Once you’ve applied the policy successfully, Hexnode fetches the location of its associated device(s) at the specified time intervals. For co-managed Windows devices, use the Enable Location Tracking remote action to enable location tracking.
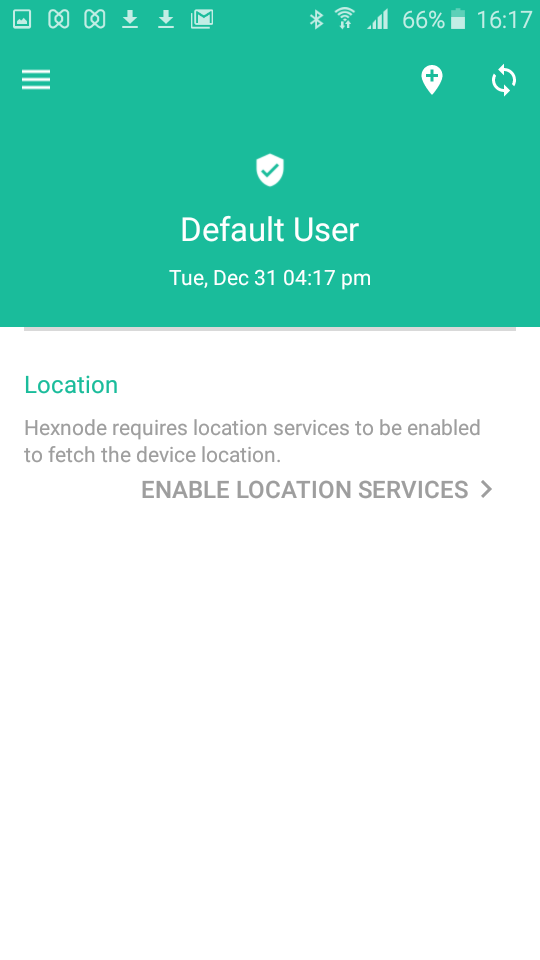
Enabling location services on devices
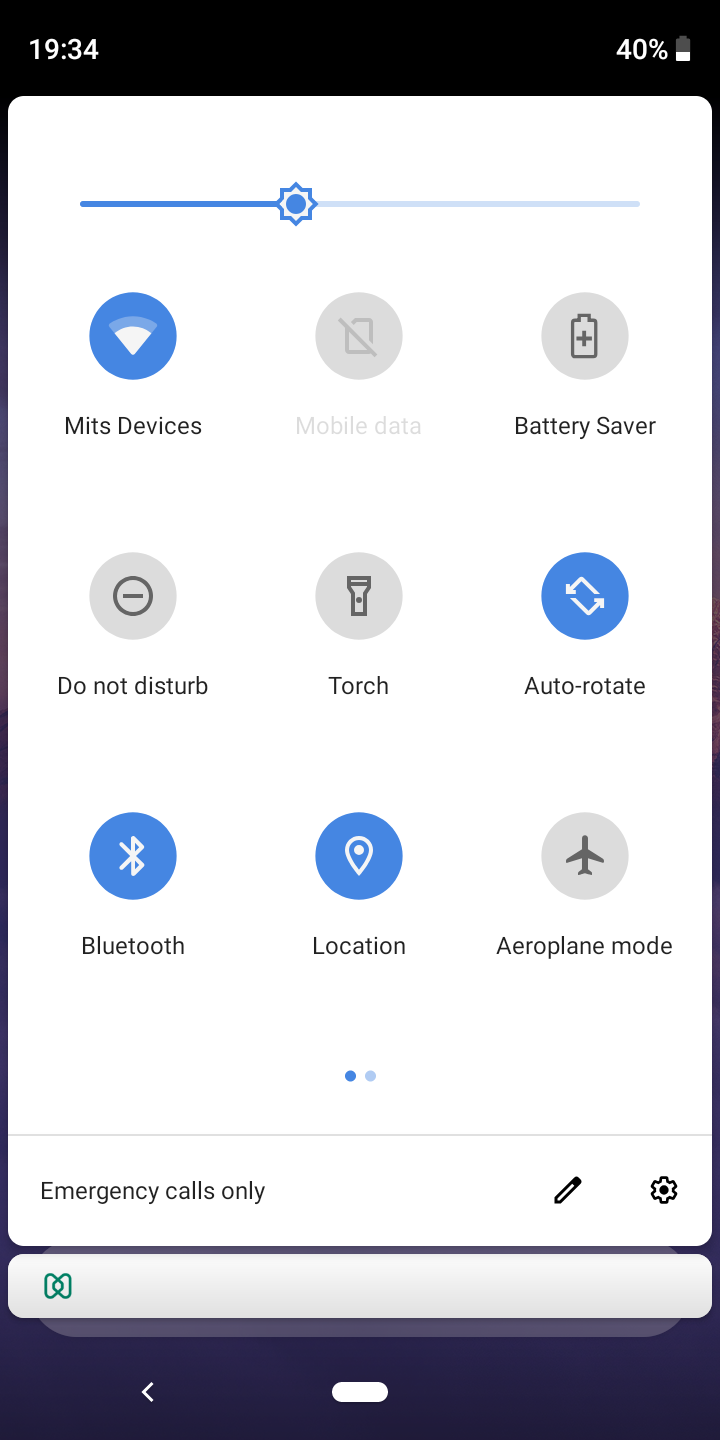
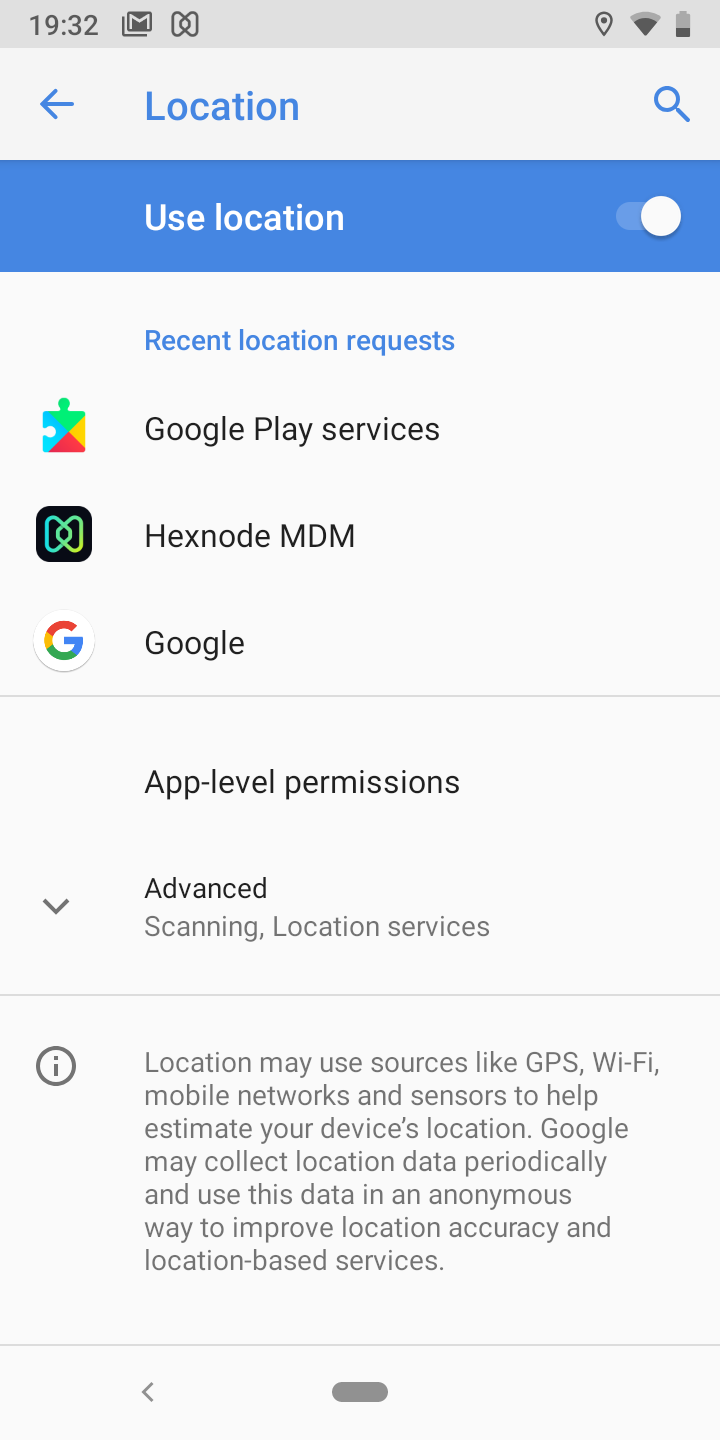
General location settings
- Pull down the status bar and click on the Location icon.
- Ensure that the Hexnode UEM app is listed under Recent location requests.
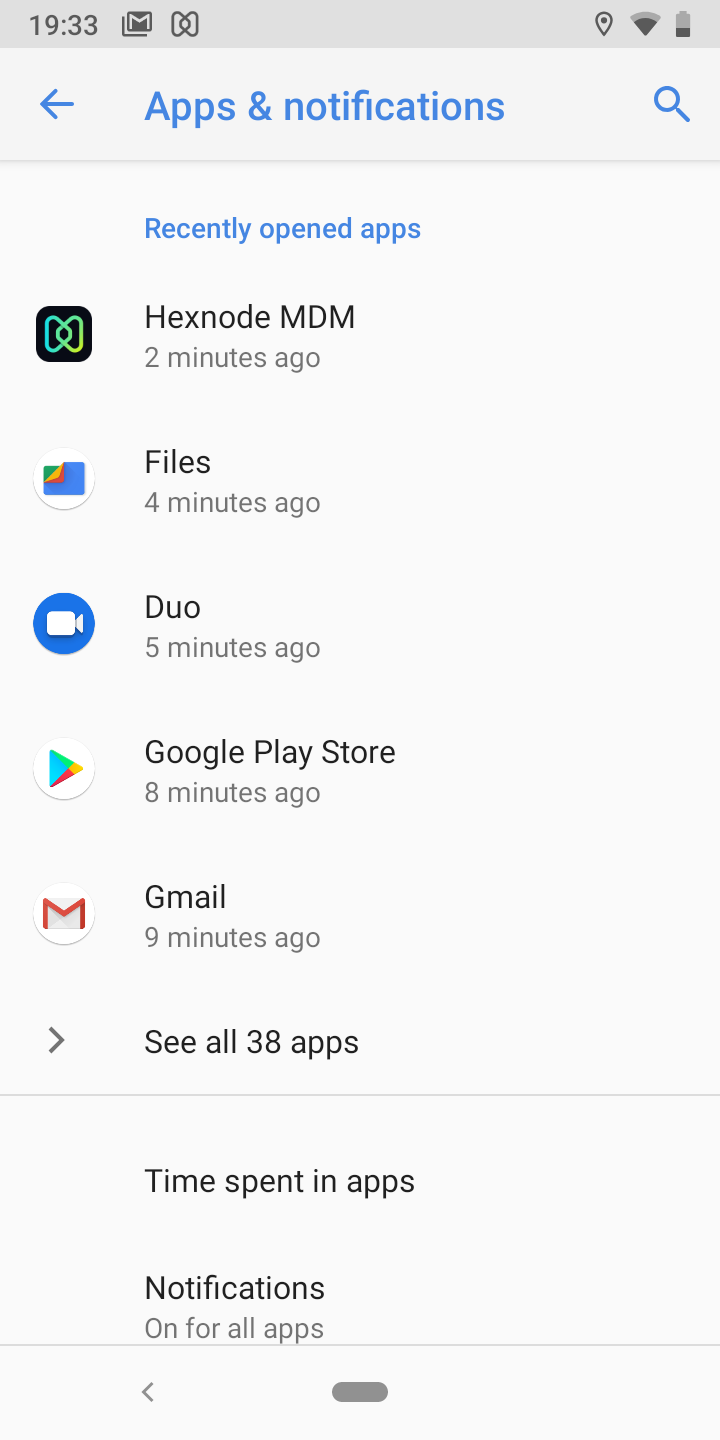
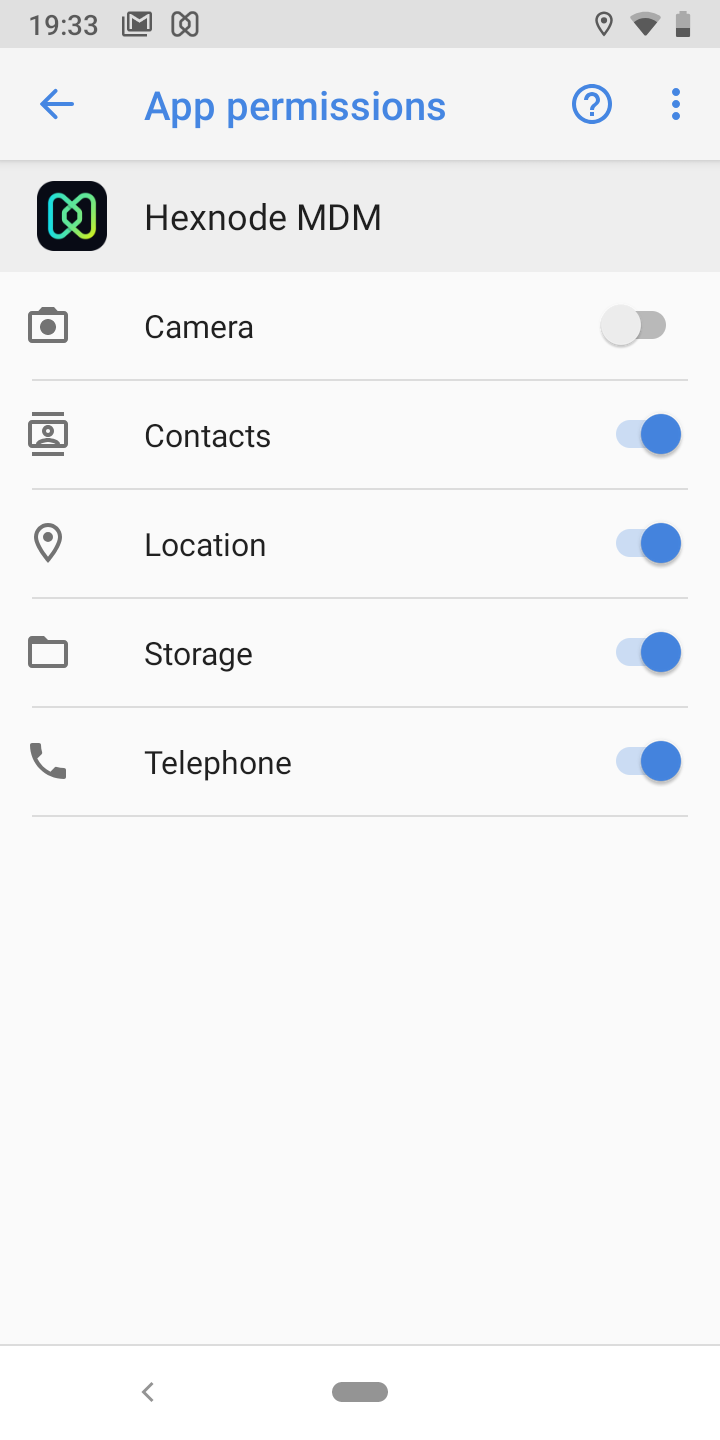
App based settings
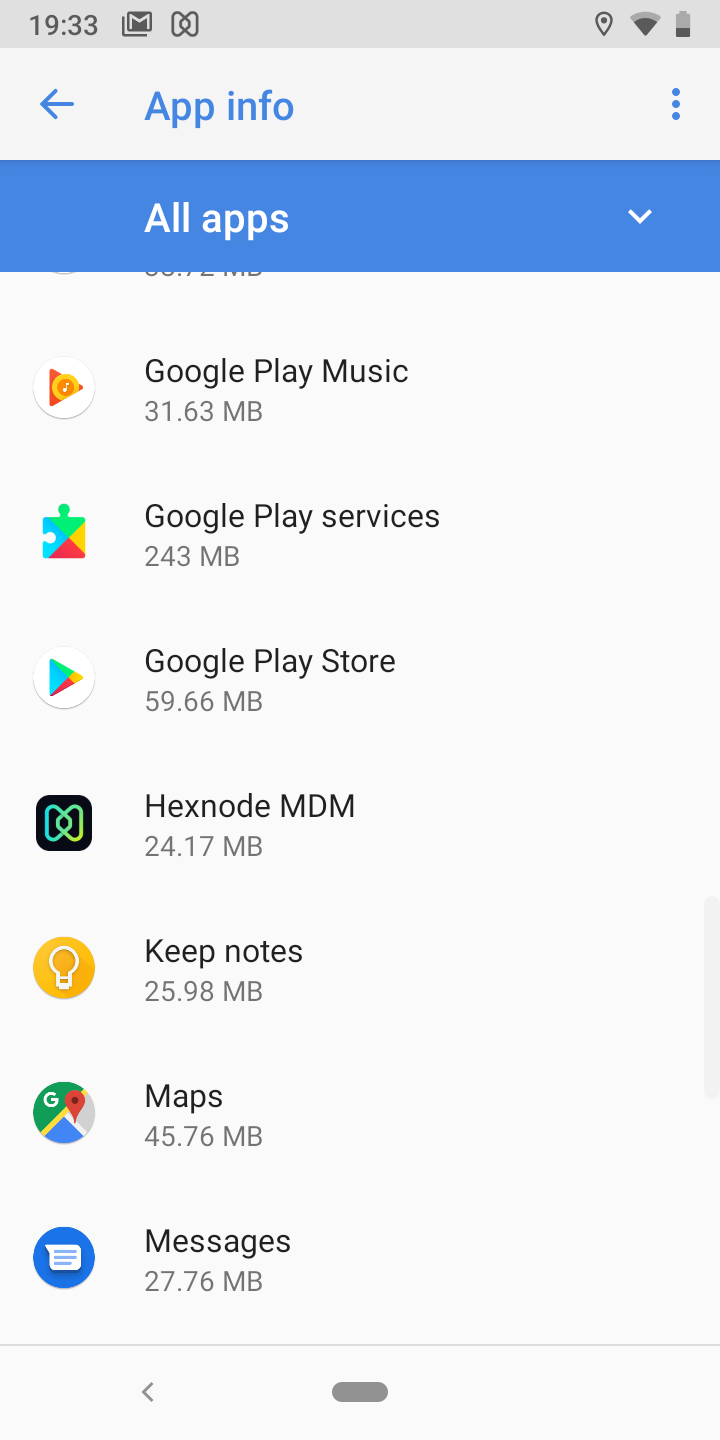
- Navigate to Settings and find all the installed apps on the device.
- Click on Hexnode UEM.
- Under the Hexnode App Permissions page, toggle Location settings ON.
Follow the steps mentioned below to enable location services on Windows 10/11 Pro and Enterprise editions.
- On your Windows PC or Tablet, go to Settings > Privacy.
- Select Location under App Permissions.
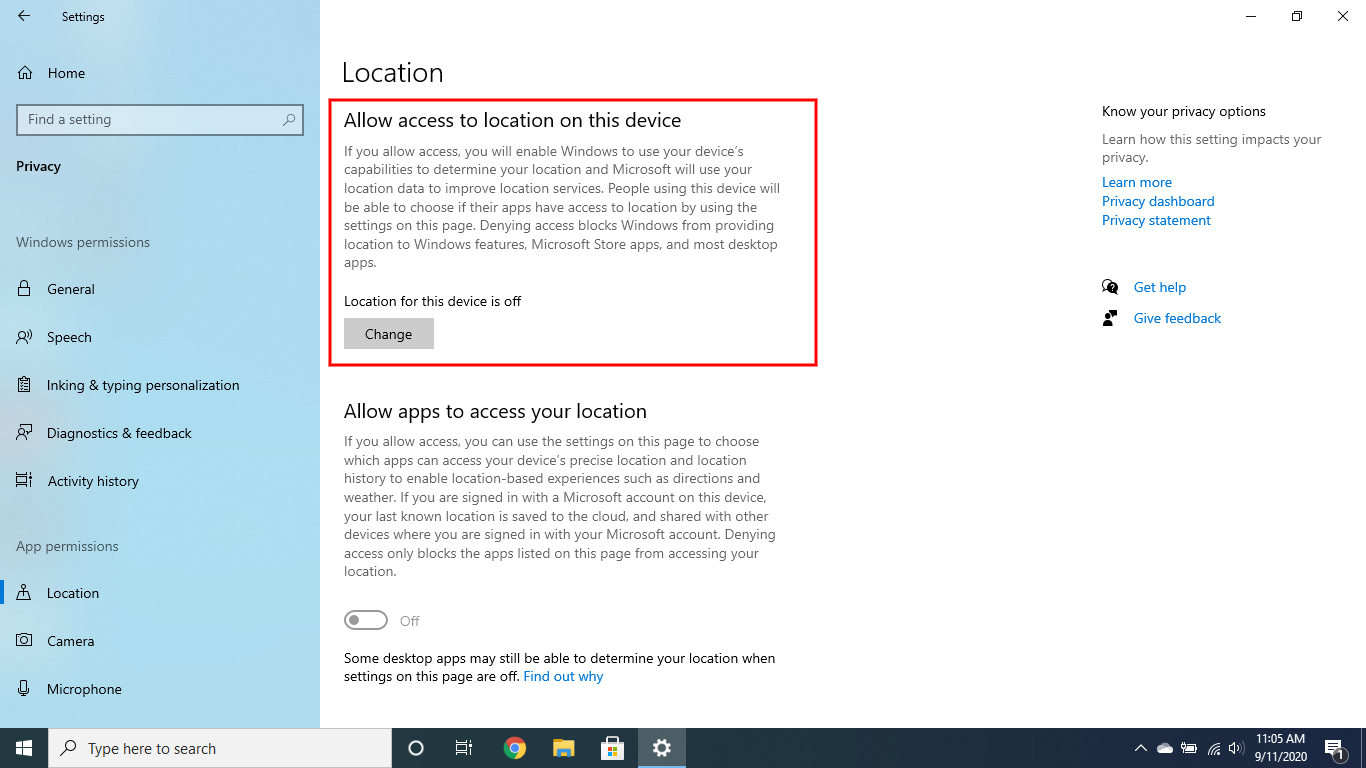
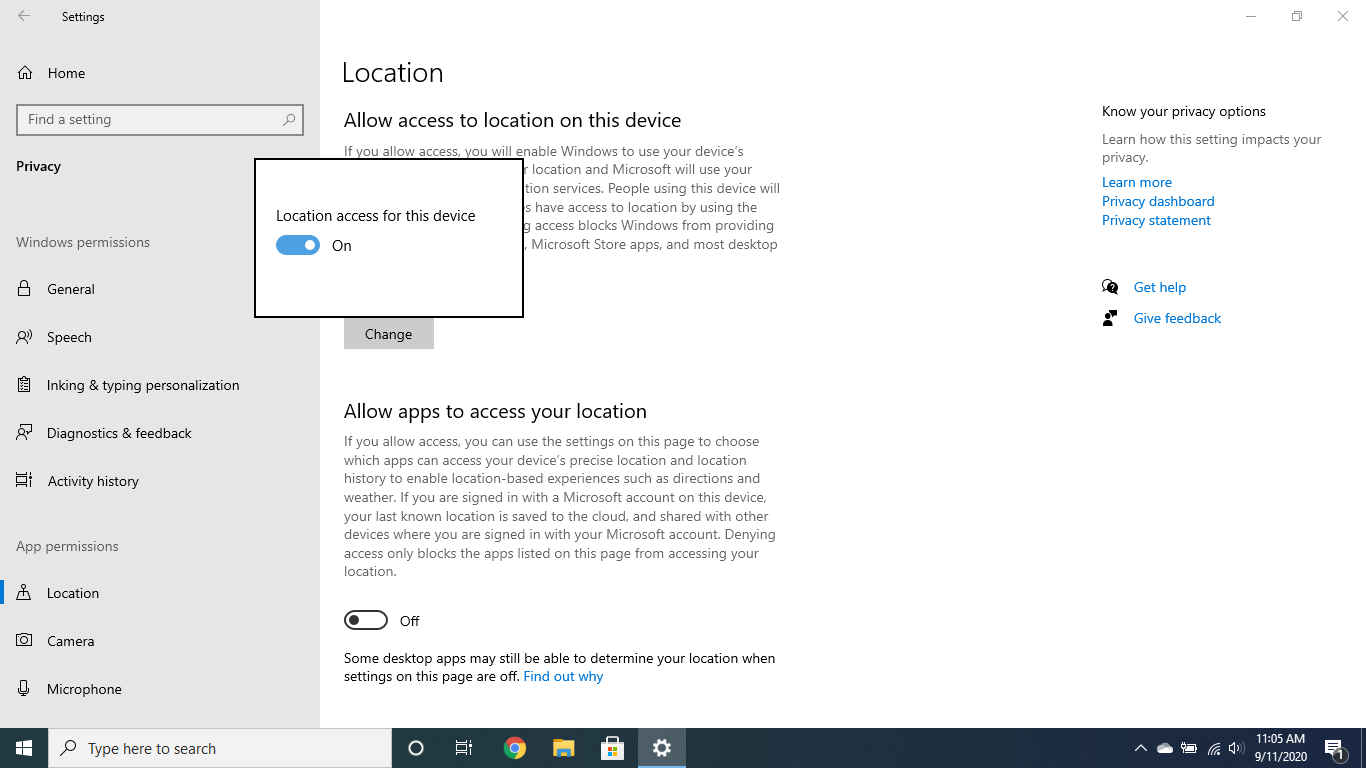
- Click on Change under Allow access to location on this device.
- Enable the location access for the device.
Follow the steps mentioned below to enable location services on iOS devices.
- Tap on the Settings icon on the device.
- From Privacy settings, select Location Services.
- Toggle the Location Services button ON.
- Identify the Hexnode UEM app to enable location access permissions. Select Always to enable location services permanently.
Hexnode UEM app will prompt for enabling location permissions during its initial setup. If the user forgets to grant the required permissions to the app, the user has to grant the permissions manually. Follow the steps mentioned below to enable location services on macOS devices.
- On your Mac, go to System Preferences > Security and Privacy.
- Head on to the Privacy tab and unlock the padlock, if locked, with your admin username and password.
- Check the option Enable Location Services and then select the Hexnode UEM app from the list.
Instantaneous Location Tracking
Hexnode UEM also enables you to track the location of your enrolled devices on-demand even if periodic location tracking is enabled.
To track the device location instantaneously,
- On the Hexnode UEM console, head on to the Manage tab > Devices > Select the device(s) for which you have enabled Location Tracking.
- Click on the Manage button > Scan Device Location.
OR
- On the Hexnode UEM console, head on to the Manage tab > Devices.
- Click on the device name to which you have enabled Location Tracking. This will take you to the device summary page.
- Click on Actions > Scan Device Location to view the most recent geographic location of the device.
View device location
To view the current location of a device using Hexnode UEM,

- Login to your Hexnode UEM portal.
- Navigate to the Manage tab > Devices.
- Click on the device name for which you have enabled location services.
- On the device summary page, you can see the most recent location of your device.

Disable Location Tracking
By disabling Location Tracking Services on the device(s), you can stop the device(s) from being tracked.
To disable location tracking on devices using Hexnode UEM,
- Login to your Hexnode UEM portal.
- Navigate to the Policies tab > Select the required Location Tracking policy.
- Enter the Policy Name and Description in the provided fields.
- Click on General Settings.
- Uncheck the option Enable Location Tracking to disable location tracking services on the device(s).
- Go to Policy Targets > + Add Devices > Select the required device(s) to which the policy needs to be associated > Click OK.
- Click on Save.


