

Category filter
How to Configure Firewall for Mac?
The connections between your network ports and applications on your computer can be allowed or blocked by configuring Firewall for macOS with Hexnode UEM. Firewall can obstruct a third party from exploiting the applications on your device. It helps protect your Mac from security attacks by creating a barrier between the internal and external networks. A Firewall obstructs all unauthorized incoming connections from the internet before it reaches the application without hindering the outgoing connections and network access. Mac Firewalls are most essentially useful if the device is connected to a public network as chances of vulnerability are high in such situations. It’s a good idea to make use of the Firewall before accessing a public network.
Turning on Firewall in Mac
To turn on Firewall using Hexnode UEM,
- Navigate to the Policies tab on the Hexnode UEM console.
- Continue with an existing policy or create a new one by clicking on New Policy. Provide a policy name and description if you are creating a new policy.
- From macOS > Security, choose Firewall. Click Configure.
- Click Enable Firewall.

Alternately, you can disable Firewall by unchecking the Enable Firewall option before associating the policy.
Enable Stealth Mode
Are you worried about security attackers scanning the ports of your Mac or pinging your machine on the internet? Don’t panic. You can easily prevent others from discovering your Mac just by checking the Enable Stealth Mode option using Hexnode UEM.
Enabling Stealth Mode blocks the Mac from responding to probing requests. The incoming requests for authorized apps are still acknowledged by the Mac, while unexpected requests such as ICMP (ping) and connection attempts from closed TCP or UDP network are disregarded.
It is recommended not to enable stealth mode off if the device does not get connected frequently to external networks.

The following steps will outline how to enable Stealth Mode using Hexnode UEM.
- Go to the Firewall policy for macOS and click Configure.
- Click Enable Firewall.
- Check the Enable stealth mode option.

Enable logging
Firewall logging is the process of generating a report of all activity that passes through the firewall. This report includes failed connection attempts and successful connection attempts between internal and external networks.
Checking the Enable logging option enables firewall logging on the device to get reports of all connections approved or denied by the firewall.

You can follow these steps enable the firewall logging:
- Go to the Firewall policy for macOS and click Configure.
- Click Enable Firewall.
- Check the option Enable logging.
Logging level
Select the logging level for the firewall. There are three options available to choose from:

| Logging level | Description |
|---|---|
| Throttled | This logging level collects only a limited amount of logs. |
| Brief | This logging level collects single line items for each firewall event. |
| Detail | This logging level collects a detailed log of the events. |
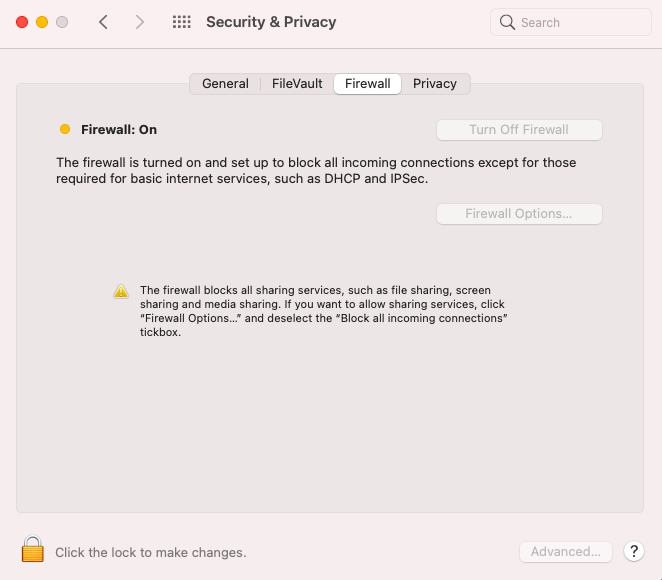
Block all incoming connections
Blocks all incoming network connections except those required for basic internet services, such as DHCP, Bonjour, and IPSec. The sharing services like file sharing and screen sharing are also blocked. This firewall setting is not recommended, as it highly hinders your activities with your machine.

Here are the steps to block all incoming connections.
- Go to the Firewall policy for macOS and click Configure.
- Click Enable Firewall.
- Check Block all incoming connections.

Allow/block incoming connections to specific applications
You can follow these steps to allow/block incoming connections to your desired apps.
- Go to the Firewall policy for macOS and click Configure.
- Click Enable Firewall.
- Click on Allow incoming connections or Block incoming connections as per your requirement.
To add apps,
Click on +Add app > Choose the desired apps > click Done.
If you think that you no longer need some of the apps listed here, you can easily remove them just by clicking the Delete button. You can also choose the Remove all option to discard the selection of all apps.

Allow incoming connections to built-in software
When this option is enabled, the valid Certificate Authority signed built-in software and services are added to the list of allowed apps. It allows incoming connections (through the firewall) for such services.

- Go to the Firewall policy for macOS and click Configure.
- Click Enable Firewall.
- Click on Allow incoming connections to built-in software option.

Allow incoming connections to downloaded signed software
Check this option to add downloaded apps and services signed by a valid Certificate Authority to the list of allowed apps. It enables such apps and services to receive incoming connections through the firewall.

- Go to the Firewall policy for macOS and click Configure.
- Click Enable Firewall.
- Click on Allow incoming connections to downloaded signed software option.

Associate policy with macOS devices
If you’ve not saved the policy yet, you can
- Go to Policy Targets.
- Click on + Add Devices.
- Choose the devices with which the policy needs to be associated.
- Click OK when you are done adding the devices.
You can also associate policies with device groups, users, user groups, or domains from the left pane underneath the Policy Targets tab.
If you are on a page that lists the policies,
- Check a policy.
- From Manage, select Associate Targets.
- Select the required devices and click Associate.
What happens at the device end?
Once the policy is associated, users will not be able to modify the Firewall settings under System Preferences > Security & Privacy. The settings as configured in the policy will be enforced.


