
Category filter
Microsoft’s System Center Configuration Manager (SCCM) Integration with Hexnode
Microsoft’s System Center Configuration Manager (SCCM) is a system management software that manages a group of computers running on the Windows platform.
Hexnode’s integration with SCCM helps in migrating the Windows devices from the SCCM server to the Hexnode portal.
To Configure SCCM
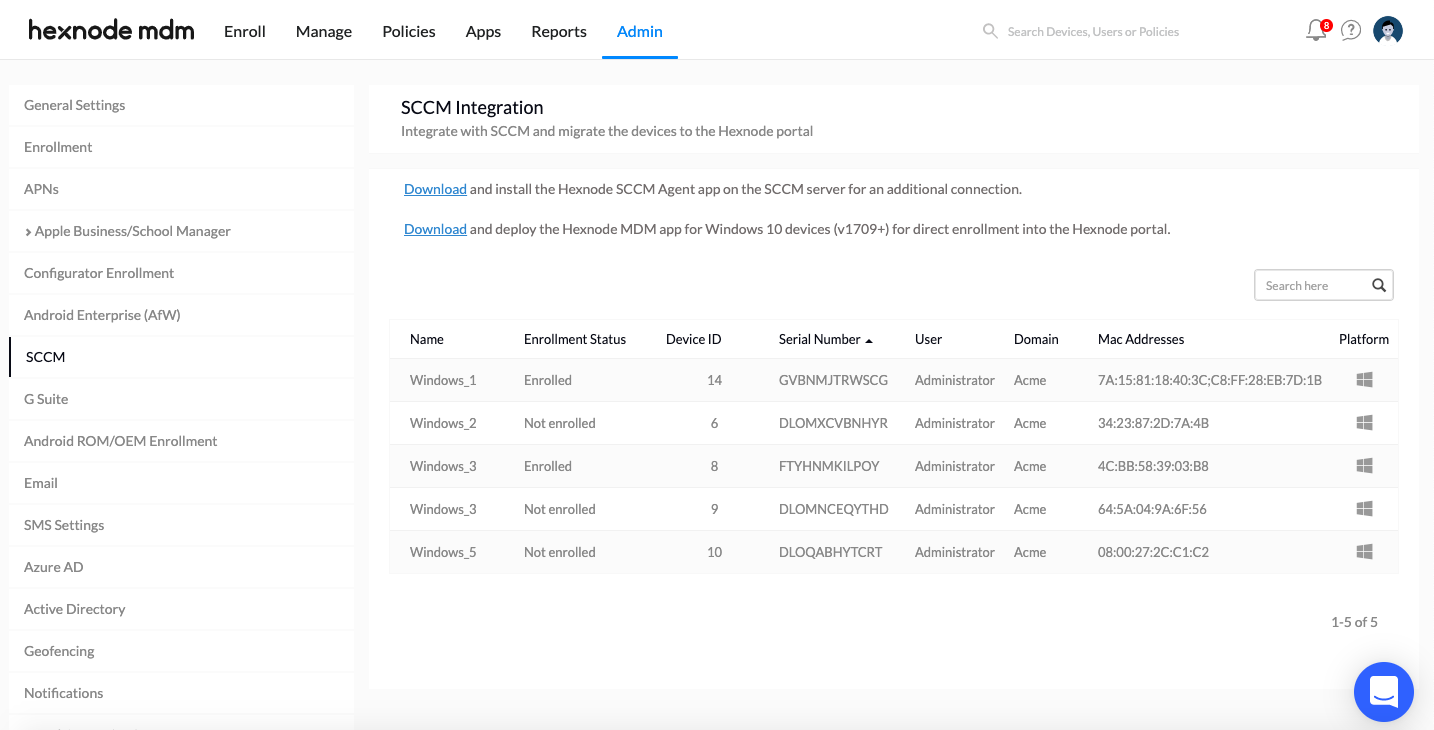
- From the Hexnode portal, Navigate to Admin > SCCM.
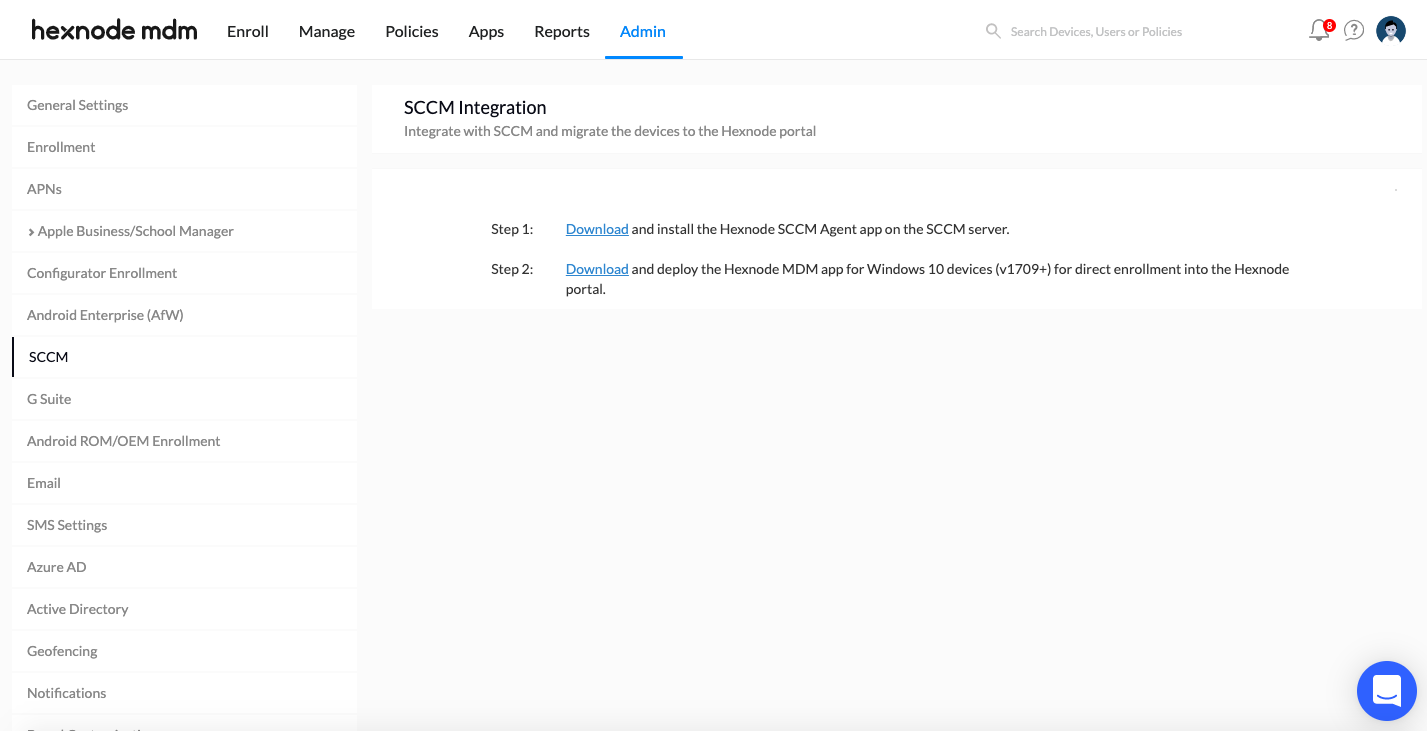
Step 1: Download and install the Hexnode SCCM Agent app on the SCCM server.
- Click on the download link to download and install the SCCM Agent on the server.
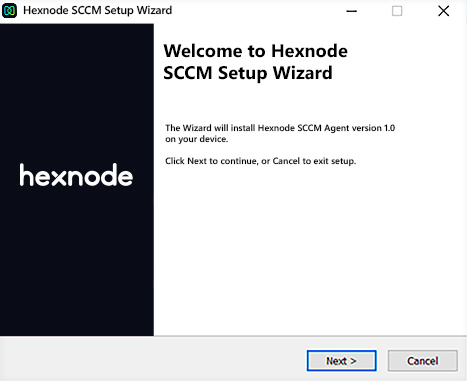
- Launch the Hexnode SCCM Agent app setup wizard. Click on Next to continue the installation setup.
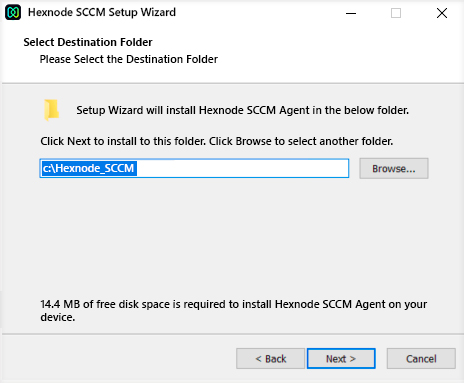
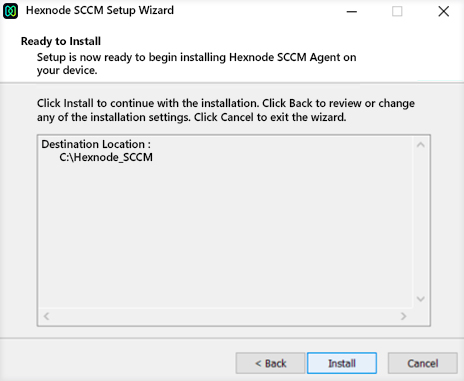
- Select the destination path for the SCCM Agent app to be installed.
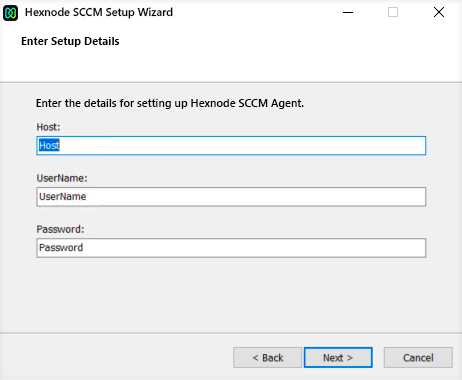
- Provide the following details for setting up the Hexnode SCCM Agent.
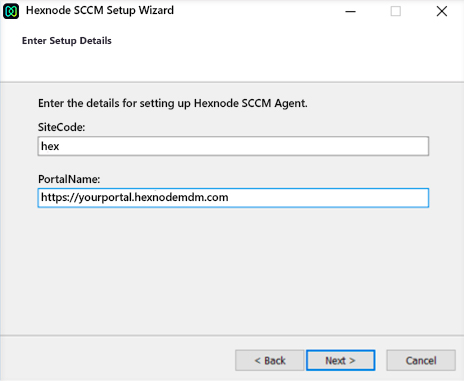
- Site Code: Provide the site code to identify the sites in the SCCM server. The site code will be a three-character alphanumeric code. It can be obtained from your SCCM server.
- Portal Name: Provide the Hexnode portal name to which the SCCM server is to be integrated.
- Provide the Hostname, Username and password to connect to the database of the SCCM server.
- Click on Install.
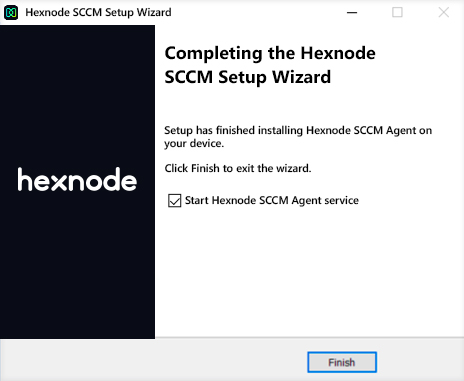
- Click on Finish to exit the setup.
- All the devices in the SCCM server will be listed under Admin > SCCM.
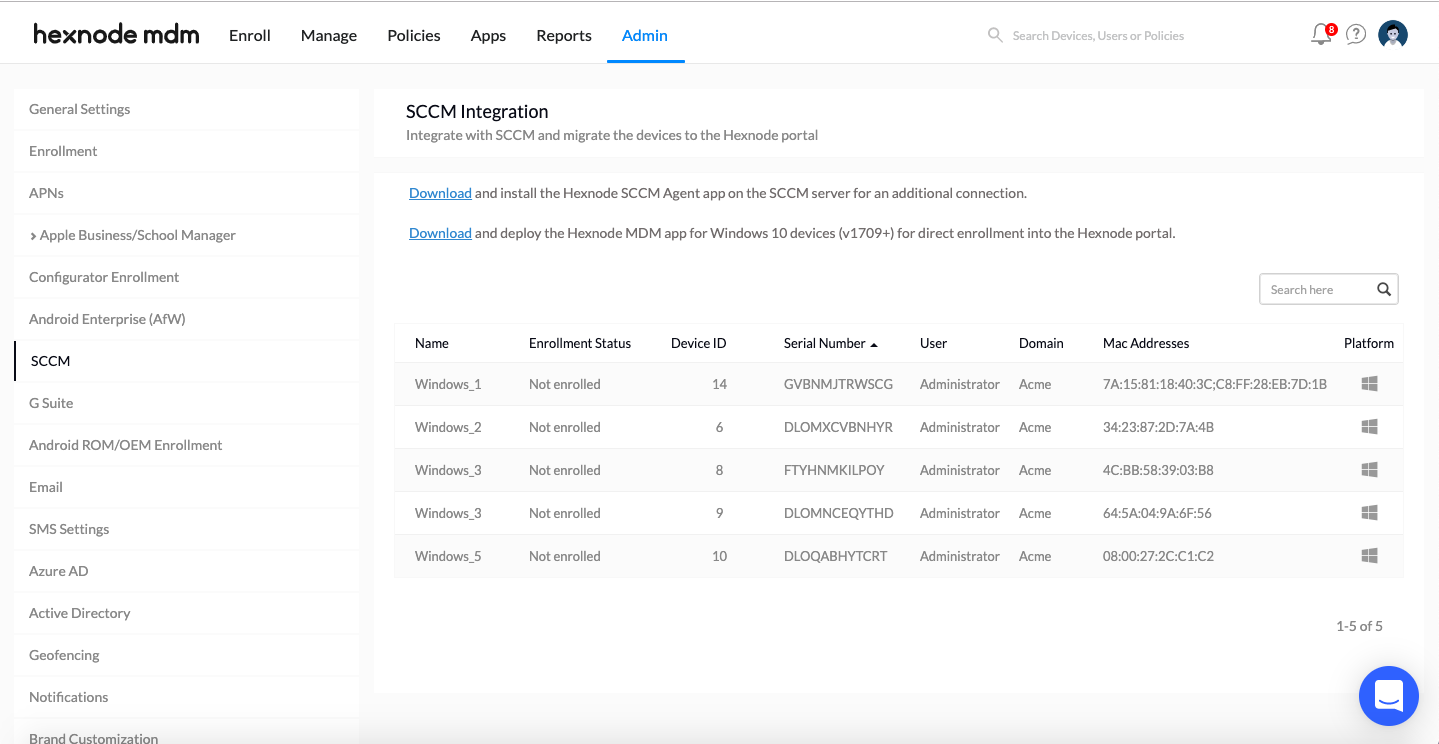
Step 2: Download the Hexnode UEM app for Windows 10 devices (v1709+) for direct enrollment into the Hexnode portal.
To enroll devices running Windows 10 (v1709+) directly into the Hexnode portal,
- Click on the download link to download and install the Hexnode UEM app for Windows 10 devices on a Windows client device.
- Launch the application.
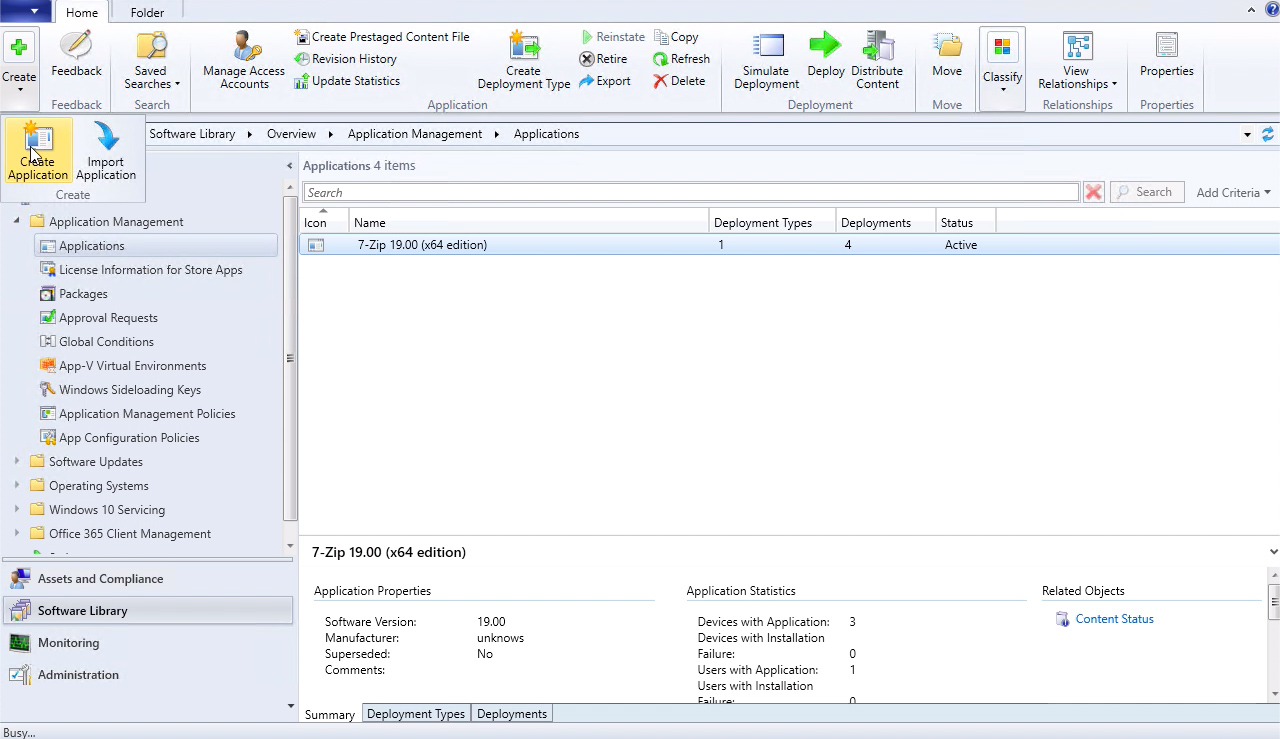
- Select Software Library.
- Click on +Create > Create Application.
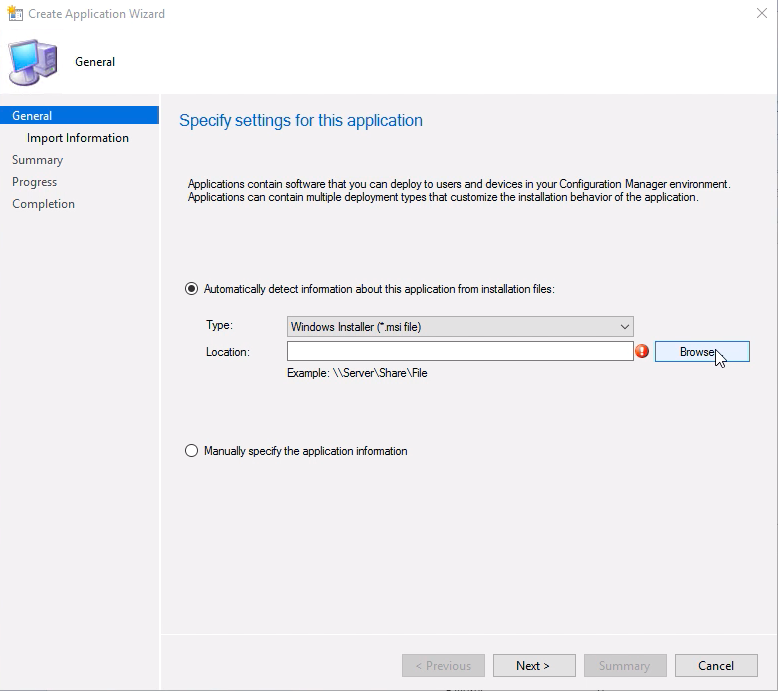
- Specify the settings for the application.
- Type: Choose the application type as Windows MSI file.
- Location: Provide the location of the application in UNC path format.
- View and verify the imported details from the Windows MSI file. Click on Next to edit/modify the imported information.
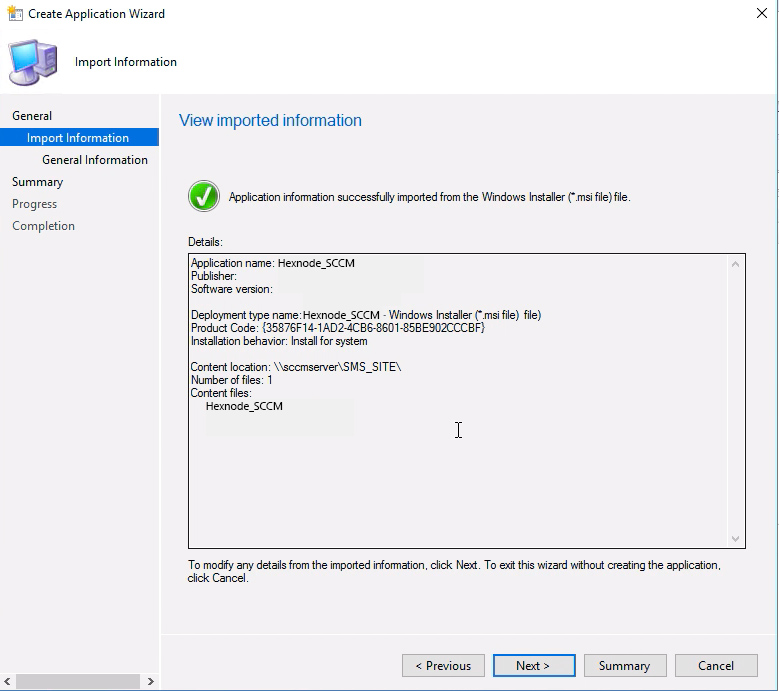
- Modify the details and click on Next.

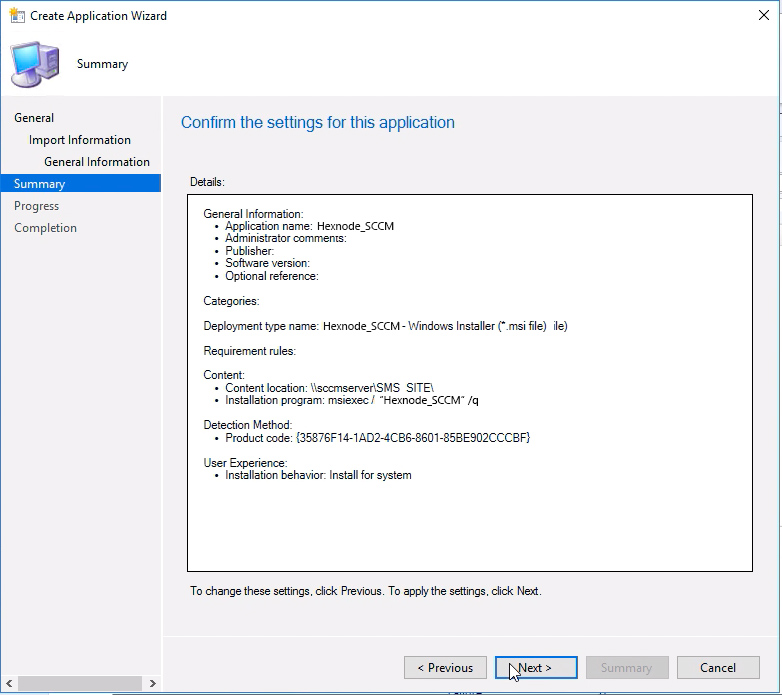
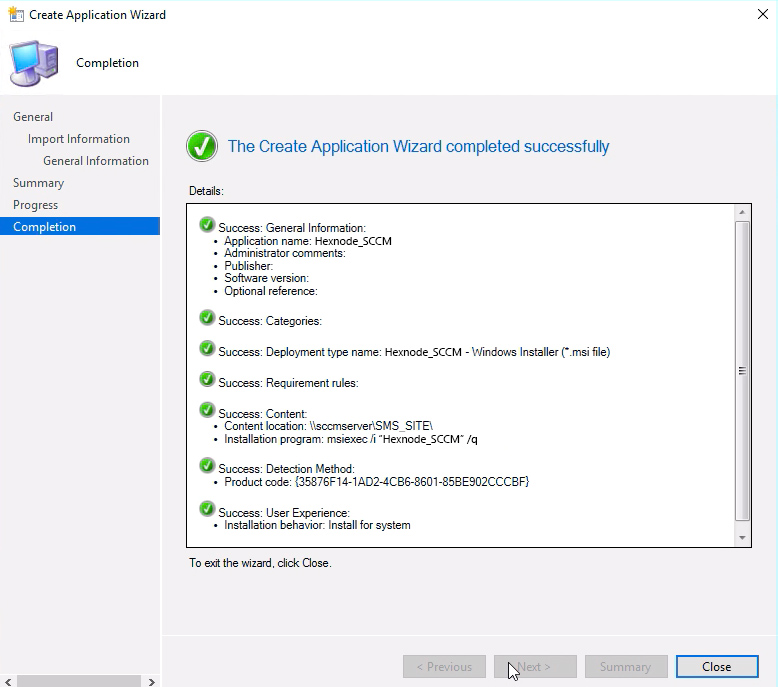
- Verify the details under Summary and click on Next.
- Once you’re done with the application wizard, click on Close.
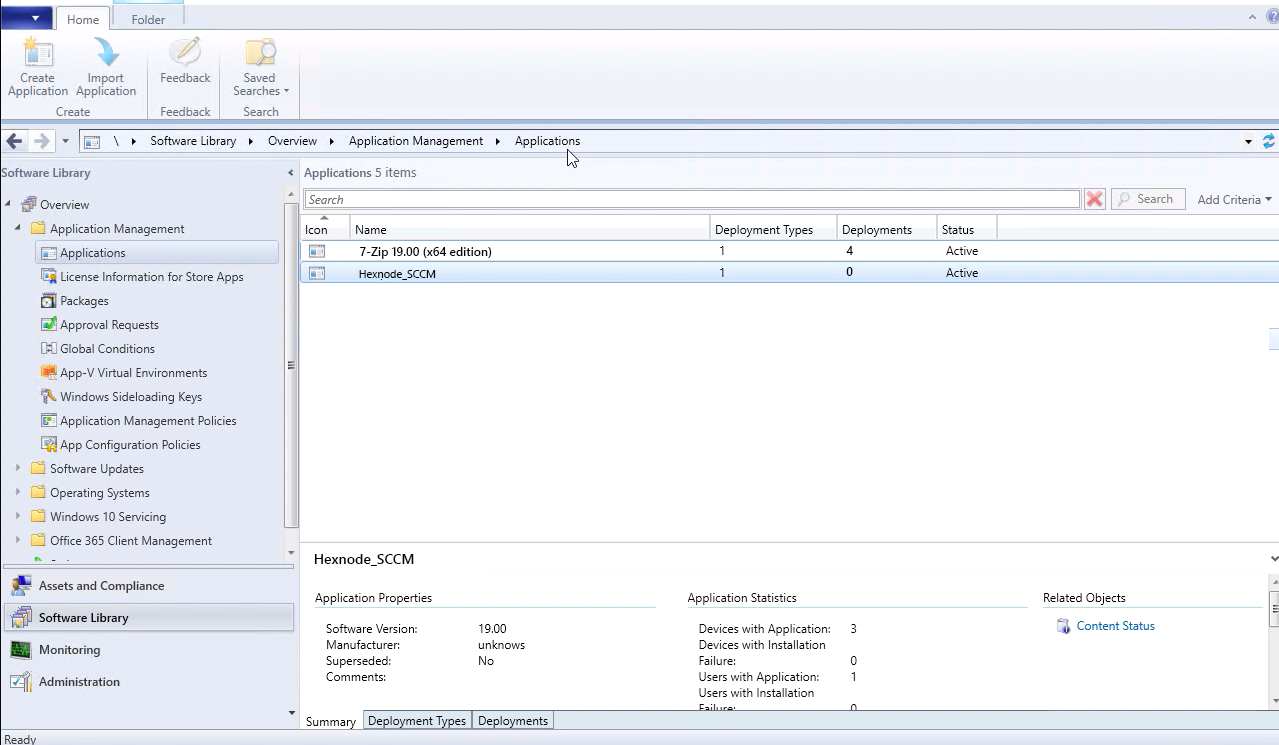
- Application will be listed under Software Library > Overview > Application Management > Applications.
Deploy the Application
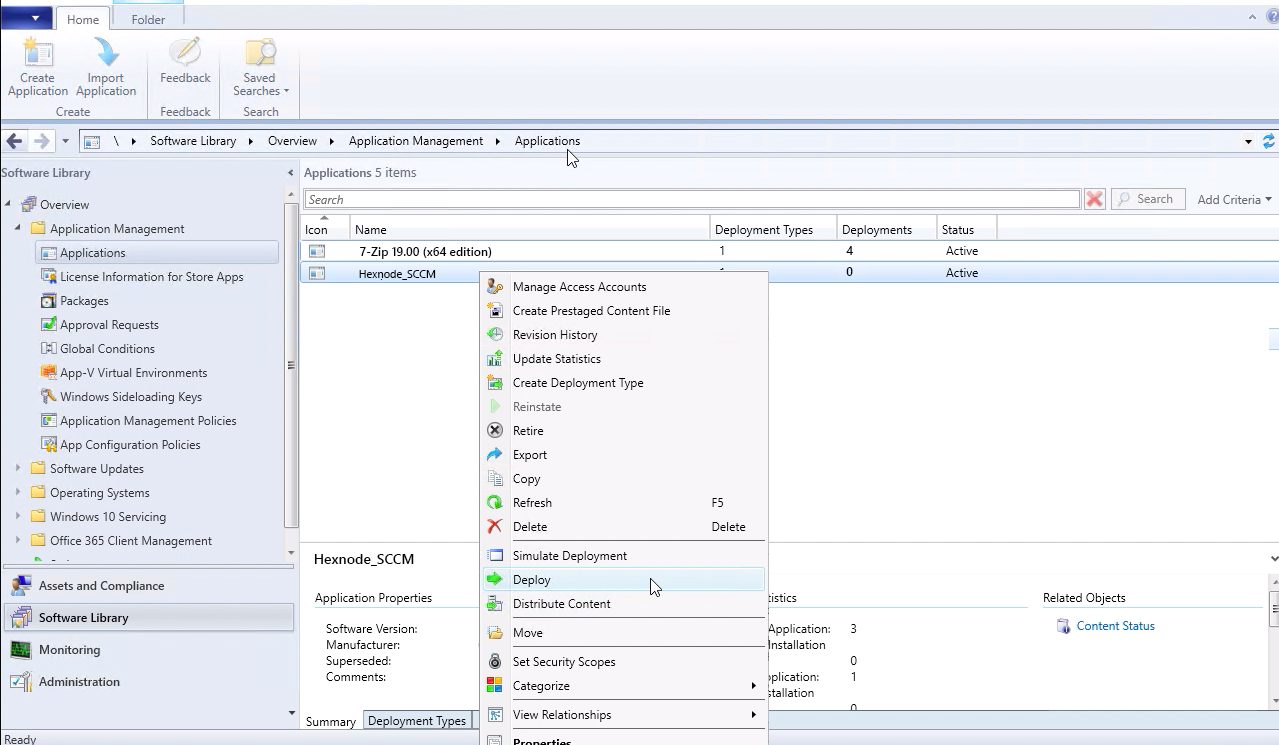
- Select the app under Software Library. Right click on the app and choose the Deploy option.
- The app to be deployed will be listed by default under the Software field.
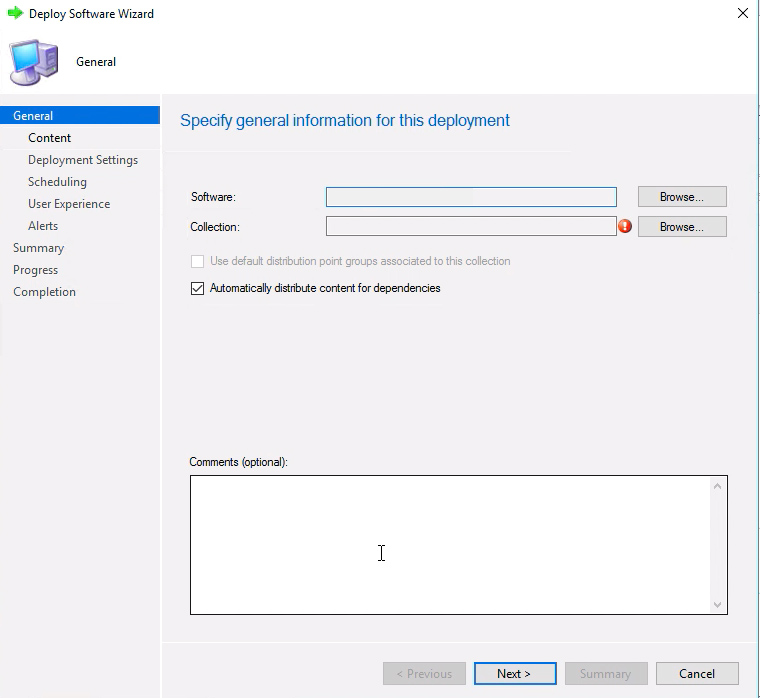
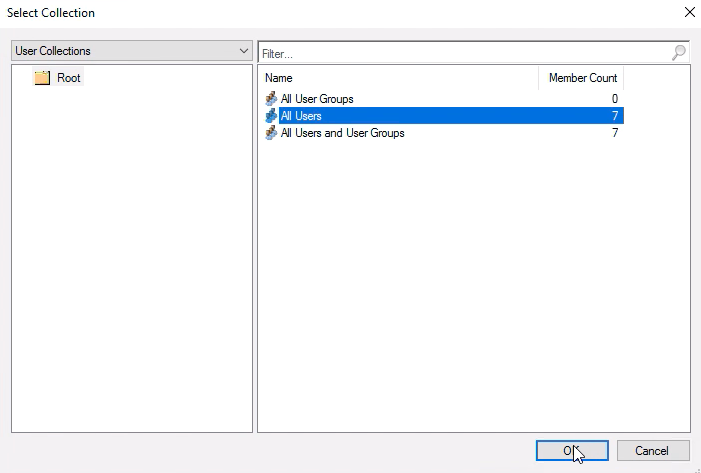
- Collection specifies the users/user groups in the server to which the app is to be deployed. It can either be All User Groups, All Users or All Users and User Groups.
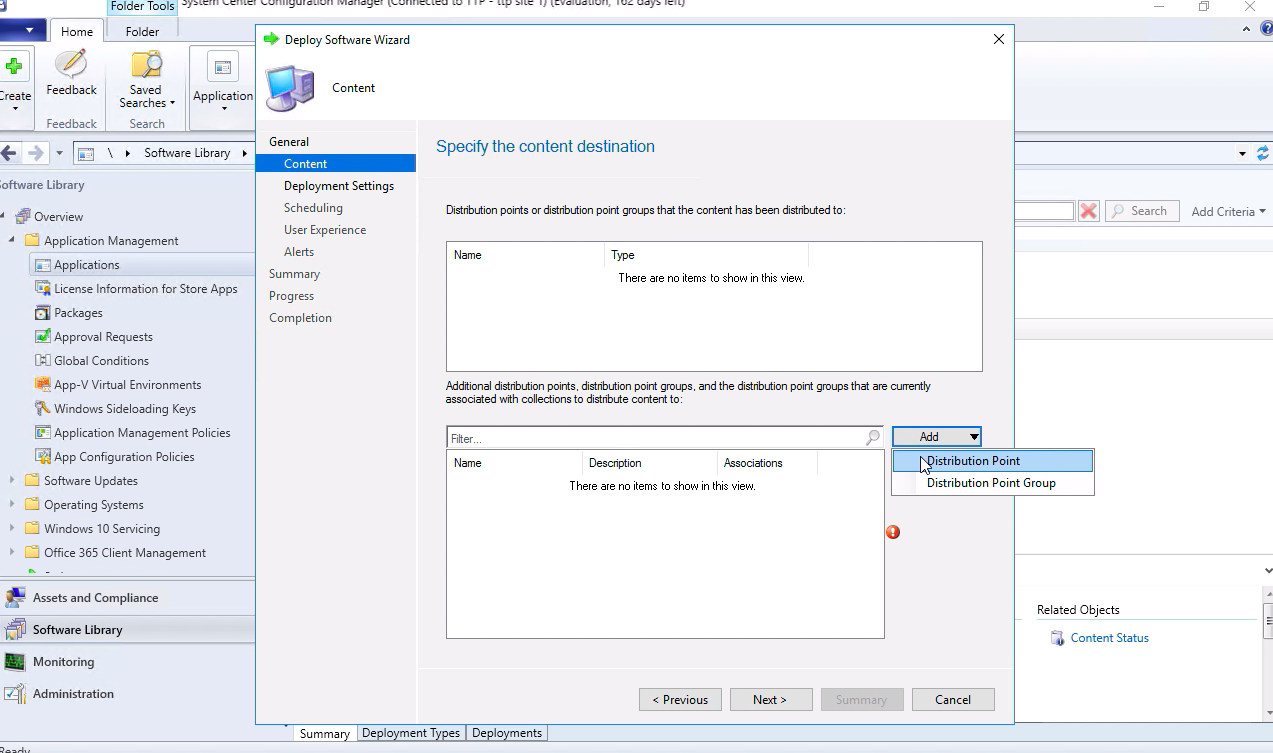
- Choose either the Distribution Point or Distribution Point Group to which the app is to be deployed.
- Specify the software deployment option.
- Action: Choose the Install option..
- Purpose: Choose the Required option.
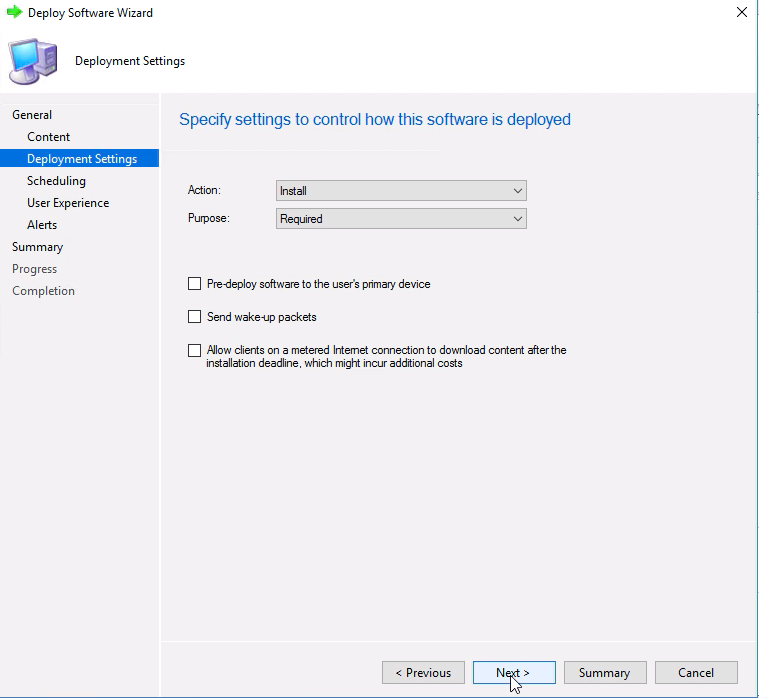
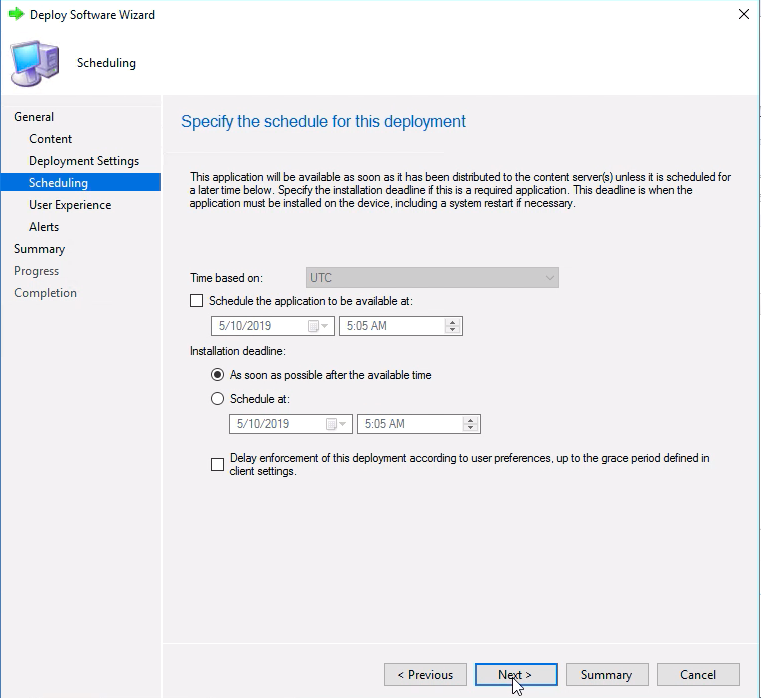
- If required, you can schedule the deployment. Click on Next to continue.
- Specify the required user experience and click on Next.

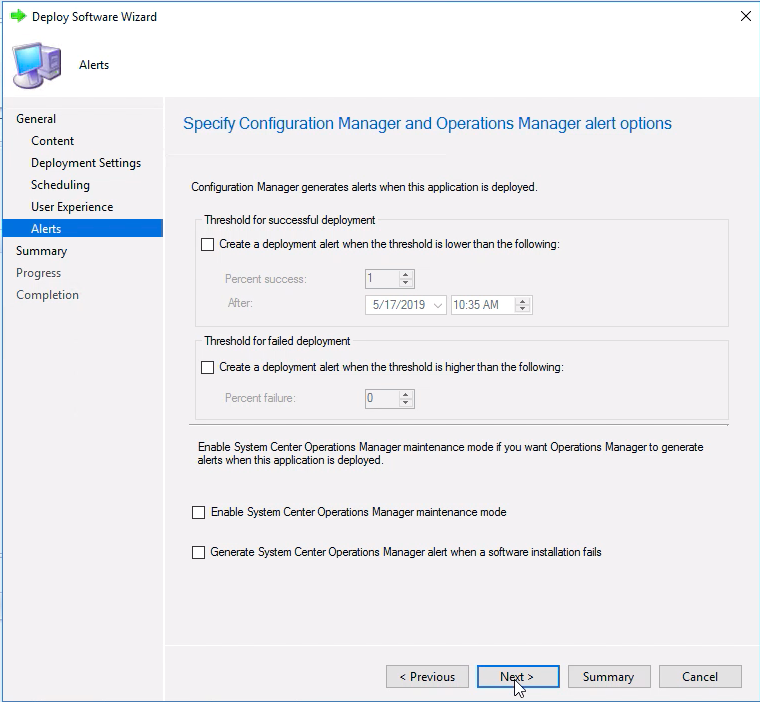
- Configure the alert messages to be generated while the application is deployed.
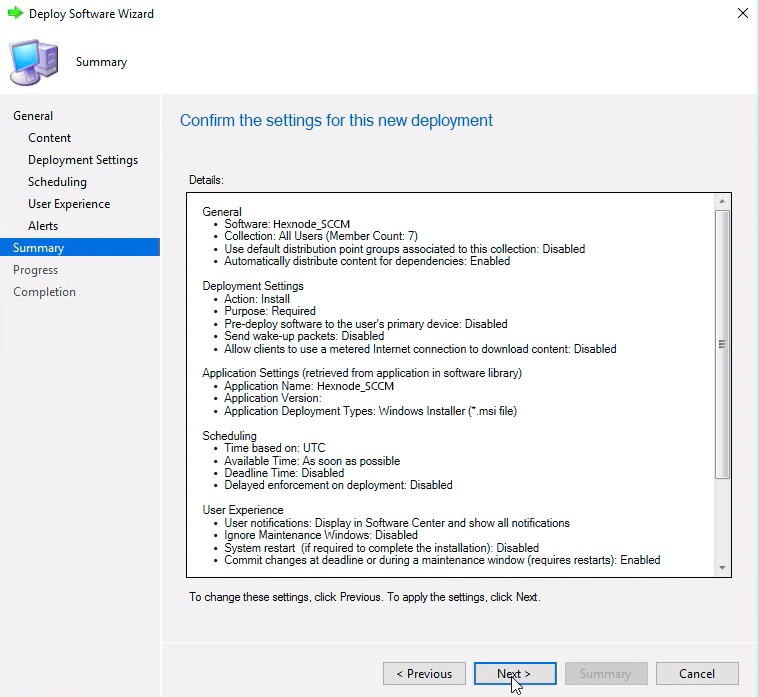
- Verify the summary of the deployment and click on Next.
- Click on Close to exit the setup wizard.
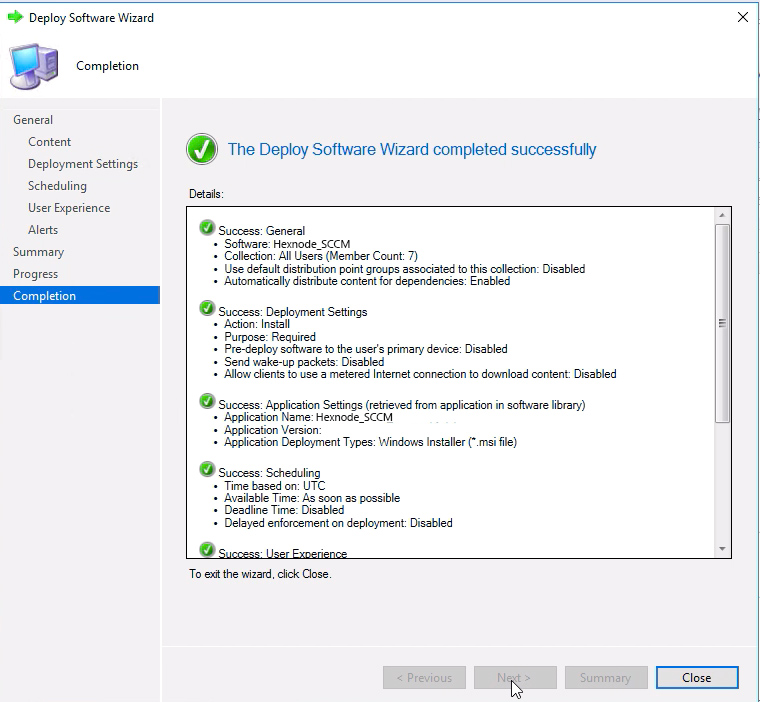
- Windows devices will be enrolled with the Hexnode portal.
Need more help?


