Category filter
How to enable Remote View & Remote Control for Windows devices?
Organizations might face many technical issues while remotely managing Windows devices. These include device malfunctioning, app crashes, corrupted drivers, etc. Conventional troubleshooting methods require administrators to perform onsite visits to diagnose the problems on the entire fleet of devices manually. However, such processes are tedious and time-consuming. Often, specific issues need instant diagnosis and rectification. If such problems are not fixed at once, it might deter device performance.
The Remote View & Remote Control features allow administrators not only to remotely view and monitor devices from the Hexnode UEM console but also remotely control them. The Remote View feature enables rapid real-time diagnosis of Windows devices. This helps them identify the problems and assist users in resolving the issues. On the other hand, the Remote Control feature makes it easier for administrators to troubleshoot and perform required actions on the device without any manual interaction or onsite visits.
Configuring Remote View & Remote Control Settings in Hexnode Console
To start remote view, first enable the Remote View settings from the Hexnode console. Remote Control access requires both Remote View & Remote Control options to be enabled in the settings.
Enabling Remote View & Control Settings
- Login to your Hexnode portal.
- Navigate to Admin > General Settings > Remote View & Control Settings.
- Check the option Enable Remote View. It adds the Remote View section on the Device Summary page of the Hexnode UEM portal.
- Check the option Enable Remote Control. It adds the Request Control button in the Remote View section (on the Device Summary page) during remote view sessions.
- Click Save to enforce the settings.
Enabling Hexnode App Updates Settings
- Login to your Hexnode portal.
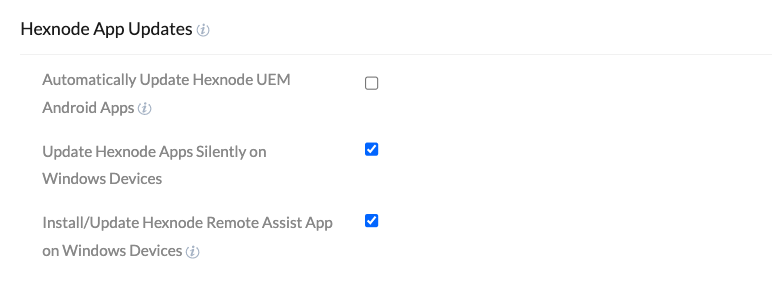
- Navigate to Admin > General Settings > Hexnode App Updates.
- Check the Install/Update Hexnode Remote Assist app on Windows devices option. Enabling the option helps to automatically install or update the Hexnode Remote Assist app on the devices.
- Click on Save.
To start a remote view session on Windows devices
Follow the steps mentioned below to enable Remote View on Windows devices using Hexnode UEM.
- Login to your Hexnode portal.
- Navigate to Manage > Devices.
- Identify and select the device from the list of enrolled devices.
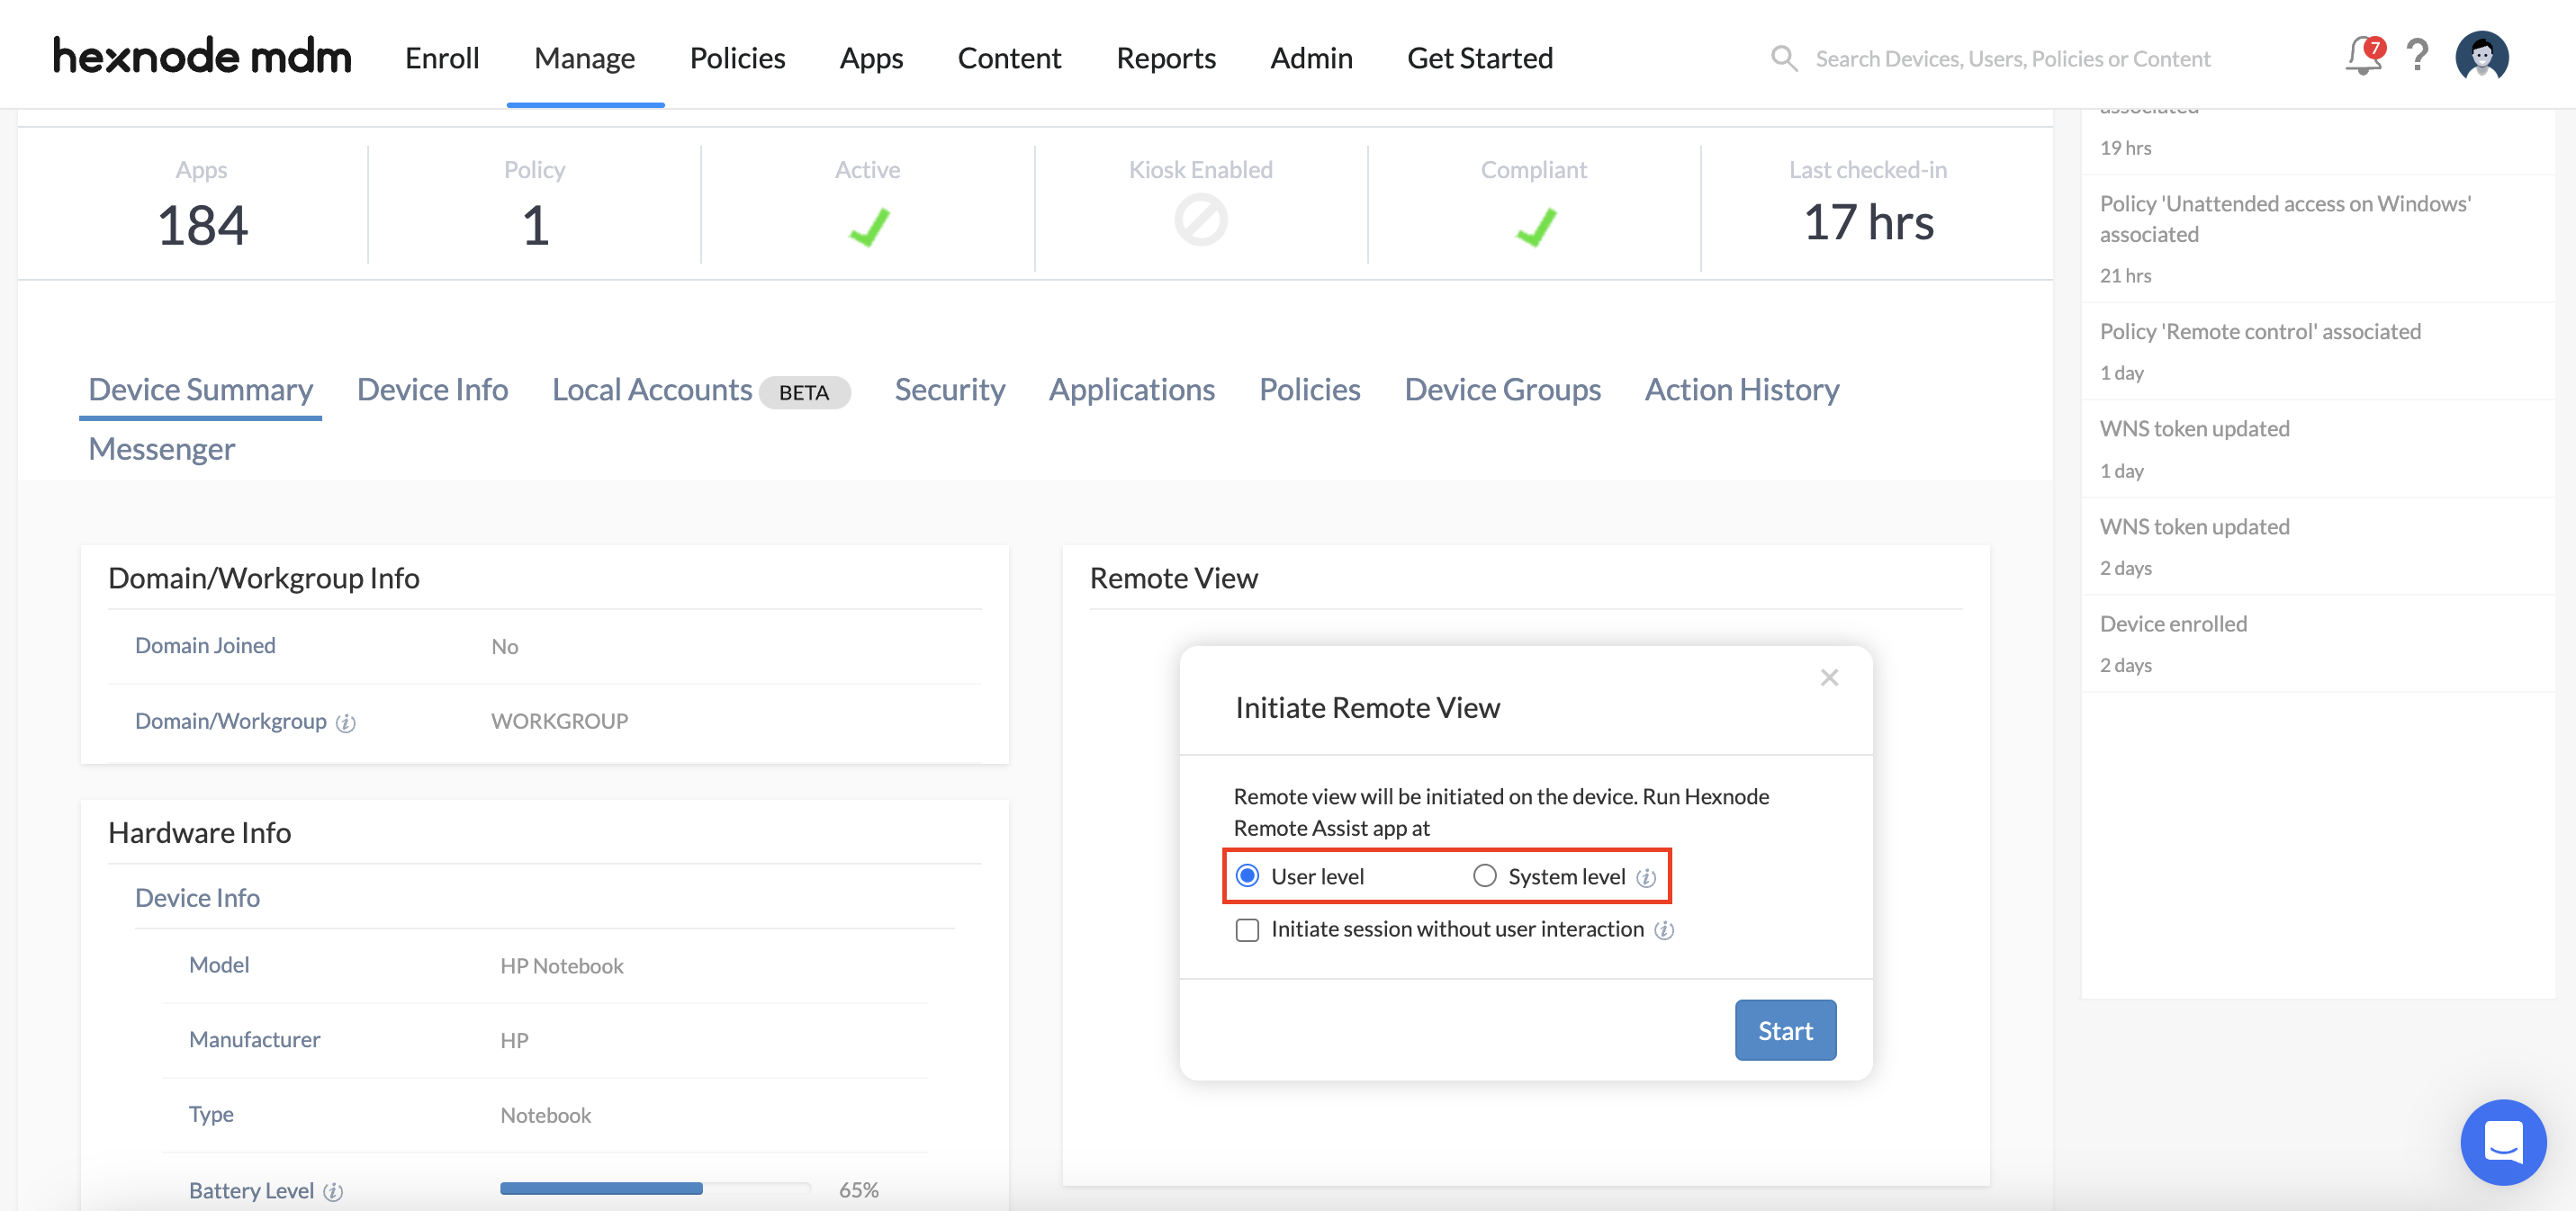
- On the Device Summary page, click on Start Session under Remote View.
- Select the level at which the Hexnode Remote Assist app should run:
- User level – IT admins’ access will be limited to the user-level permissions, without access to UAC (User Account Control) screens.
- System level – IT admins will have access to UAC screens and other system-level prompts requiring admin privileges.
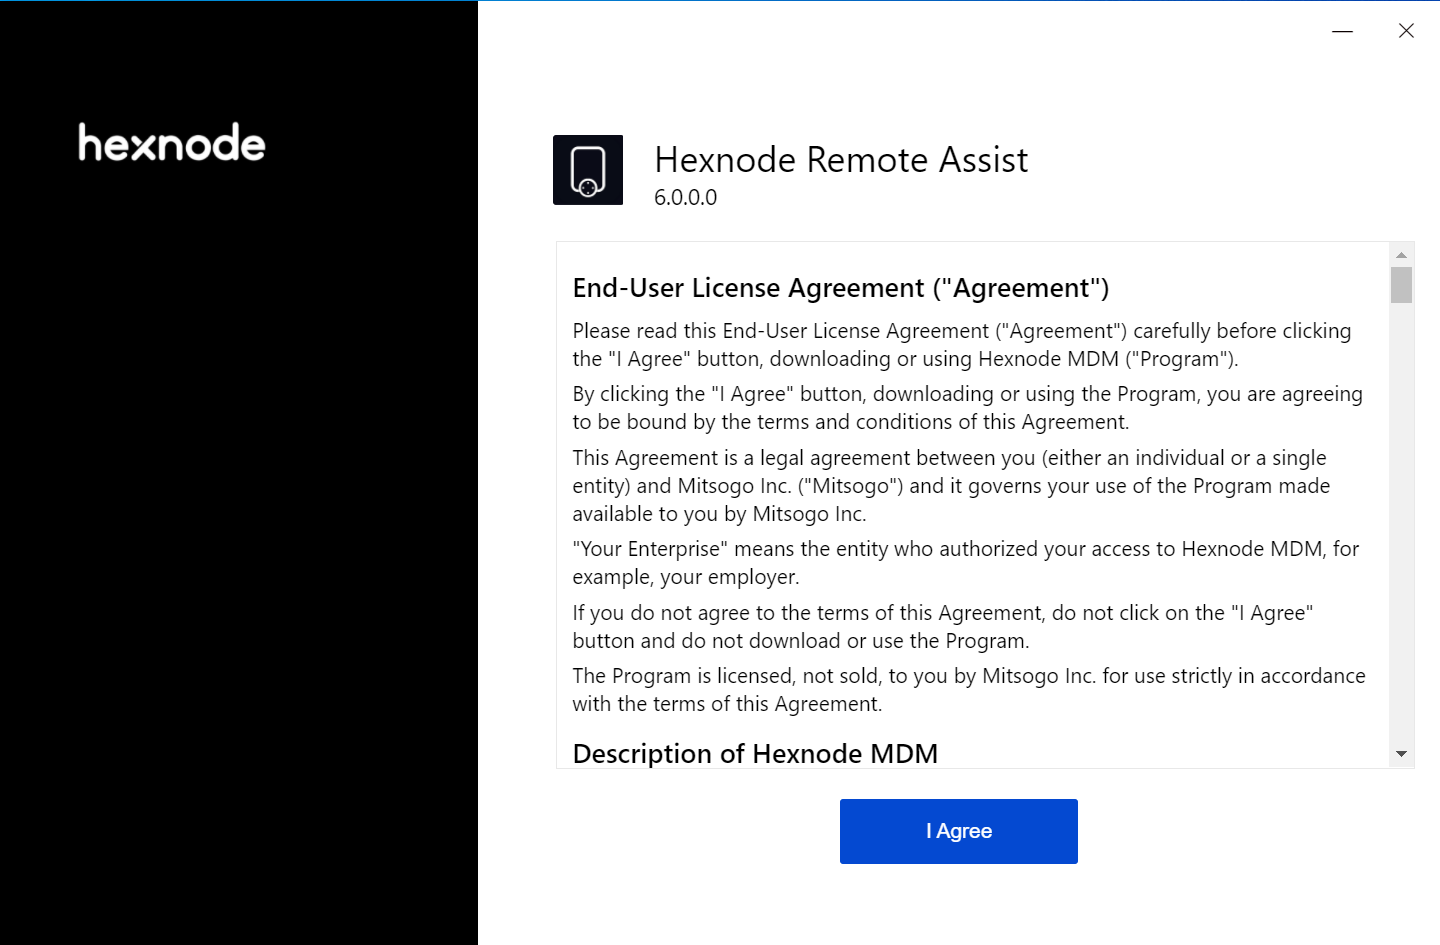
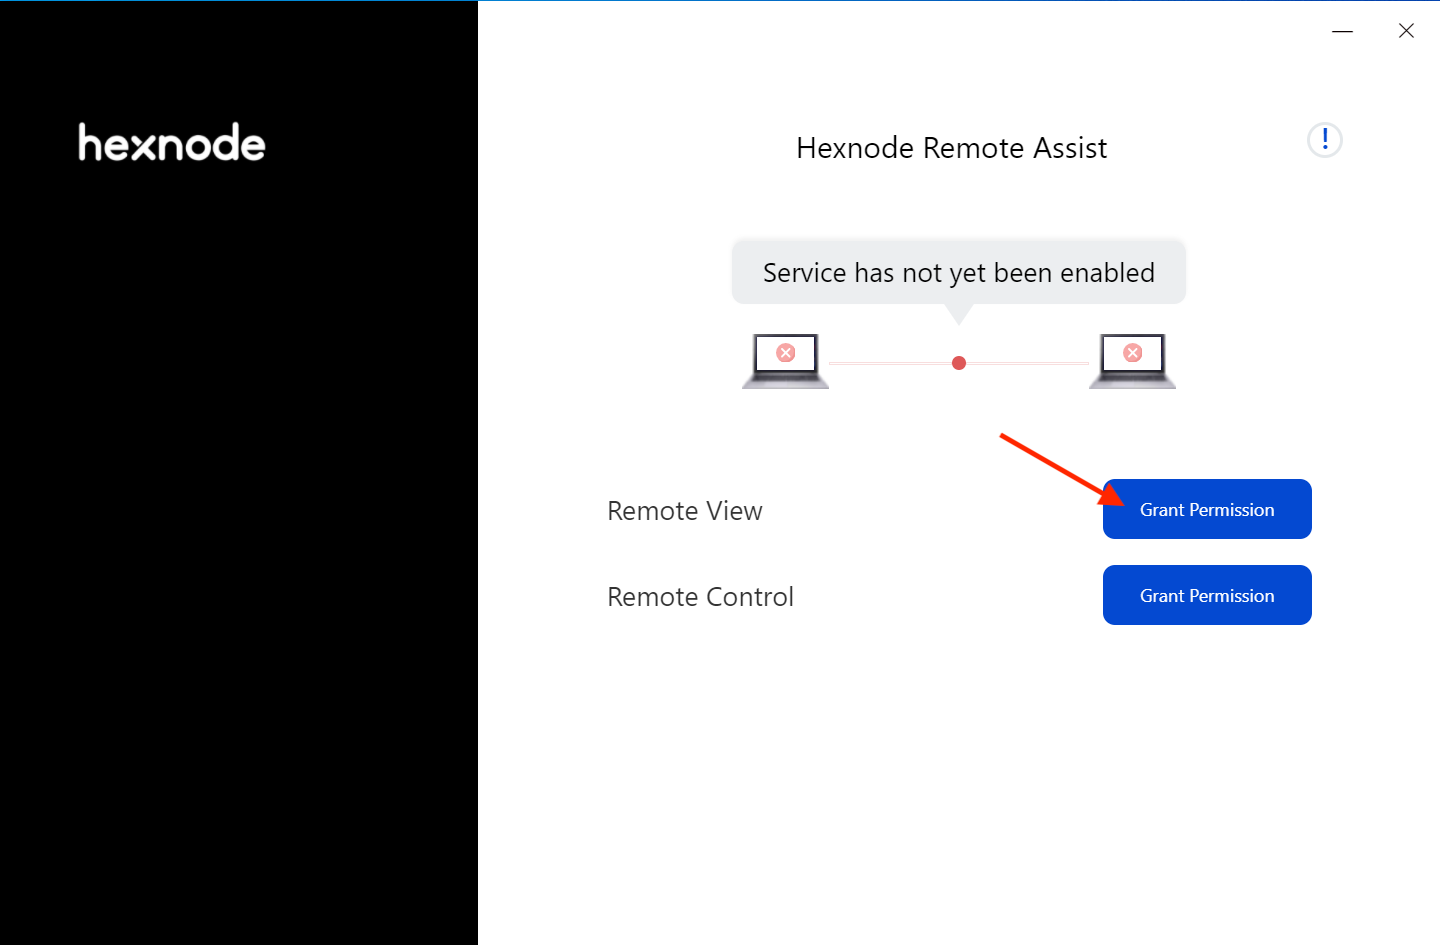
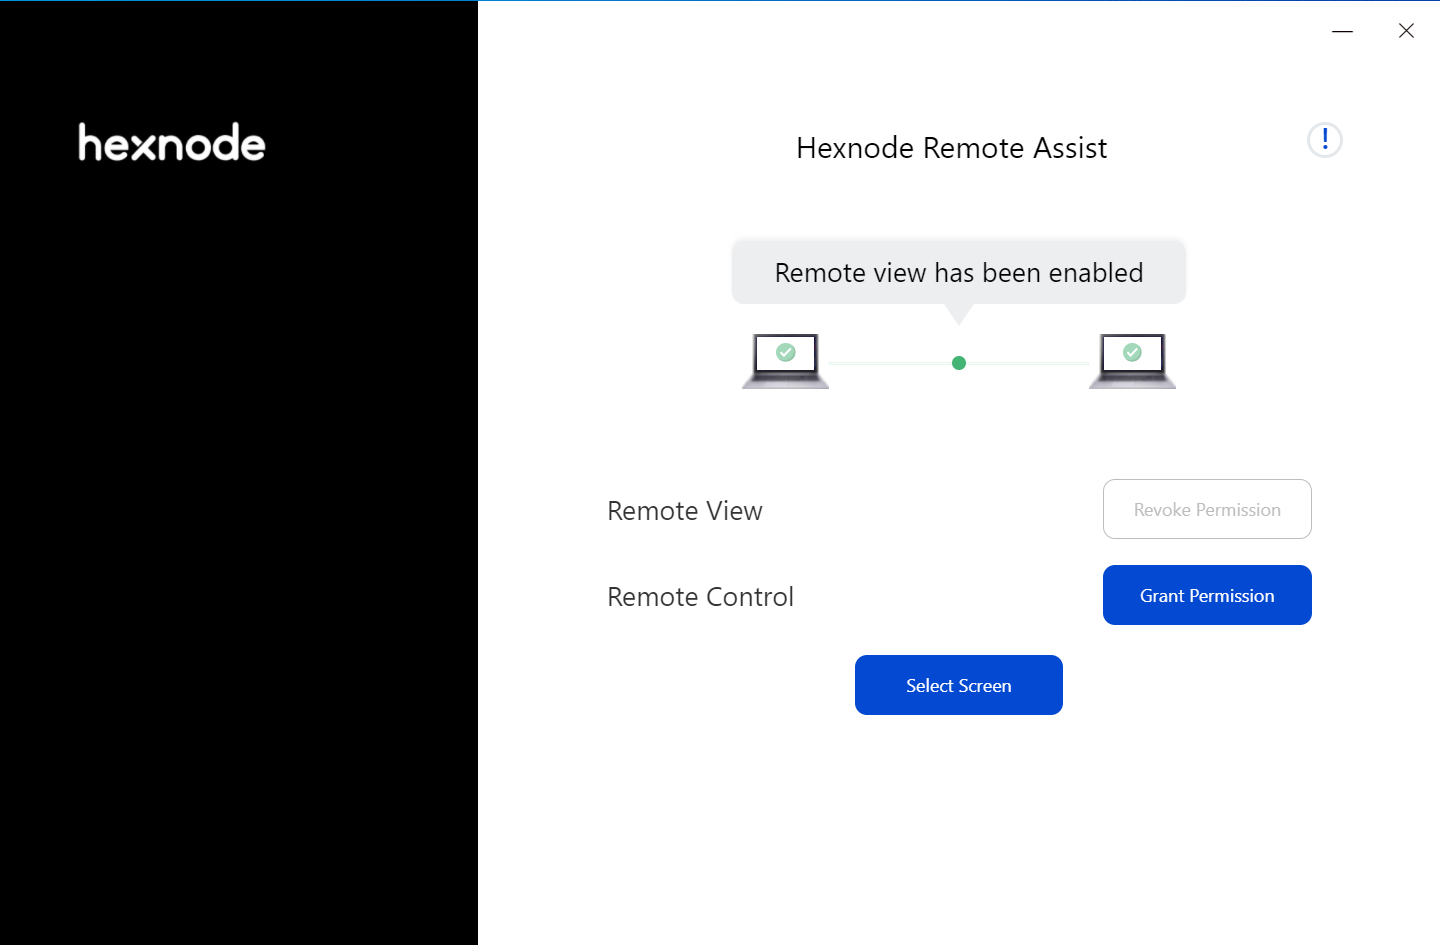
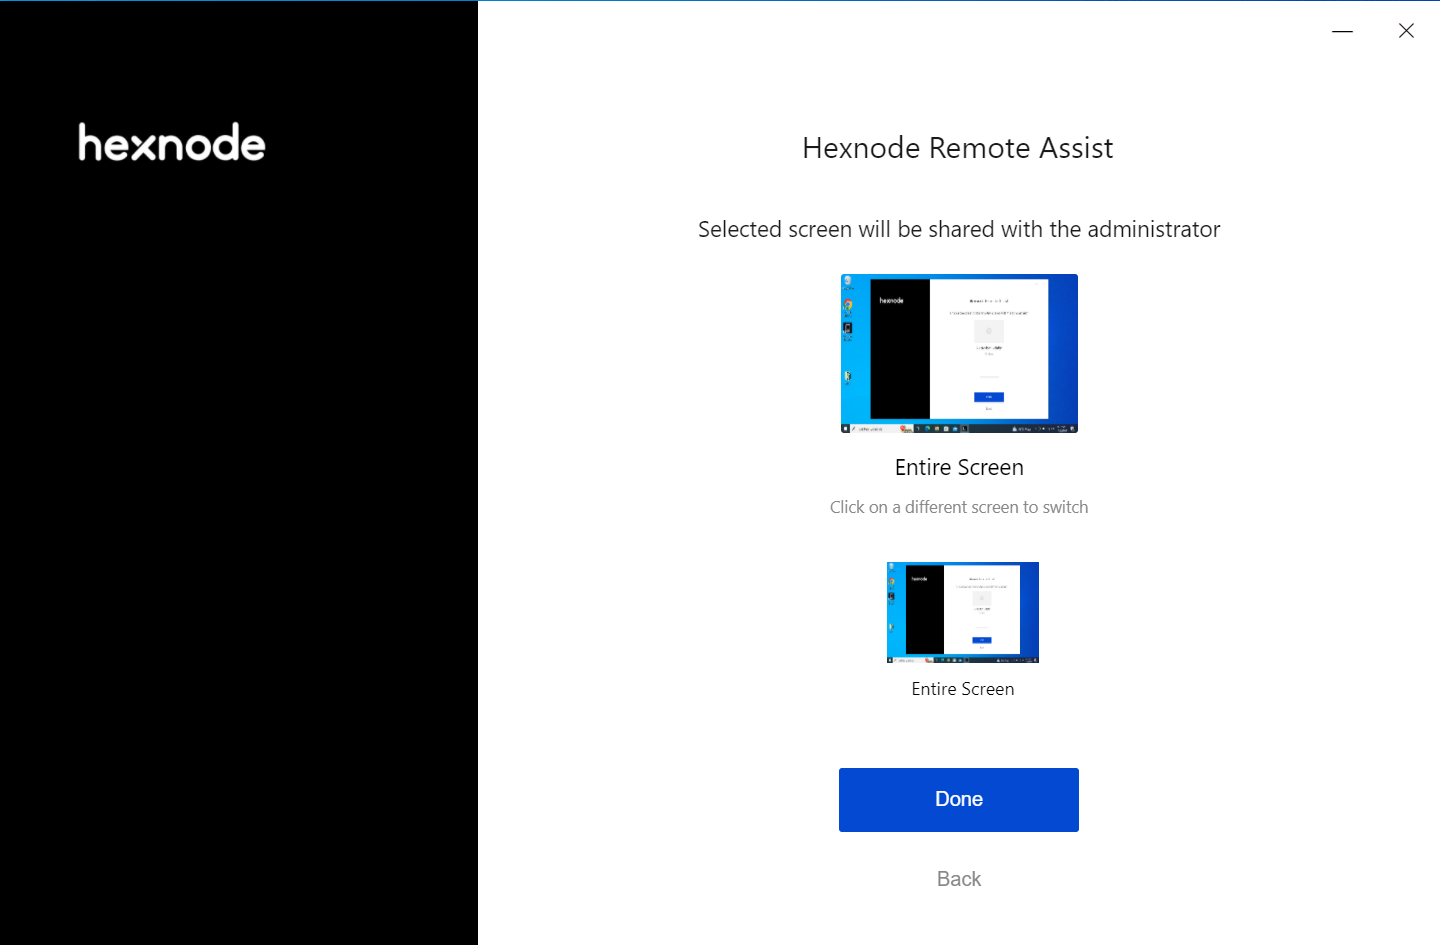
Once the user agrees to the EULA terms and conditions for the Hexnode Remote Assist app, the user can grant permission for Remote View from the app.
To remotely control the Windows device
The administrator can remotely view and control the device directly from the Hexnode UEM portal. However, to enable the remote control feature, you need to grant permission for Remote Control in the Hexnode Remote Assist app on the device end.
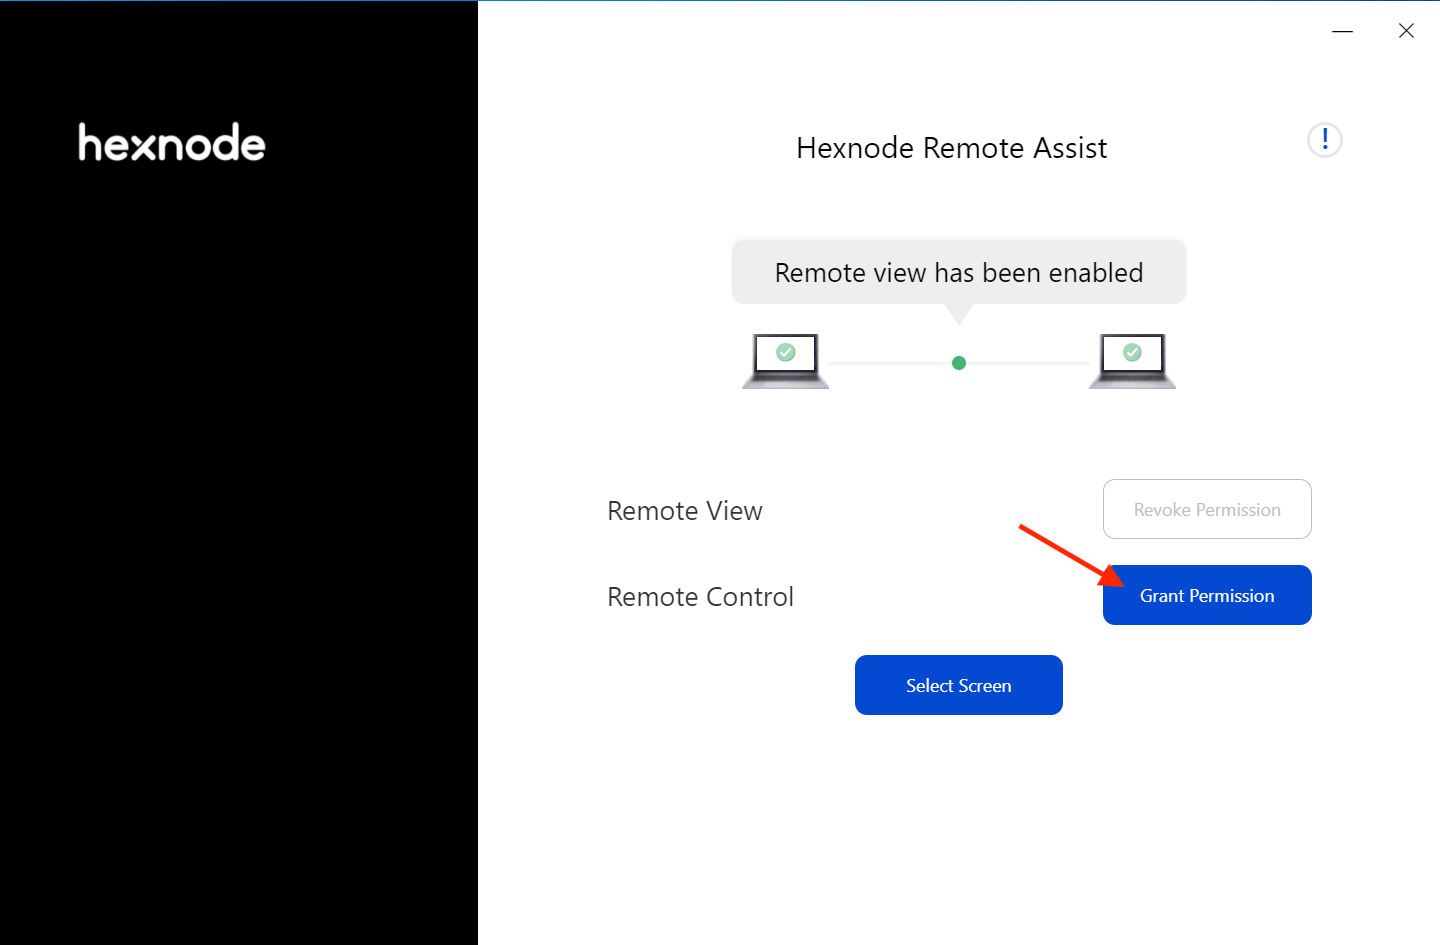
- Open the Hexnode Remote Assist app on the device.
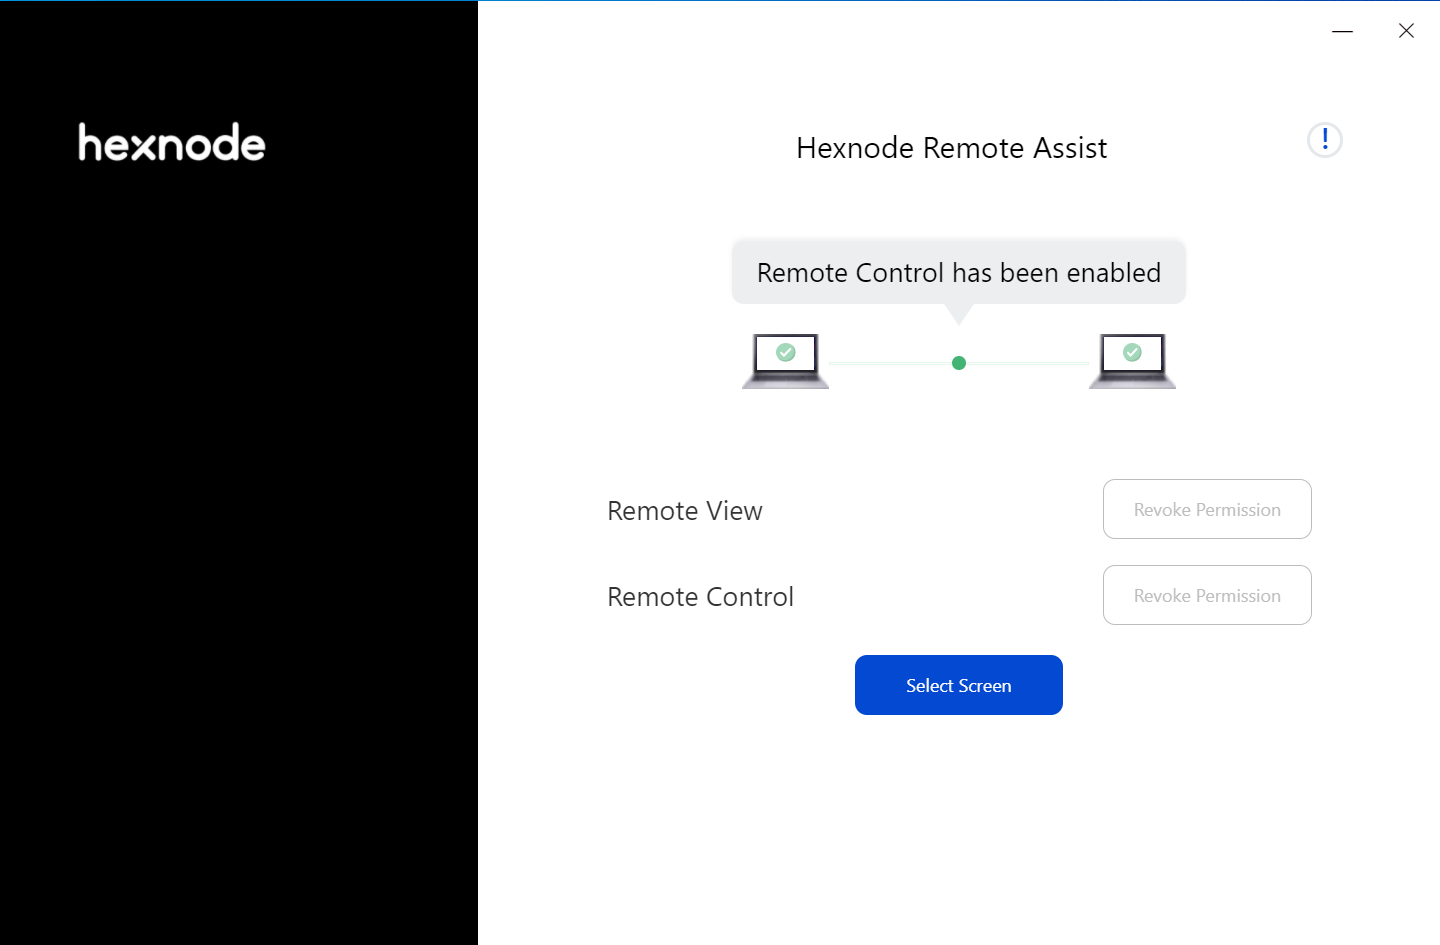
- In addition to enabling permission for Remote View, enable permission for Remote Control also.
This will activate the remote control services on the device.
Follow the steps mentioned below to remotely control Windows devices using Hexnode UEM.
- Login to your Hexnode portal.
- Navigate to Manage > Devices.
- Identify and select the device from the list of enrolled devices.
- On the Device Summary page, click on Start Session under Remote View.
- Select whether the Hexnode Remote Assist app should run at the User level or the System level.
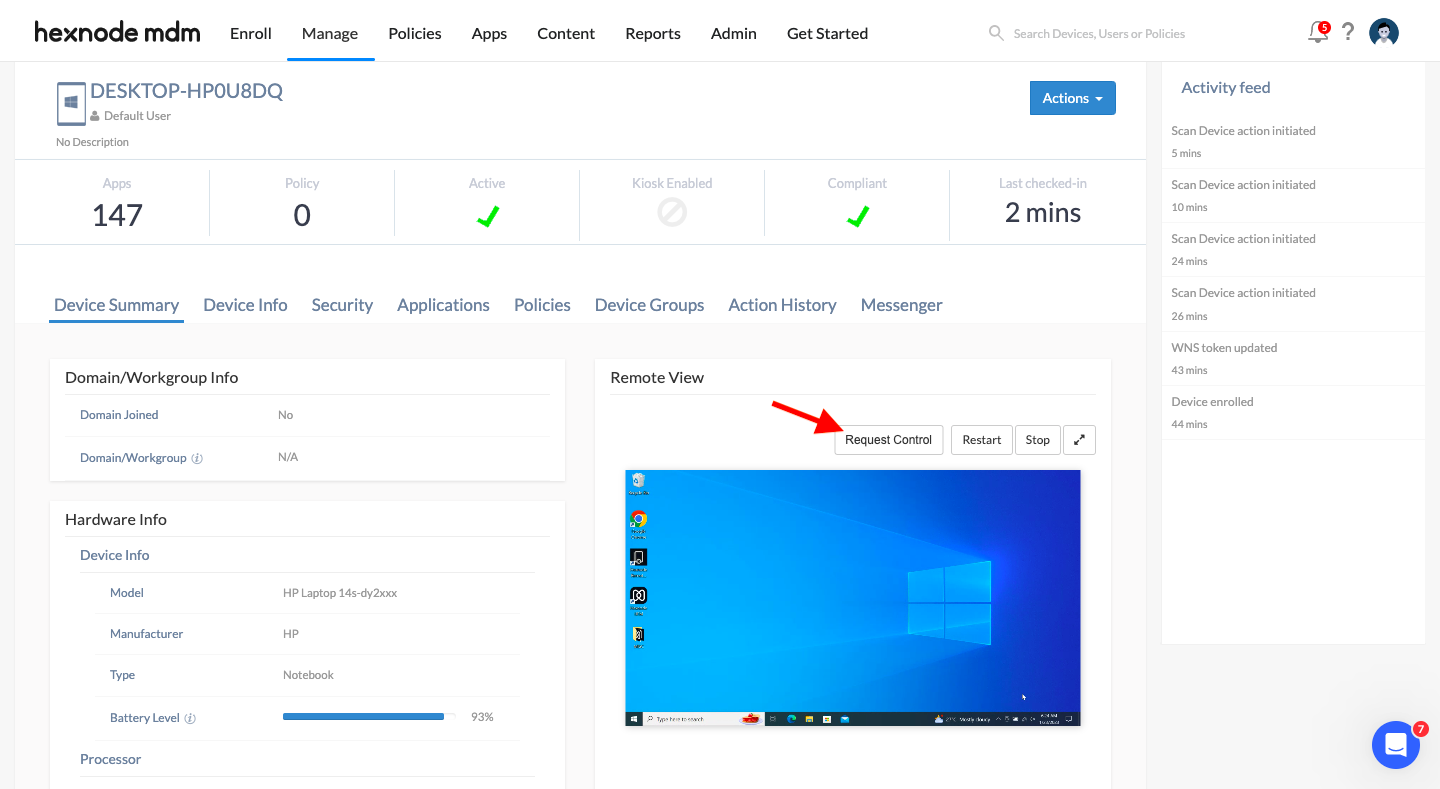
- Once the Remote View session is initiated after getting permission from the device end, you can see the option Request Control in the Remote View section on the Device Summary page.
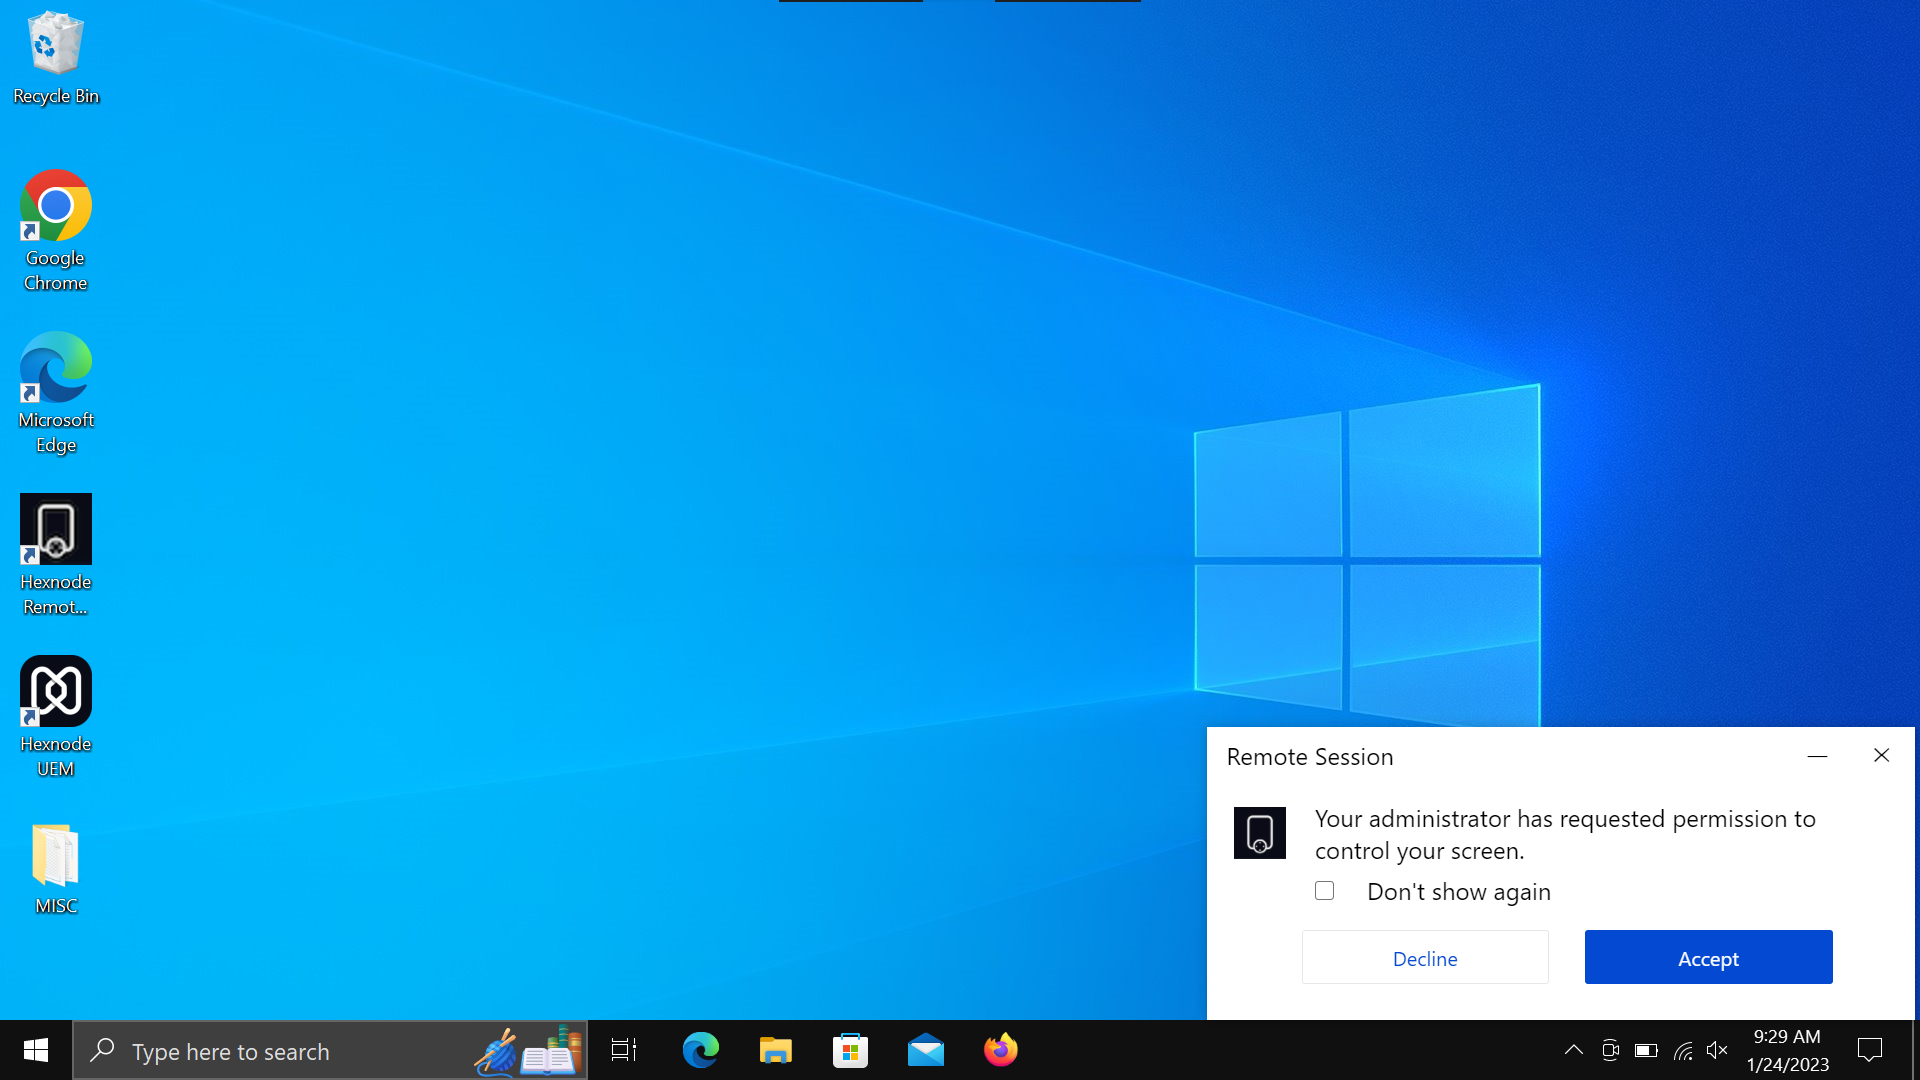
- Clicking on Request Control prompts the user to grant permission for Remote Control.
- The user has to grant permission for the remote control session by clicking on the Accept button in the prompt on the device end.
- Once the permission is granted, you’ll be able to control both the mouse controls and keyboard controls on the device end via the console.
- If you want to revoke the control feature and just remotely view the device, you can click on the Stop Remote Control button to switch the session back to a normal remote view session.
- Click on the Stop/Restart button to end/resume the remote view/remote control session, respectively. Click on the Maximize button to fit the remote view/remote control session to full screen.
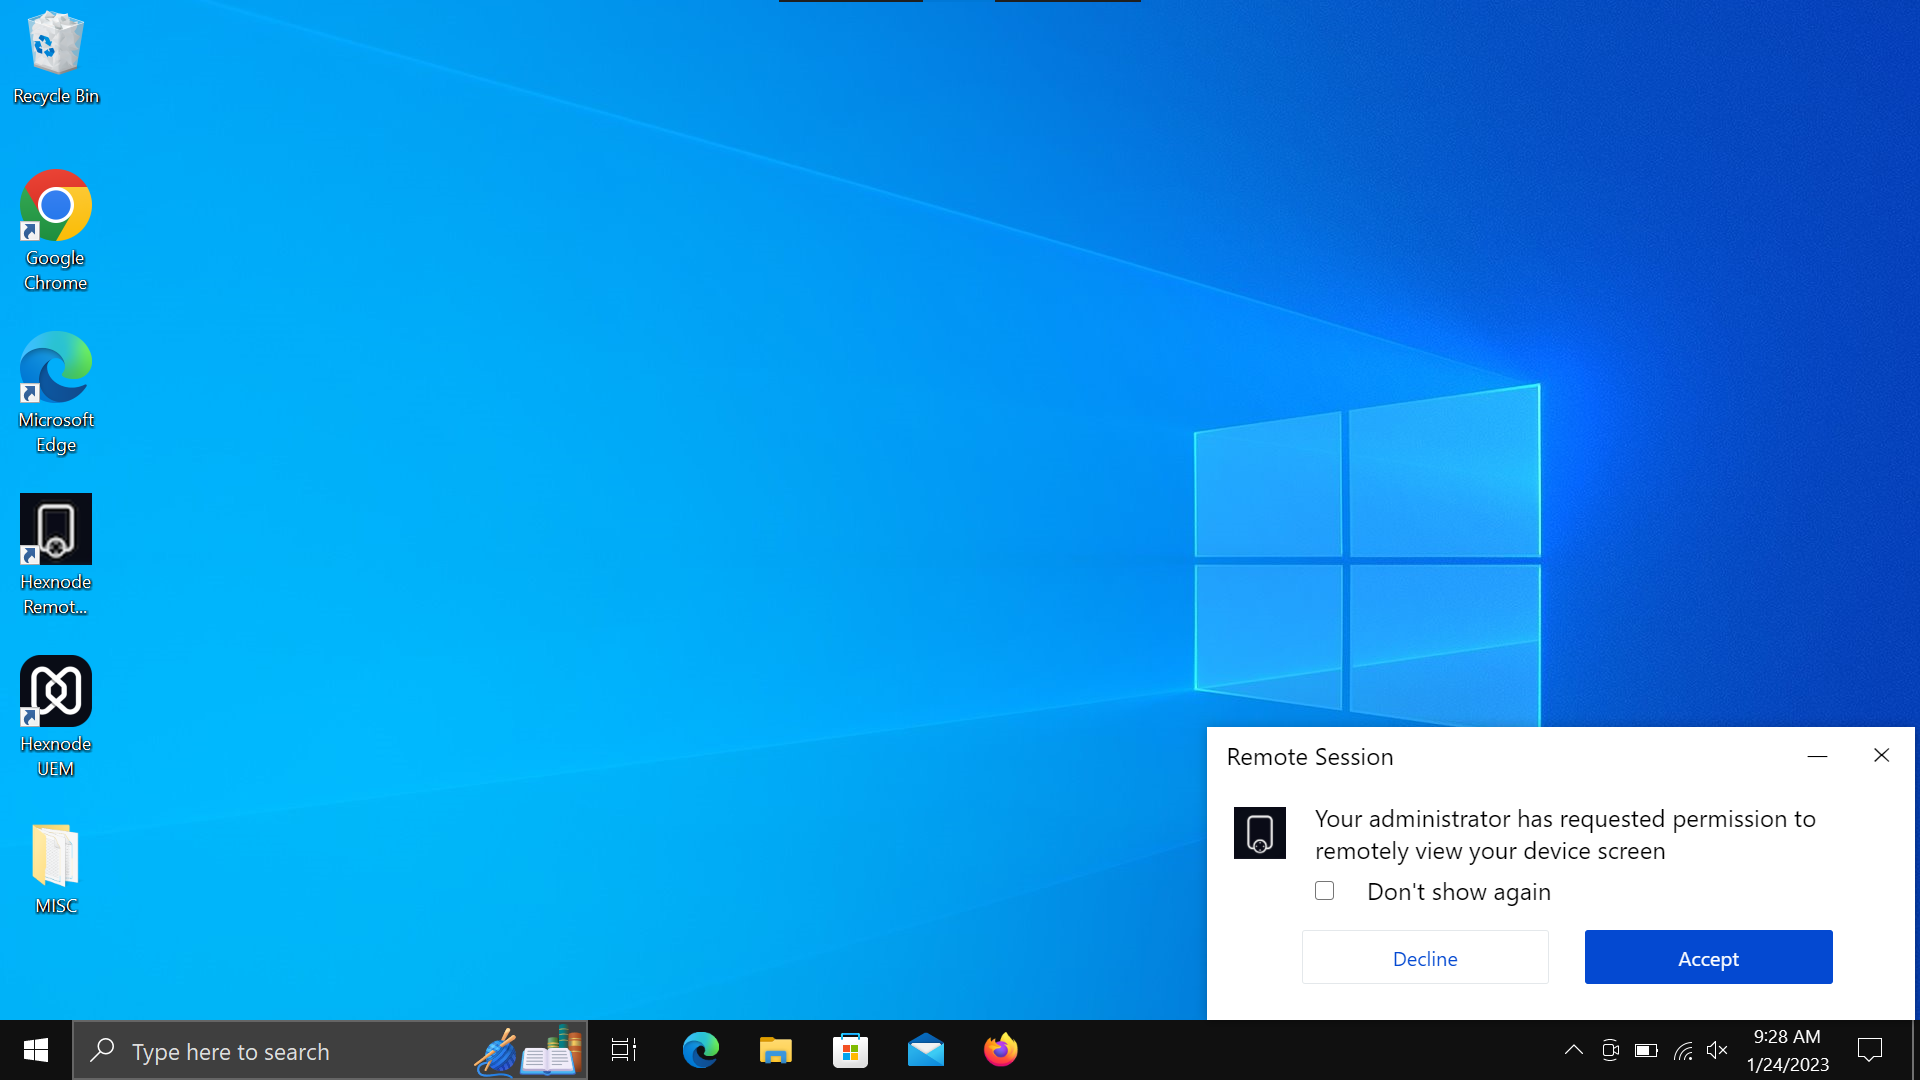
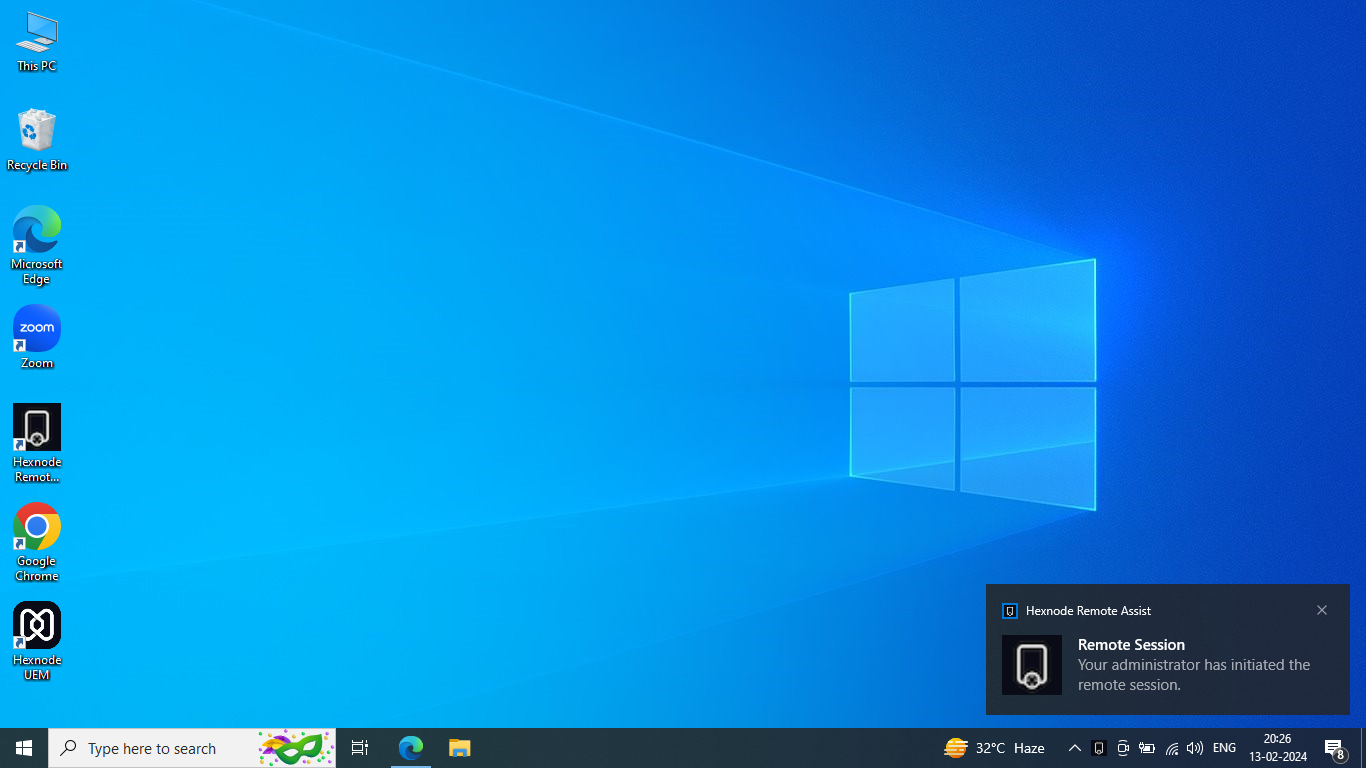
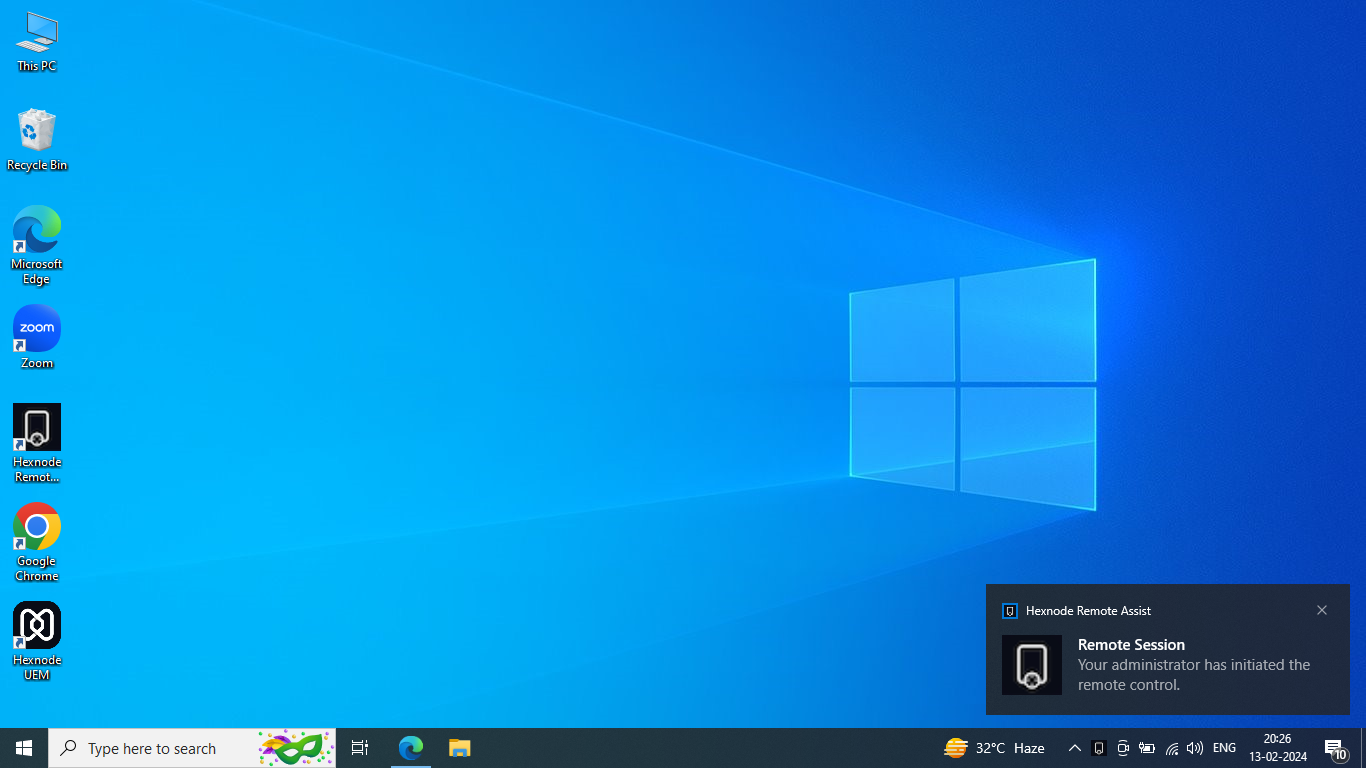
Both Remote View & Remote Control permissions should be granted for remotely controlling the Windows device. Even though these permissions are already granted by the user in the Hexnode Remote Assist app, when the administrator initiates a remote view session, a prompt appears on the device end mentioning that the administrator has requested the remote view session.
Similarly, when the administrator clicks on Request Control from the console, the user gets a prompt mentioning that the administrator has requested control over the device. Accepting the prompt allows the remote view/remote control session to get initiated. Declining the prompt cancels the remote view/remote control session.
Remote View & Control during Kiosk Lockdown
Remote View & Remote Control is not supported in a single app kiosk but only on a multi app kiosk. However, to enable the remote view & control feature while on kiosk, you need to follow some pre-requisites.
Once the Multi App Kiosk Lockdown policy is associated with the device and the kiosk mode is active, if a remote view session is initiated from the Hexnode UEM portal, the Hexnode Remote Assist app shows up as a minimized icon in the taskbar of the device. The user must open the app and allow access to the Remote View & Remote Control permission for the administrator to view as well as control the device. The user can revoke permission anytime from the device end for both Remote View & Remote Control even when the device is locked in multi app kiosk.
Remote View & Control without user interaction
Unattended Remote Access allows IT admins to remotely view and control Windows devices without any interaction from the user at the device end. To enable unattended remote access:
- Login to Hexnode UEM portal.
- Go to Policies, select an existing policy or click on New Policy to create a new one.
- Navigate to Windows > Troubleshooting > Unattended Remote Access and click Configure.
- Mark either or both options:
- Enable unattended remote view
- Enable unattended remote control
- Navigate to Policy Targets, select the required devices and click Save.
- Go to Manage, select the device and click on Start Session under Remote View.
- Select whether the Hexnode Remote Assist app should run at the User level or the System level.
- Mark the Initiate session without user interaction option.
- Click Start to begin the Remote View session.
- Click Initiate Remote Control to begin the Remote Control session.


