Windows kiosk mode uses Assigned Access to lock devices into a single app or a controlled set of apps for secure, task-specific use. While Windows 10/11 provide native kiosk setup options, they come with security and scalability limitations. Hexnode enhances Windows kiosk mode with remote management, stronger security controls, and legacy app support for easier large-scale deployments.
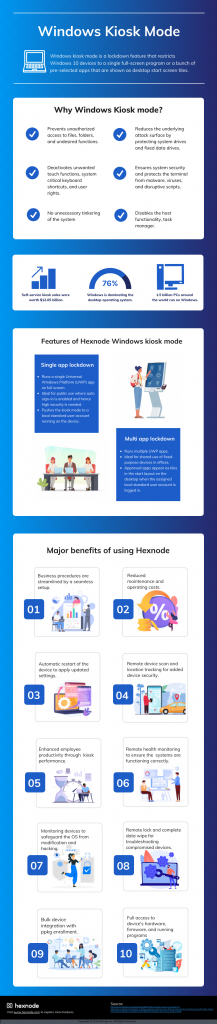
Windows kiosk mode is a lockdown mechanism that restricts a Windows device to running only a single application or a defined set of approved apps.
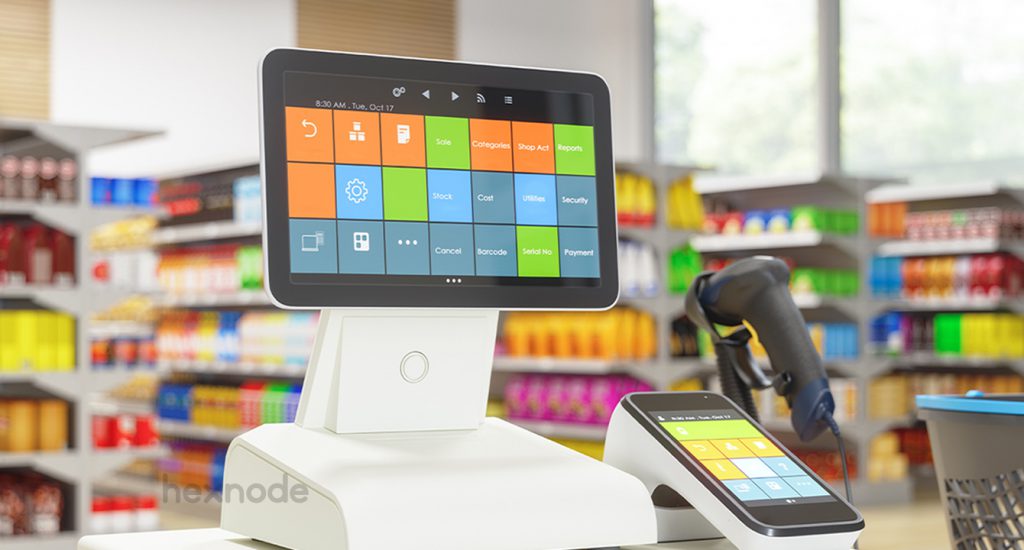
It uses a feature called Assigned Access to transform standard PCs into dedicated-purpose terminals. This makes it ideal for digital signage, point-of-sale (POS) systems, self-service kiosks, educational labs, and secure public browsing environments.
In this guide, we break down everything IT administrators need to know about Windows kiosk mode. It includes setup methods, advanced troubleshooting, native limitations, and why enterprises choose Hexnode for scalable kiosk management.
Windows Kiosk Mode: Core Concepts & Architecture
Windows kiosk mode relies on Microsoft’s Assigned Access feature to limit user interactions and create a restricted operating environment. Users can access only approved applications and functions while everything else remains blocked.
Microsoft provides native tools to configure kiosk mode. However, enterprise environments often require more granular controls, stronger security, and centralized management capabilities than what the standard Windows Settings menu provides.
First-Hand Setup Experience: How to Configure Windows Kiosk Mode
Setting up kiosk mode requires administrator privileges. It can be configured using Windows Settings, PowerShell, provisioning packages, or a Unified Endpoint Management (UEM) solution like Hexnode.
Below are field-tested steps for manually configuring kiosk mode on a single device.
Note: If you’re deploying kiosk mode to more than 10 devices, consider using a UEM solution to avoid hours of repetitive manual configuration.
How to Set Up Kiosk Mode in Windows 11
Open Settings: Press Win + I and navigate to Accounts > Other users.
Access Kiosk Setup: Scroll to the Kiosk section and click Set up a kiosk.
Name the Account: Click Get started, enter a name for the kiosk account (for example, “Visitor”), and click Next.
Select the App: Choose the Universal Windows Platform (UWP) app you want the device locked to.
Configure Experience: If using Microsoft Edge, choose either Digital Signage or Interactive Display.
Finalize: Click Close, restart the device, and sign in using the kiosk account to test the setup.
How to Put Windows 10 in Kiosk Mode
Navigate to Settings > Accounts > Family & other users.
Select Set up a kiosk or Assigned access.
Create and name the kiosk account.
Select the app the device should run.
Restart the machine to launch the kiosk environment.
How to Disable Kiosk Mode in Windows 10 & 11
To disable kiosk mode, you must sign out of the kiosk account and remove the Assigned Access configuration using an administrator account.
Exit the Kiosk: Press Ctrl + Alt + Delete on the device and sign out.
Log in as Administrator: Use your admin credentials to access the system.
Remove Settings: Navigate to Settings > Accounts > Other users > Kiosk.
Delete the Kiosk: Select the kiosk profile and click Remove kiosk.
Fact: Windows powers a significant percentage of the world’s ATM infrastructure. The operating system is widely used in critical environments where additional access restrictions and security hardening are essential.
Advanced Configuration Methods for IT Pros
Beyond the Settings menu, Microsoft provides several advanced methods for configuring kiosk environments.
For IT teams managing complex deployments, these professional alternatives provide greater flexibility and scalability.
Method
Best Used For
Supported Mode
Windows PowerShell
Scripting kiosk setups across multiple local devices.
Single App
Provisioning Packages (.ppkg)
Bulk configuring devices during Out-of-Box Experience (OOBE).
Single & Multi-App
Shell Launcher
Replacing the default Explorer shell with a custom application.
Single App
MDM Bridge WMI
Delivering CSP commands via management scripts.
Multi-App
Pro Tip: Provisioning packages simplify initial bulk setup, but ongoing kiosk management is significantly easier through centralized UEM platforms.
The Hidden Dangers: Limitations of Native Windows Kiosk Mode
Native Windows kiosk mode blocks basic user interference effectively. However, it can still leave security gaps that advanced users may exploit.
Before deploying native kiosk configurations in public-facing environments, IT teams should understand these common limitations.
Keyboard Vulnerabilities: Certain shortcuts like Ctrl + Alt + Delete may still remain active.
Pop-up Exploits: Application dialog windows such as “Save As” or “Print” can sometimes expose file system access.
Safe Mode Bypasses: Without BIOS or UEFI restrictions, users may reboot devices into Safe Mode and bypass kiosk policies.
Persistence Issues: Multi-App kiosk restrictions may require manual cleanup when reverting devices back to standard operation.
Selecting a Windows kiosk device for your enterprise
A guide to choosing and managing the right Windows kiosk devices for your enterprise with Hexnode.
Why Hexnode is the Windows Kiosk Mode Solution Leader
Hexnode transforms Windows kiosk mode from a basic operating system feature into a scalable enterprise-grade infrastructure for managing thousands of endpoints securely.
By addressing the shortcomings of native Assigned Access, Hexnode delivers enhanced security, remote troubleshooting, centralized policy management, and advanced kiosk controls.
Remote Control: Hexnode enables administrators to remotely view and control kiosk screens for rapid troubleshooting.
Location Tracking:Geofencing and remote actions such as lock and wipe help secure devices and corporate data.
Advanced Web Kiosk:Hexnode’s Secure Browser supports URL allowlisting, cache management, cookie controls, and customizable browsing sessions.
Technical Note: UWP vs. Win32 Applications
Single-app kiosk configurations in Windows commonly rely on Universal Windows Platform (UWP) applications, although supported application types can vary based on the Windows version and deployment method.
UWP applications are built using Microsoft’s modern application framework, which includes built-in security and management controls ideal for kiosk deployments.
The Hexnode Advantage: Hexnode supports enterprise application deployments, including Win32 apps, within Multi-App Kiosk environments.
Troubleshooting Common Windows Kiosk Issues with Hexnode
Native Windows kiosk deployments often encounter operational friction points such as app crashes, update interruptions, and user breakout attempts.
1. The “Blue Screen” or App Crash Loop
The Problem: The kiosk application crashes immediately after launch, causing the screen to flash or return to the login page.
Hexnode Fix: Hexnode’s Remote View feature allows administrators to remotely inspect devices and troubleshoot application failures in real time.
2. Users Breaking Out via Keyboard Shortcuts
The Problem: Users attempt to access the underlying operating system using shortcuts such as Win + R or Alt + Tab.
Hexnode Fix: Hexnode supports peripheral and hardware restriction policies to prevent unauthorized interactions.
3. Windows Updates Interrupting the Kiosk Experience
The Problem: Windows updates trigger notifications or restart prompts that interrupt kiosk sessions.
Hexnode Fix: Hexnode supports centralized patch management policies that help administrators schedule and control update deployment windows.
To put Windows in kiosk mode, you must configure “Assigned Access” in Settings. First, go to Settings > Accounts > Other users > Set up a kiosk. Create a dedicated user account. Then, select the single app you wish to run (e.g., Edge or a POS app). Finally, restart the device to auto-launch into that restricted environment.
What does Windows 11 kiosk mode do?
Windows 11 kiosk mode locks a PC to a specific task. It prevents access to the desktop, files, or settings. It creates a controlled environment where users can interact only with the designated application. This ensures security and focus for public-facing or frontline devices.
How to set up kiosk mode Windows 11?
Set up Windows 11 kiosk mode by navigating to Settings > Accounts > Other users > Kiosk. Click “Get Started” and name your kiosk account. Choose your target application. For web kiosks, select Microsoft Edge and define the start URL. Once saved, sign out of Admin and sign in to the Kiosk account.
How to disable kiosk mode Windows 10?
Disable Windows 10 kiosk mode by pressing Ctrl+Alt+Del to sign out of the kiosk account. Log back in as an Administrator. Navigate to Settings > Accounts > Family & other users > Assigned access. Click “Remove kiosk” to delete the configuration and restore normal functionality.
How to enable kiosk mode Windows 11?
Enable Windows 11 kiosk mode by creating a Kiosk Profile in Settings. Under Accounts > Other users, select “Set up a kiosk.” Follow the wizard to assign a local user account to a single Universal Windows Platform (UWP) app. The mode activates automatically whenever that specific user account is logged in.
Manage Windows Kiosks Seamlessly with Hexnode
Deploy, secure, and manage Windows kiosk devices at scale with Hexnode’s powerful kiosk management solution.
Content Writer at Hexnode, a curious mind with a knack for words, I dive into ideas worth unpacking and craft narratives worth sharing. I enjoy turning complex concepts into clear, engaging stories that connect with people and spark thought. From tech trends to everyday insights, I’m driven by curiosity, clarity, and creativity, always learning, always refining, and always looking for the next story that deserves to be told well.