What is Android Zero Touch enrollment?
Learn how to bulk enroll and provision corporate owned Android devices.

Get fresh insights, pro tips, and thought starters–only the best of posts for you.
Heather Gray
Jul 21, 2020
16 min read
The number of devices in the workplace has increased to a great extent in the past couple of years. Though they have helped in boosting the productivity of workers their deployment process brings in many challenges such as the selection of the right hardware, OS compatibility and configuring policies. Until recently, the mass enrollment of devices was carried out manually, this had been a nightmare for both the IT admins and end users who sometimes had to wait for weeks to get their devices to work according to the requirements of the company.
Staging the devices manually with the required settings, configurations and applications was a tedious process that not only took up a lot of time but also demanded high labor costs and resources. Previously device imaging was done through a time-consuming process known as ‘monolithic imaging’ where the device had to be completely erased and the OS and configurations was manually installed on the device. Zero touch deployment eliminates the need to image a device, instead the required OS, settings and configurations are provisioned on to it.
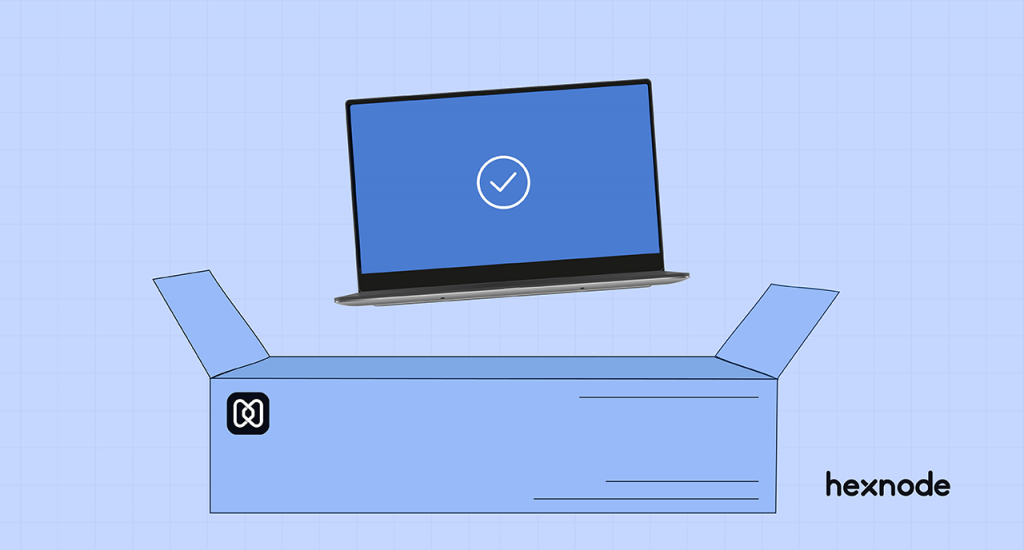
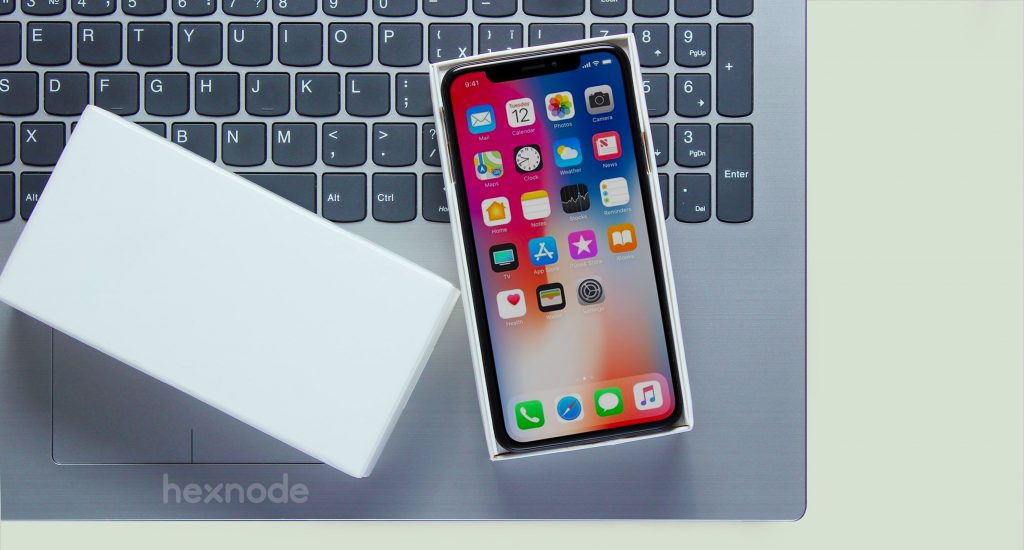
It is a process in which the required settings, configurations and applications are automatically provisioned on the devices without the need for any IT intervention making it work ready for employee as soon as they unbox it.
Here’s how zero touch deployment can help streamline the device management process:
Experience the benefits zero touch enrollment offers to organisations with Hexnode MDM
Sign UpThe zero touch deployment programs offered by Apple, Google, Samsung and Microsoft simplifies the whole process of enrollment, providing organizations with the convenience to configure mass number of devices in less time and with minimum amount of effort. These enrollment programs can be easily integrated with MDM solutions like Hexnode enabling them to efficiently manage the devices by pushing the right configurations and policies according to the organization’s business requirements. With the exception of Windows Autopilot Hexnode MDM supports all the zero touch deployment features listed below. Windows Autopilot deployment is currently on our roadmap and will be made available within a short period of time. Let’s now have a look at how zero touch deployment works across various platforms and the different perks it brings to the workplace.
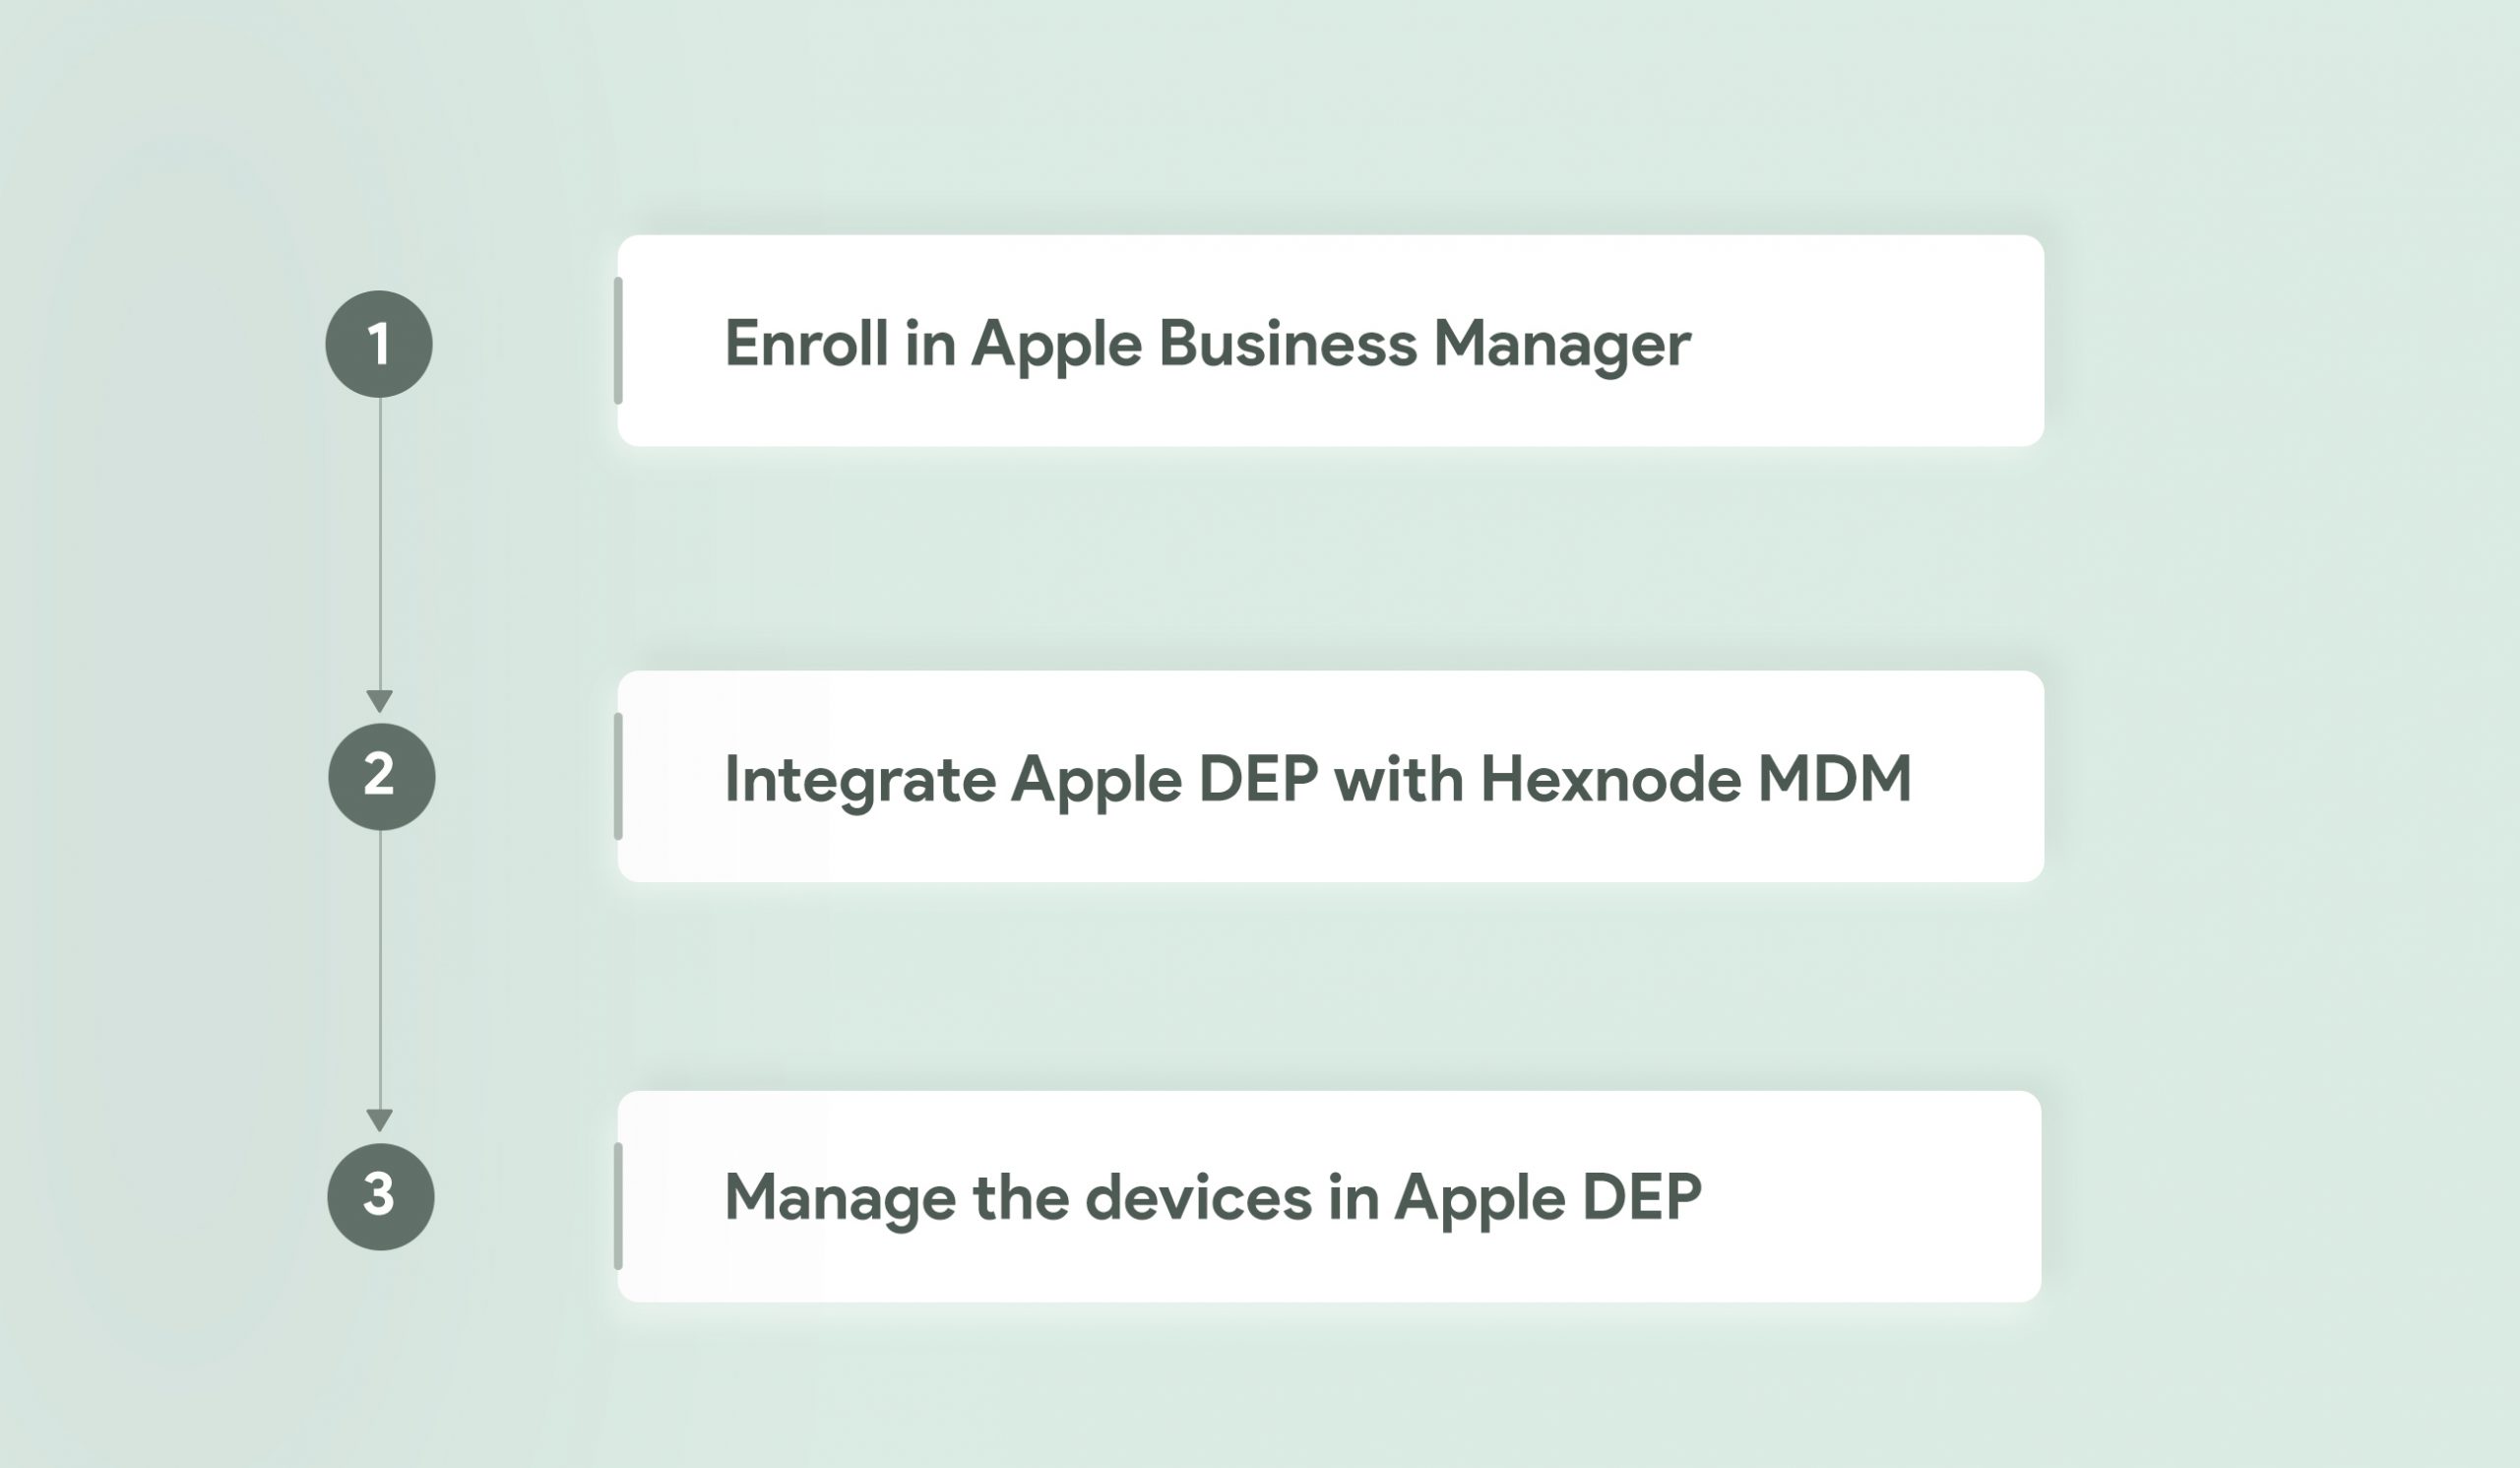
Apple’s Automated device enrollment, known until recently as DEP streamlines the deployment of apple devices in bulk purchased directly from Apple or an authorized reseller by automatically applying the necessary settings and configurations on the devices right from the start. In order to implement zero touch deployment your organization should be enrolled in ABM. ABM simplifies the management of apple devices in the workplace by bringing together both DEP and VPP (Volume Purchase Program) in a single portal.
With VPP enterprises can purchase and seamlessly distribute the essential applications and books in bulk. The apps can be both store apps and enterprise apps. VPP also comes with the added advantage of allowing businesses to distribute custom B2B apps privately. Once your organization is enrolled in ABM you can head out to the ABM website to configure the VPP settings in MDM. Though ABM provides a centralized platform to enroll and supervise the company owned devices, an MDM solution would be required to supervise the devices remotely and set additional enrollment settings. The corporate owned devices will be enrolled in MDM as soon as the user selects the required language and connects it to the network.
Prior to enrolling the devices via DEP, you have to ensure that the APNs certificate is configured in the MDM server. APNs which stands for Apple Push Notification Service, is a service created by Apple and it acts as a gateway to handle all communication between the Apple devices and third-party services. The process behind this is pretty simple, in order to communicate with the Apple device, the MDM server will send a notification to the APNs server, the APNs server will then communicate with the device. Once you have uploaded the APNs certificate in the MDM console it will remain valid for a year from its date of creation. The same Apple ID that was used to create the APNs certificate can be used for its renewal. If you use a different Apple ID the devices would have to be re-enrolled once again. If the APNs certificate gets expired then you will have to re-enroll the devices after renewing or creating a new APNs certificate.
Automated device enrollment with MDM helps unlock a number of additional enrollment settings such as prompting the user to enroll the device in MDM and enabling supervision on the devices right upon enrollment. By supervising the devices, you not only get to have more control over it but additional restrictions and functionalities such as blacklisting applications, setting up a global proxy, locking the devices in a single app mode, forcing web content filtering and setting the wallpaper can be applied as well. You can enable supervision on iOS devices via Apple Configurator or DEP. Supervision through Apple Configurator would involve connecting the devices to a Mac whereas supervision via DEP can be done completely over the air. You can define the DEP policy you want to add to your devices from the MDM console. Once the configuration parameters are set, they will take action on the device as soon as it’s powered on. Some of these include:
Apple devices running on iOS version 11 and above can now be added to DEP via the Apple Configurator 2.5. However, there is a provisional period of 30 days which means that any device added to DEP through Apple Configurator can be removed from DEP within 30 days from the day it was added. The setup steps that were defined to be skipped earlier can be brought back on the devices. The ‘Remove Management’ option from settings will remain enabled on the device throughout the 30-day provisional period even if the ‘Allow MDM profile removal’ option is disabled on the DEP policy.
Zero Touch Enrollment (ZTE) simplifies the bulk enrollment of corporate owned Android devices. Just like any other zero touch deployment methods, ZTE ensures that the devices are work ready for its users right from the moment they unbox it. It saves admins the tedious task of manually setting up the devices. The minute the devices are switched on and connected to the network, they will be enrolled with MDM. In terms of security, this zero touch deployment method of Android devices can be quite powerful as it reduces the risks unintentionally caused by users who may configure the wrong settings. One of its biggest perks that ZTE offers enterprises is that it prevents unauthorized users from joining the organization’s MDM environment.
Before enrolling the devices via ZTE organizations must ensure that the devices they wish to manage should be purchased from a zero touch reseller partner or a Google partner. This method will not work on Samsung devices, a different zero touch deployment method known as Samsung Knox Mobile Enrollment (KME) is used to enroll the devices. You can scroll down below to read more about KME. The Google account you use should be associated with the corporate email. You can check whether the devices are compatible with ZTE from this list of Android zero touch devices
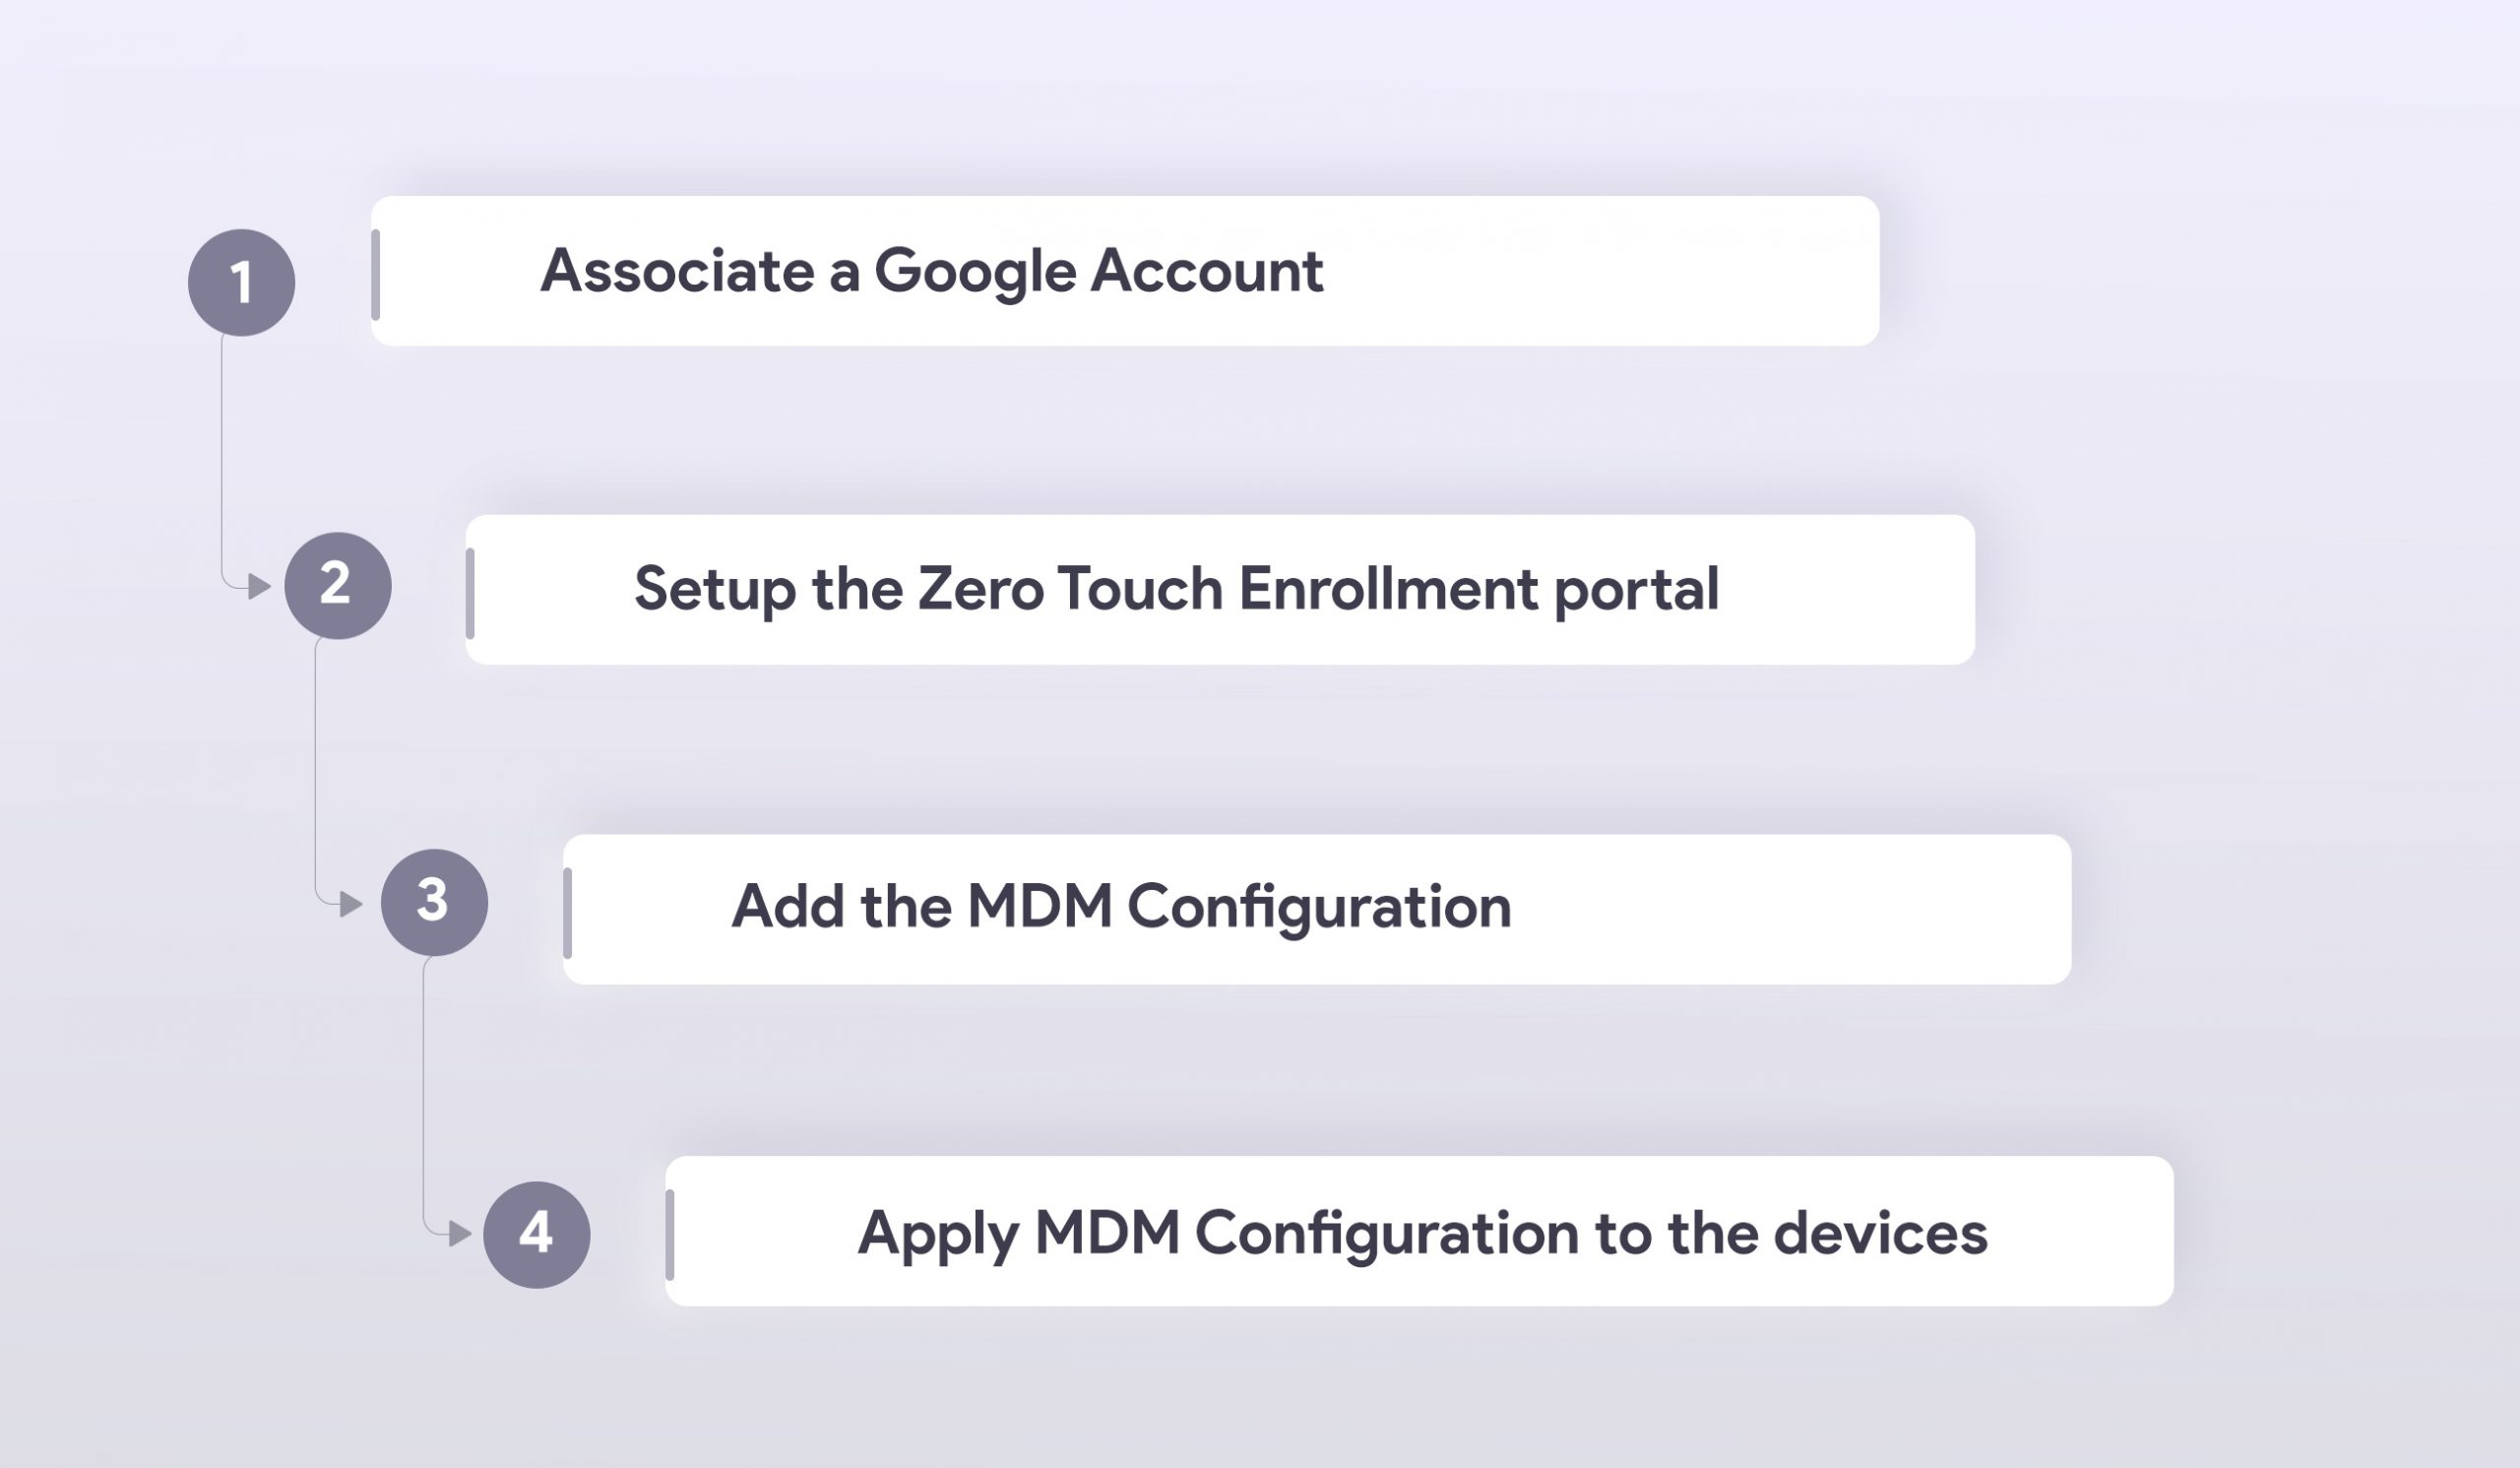
With its one-time setup experience zero touch enrollment makes the Android devices ready for enterprise use right from the moment the users power it on. The device gets enrolled with MDM as soon as it connects to the network. Devices enrolled via ZTE will be automatically provisioned as device owner, so organizations can have complete control and efficiently manage the corporate owned devices. ZTE also allows resellers to add the devices to the portal. Once the devices are enrolled via zero touch admins can enforce the automatic installation of apps and enterprise users can immediately start using the devices that already has the necessary policies and configurations set by the organization’s MDM provider. This zero touch deployment method would be ideal for organizations that want to manage devices that are provisioned as a device owner through Android Enterprise.
With Samsung Knox Mobile Enrollment or KME IT admins can quickly enroll Samsung devices in bulk without going through the trouble of manually configuring each one individually. With KME, the device can be configured with the required MDM policies making it work ready for users right upon unboxing.
To automate the provisioning of the Samsung Knox devices your organization must first have a Samsung account and a Knox portal account. The Samsung Knox devices should be running on a Knox version 2.4 and above. Devices that lack a Device Root Key (DRK) can be enrolled using a Knox 2.4.1 binary.

For starters, KME makes the bulk enrollment of Samsung devices a lot easier. All the configurations and settings provisioned by your organization via MDM will be applied on the devices as soon as they are powered on and connected to the network. In the event if the device gets lost/stolen and if a factory reset is initiated on the device MDM will be automatically re-enrolled on the devices making it easier for the organization to locate and secure the device against any malicious activities.
KME can manage multiple MDM configurations per account, organizations harboring a complicated MDM environment can efficiently set up their large number of devices with the right MDM profile. You can manage multiple MDM profiles for different vendors and enrollment settings. With Hexnode MDM’s integration with Samsung Knox admins can apply a wide range additional restrictions and functionalities to the provisioned devices.
Restrictions on Bluetooth, camera, Wi-Fi and data roaming can be enabled or disabled based on the business requirements of the organization. It also guarantees better app management capabilities by blacklisting/whitelisting applications, initiate the silent installation of apps or its removal and enable/disable access to the app store. The capabilities also extend to location tracking, security management, expense management and expense configuration. Other functionalities you can access with Samsung Knox includes:
You can add a Knox Platform for Enterprise (KPE) Premium license key to access standard and premium permissions from Samsung Knox. This key is essential in managing the Knox container on the Samsung devices. The KPE license key can be purchased from Knox resellers. Configurations that are available by using a KPE key includes:
This cloud service provided by Microsoft makes the zero touch deployment of Windows 10 devices a lot quicker and reliable. With Windows Autopilot admins can now avoid the tiresome task of managing custom images. Prior to the automated deployment of Windows 10 devices, IT admins had to build each custom image and then establish an infrastructure that was necessary to maintain those images. Then they had to utilize those images appropriately and keep them in a work-ready state for each individual device in the organization. With each new Microsoft update admins had to update the images and start the process all over again. With Windows Autopilot you can avoid the process of building custom images and automatically provision the devices with the necessary settings and configurations.

The Windows 10 devices will join with Azure AD and enroll in MDM automatically wherein the policies, settings and applications will be applied on the devices immediately. Other key highlights include the skipping of the setup wizard, restriction of admin account creation, self-deployment mode and remote device reset. With the Autopilot reset option, admins can reset the devices remotely and re-deploy it to another user. This also comes handy in situations where the sensitive data present within lost/stolen devices needs to be protected. In the self-deployment mode as soon as the device joins with Azure AD and enrolls with MDM it stays on the enrollment status page until all the configured apps and policies gets provisioned on it. The user does not have to touch the device at all, they just have to connect to the internet and the device will become ready for the user right away.
Hexnode MDM supports the enrollment of Android devices by configuring the ROM. This method of enrollment is usually followed by organizations that collaborate with an OEM vendor. The device is manufactured with a configured ROM or Android firmware with all the permissions and privileges granted to the MDM app. As soon as the user switches on the device for the first time it will be enrolled in MDM. The MDM app will act as a normal system app in the device. The entire enrollment process can be summed up briefly in these three steps:
While setting up the MDM application, you must ensure that it’s APK is copied to the system/priv-app folder, this grants the MDM app the privilege to silently install the application and make the app non-removable. By using Hexnode in custom ROM devices, admins can get to tap into plenty of additional functionalities and restrictions, these include:
With Zero Touch deployment you can efficiently manage the devices through a simplified process. Enterprises can easily implement new technology, consolidate the resources and optimize the rollout without facing any downtime.