TL;DR:
Setting up a self-service kiosk with Hexnode UEM transforms standard tablets, iPads, Android devices, or PCs into secure, purpose-built kiosks that improve efficiency, reduce wait times, and lower operational costs. Hexnode simplifies kiosk implementation with centralized multi-platform management, remote troubleshooting, hardware lockdown controls, and flexible single-app or multi-app configurations. By enrolling devices, creating a kiosk policy, customizing settings, and applying the policy, businesses can quickly deploy and manage secure kiosks across retail, hospitality, healthcare, finance, and more.
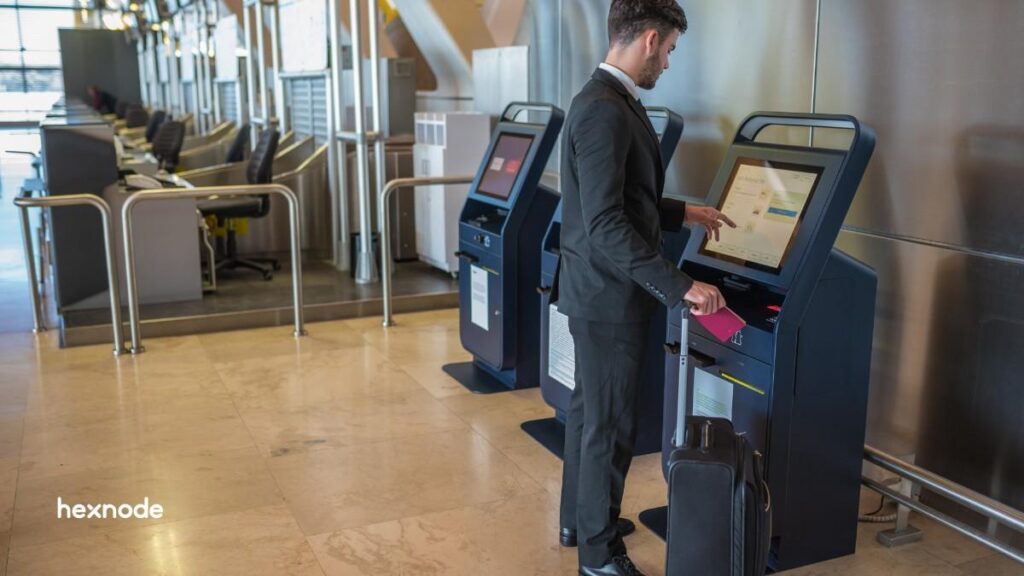
Setting up a self-service kiosk turns a standard tablet or PC into a dedicated device. These devices are locked to specific apps or websites to improve service speed and operations.
McDonald’s is one of the most visible quick-service restaurant adopters of self-service kiosks. Kiosk implementation is now more accessible to businesses of many sizes, depending on their device, software, and operational requirements. This applies to retail stores, hotels, and healthcare centers.
Do you want to cut wait times? Do you need to reduce labor costs? A properly configured kiosk can help reduce wait times and streamline repetitive customer-facing tasks.
This guide is your definitive resource on kiosk setup. We will use Hexnode to guide you through the process.
The Definitive Guide to Kiosk Management and Strategy (2026 Edition)
Why Hexnode is the Kiosk Setup Solution Leader
Hexnode UEM distinguishes itself as the leader in kiosk management. It allows you to secure and monitor devices from a single console across Unified Endpoint Management.
Native OS features often lack scale. Windows Assigned Access or iOS Guided Access are good for one device. However, they are hard to manage in bulk. Hexnode provides the tools needed for professional kiosk installation:
- Multi-Platform Support: Manage iPad, Android, and Windows devices together.
- Peripheral Control: On supported Android devices, configure kiosk peripheral settings such as volume controls, power behavior, Wi-Fi access, Bluetooth access, display settings, and system UI controls. This stops users from tampering with the hardware.
- Remote Management: Supported Hexnode remote actions can help administrators troubleshoot and manage kiosk devices remotely, reducing the need for on-site intervention in supported scenarios.
- Website Kiosk Settings: Ensure your web menus load perfectly every time.
Fun Fact: One of the earliest self-service interactive kiosks, the “PLATO Hotline,” was created in 1977 at the University of Illinois. It featured a plasma touchscreen that allowed users to look up movies and maps—decades before the modern tablet was invented!
Source: Kiosk Marketplace: Why Digital Kiosks Keep Finding More Use Cases
Prerequisites for Successful Kiosk Implementation
Gather your hardware and software before you start the technical setup. This preparation prevents delays during deployment.
Ensure you have these four items for a smooth kiosk setup:
- Hardware: Choose a device suited to the use case, such as a touchscreen tablet, PC, or kiosk terminal with the required input peripherals. You also need a secure mount.
- Network: A stable Wi-Fi or Ethernet connection is required at the site.
- Content: Have your app file or website URL ready.
- Management Software: You need a valid Hexnode subscription or trial.
First-Hand Setup Experience: A Step-by-Step Guide
This section explains how to configure a policy in Hexnode. This policy will turn a standard device into a secure, locked-down kiosk.
Follow these steps to complete your kiosk installation:
Step 1: Device Enrollment
First, you must connect your devices to Hexnode.
- Log in to your Hexnode portal.
- Click on Enrollment.
- Select your platform: Android, iOS, or Windows.
- Follow the on-screen steps.
Step 2: Creating the Kiosk Policy
Now, define the rules that lock the device.
- Go to the Policies tab.
- Click New Policy.
- Choose one of the following options: “Create a fully custom policy,” “Help me create a new policy,” or “Select from templates.”
- Name the policy, such as “Retail Kiosk”.
- Go to Kiosk Lockdown.
- Choose Single App for one app. Choose Multi App to allow a few specific apps.
Step 3: Configuring the Kiosk Experience
- Select the App/URL: Add the app or website you want to display.
- Peripheral Settings: Disable hardware buttons like Power and Volume. This keeps users inside the app.
- Display Settings: Set the screen orientation to Landscape or Portrait. Set the brightness level.
Step 4: Policy Association
- Go to the Policy Targets tab.
- Select the devices you enrolled in Step 1.
- Save the policy.
Once the kiosk policy is applied and any required permissions or activation steps are completed, the supported device enters kiosk mode.
What is a self-service kiosk?
Learn what self-service kiosks are, how they work, and how Hexnode helps secure, manage, and troubleshoot kiosk devices.
Troubleshooting with Hexnode
Real-world issues can happen even with a perfect setup. You need remote tools to fix them quickly.
We have deep expertise in kiosk implementation. Here are common issues and how Hexnode solves them:
| Issue |
Common Cause |
Hexnode Solution |
| App Crash |
Software glitch. |
Use supported Remote Actions such as Restart, Remote App Launch, Clear App Data, or platform-specific scripts where applicable. |
| Network Loss |
Wi-Fi password changed. |
Push new Wi-Fi settings remotely via the Policies tab. |
| User Tampering |
Physical buttons used. |
Turn on “Hardware Button Lockdown” in the policy. |
| Screen Sleep |
Default sleep settings. |
Enable “Always On” display in the Kiosk Policy. |
7 Proven Use Cases for Self-Service Kiosks
Self-service kiosks automate repetitive customer-facing tasks. This can improve workflow efficiency and reduce manual data entry in some use cases.
- Retail Self-Checkout: Customers scan and pay for items alone. This cuts lines and labor costs.
- Quick Service Restaurants: Guests customize orders easily. This speeds up kitchen production.
- Hospitality Check-In: Guests check in and out automatically. Staff can then focus on guest services.
- Banking & Finance: Kiosks handle account openings. This reduces wait times at the branch.
- Feedback Stations: Collect customer opinions right after service.
- Public Transport: Dispense tickets and show maps. This provides easy access to public info.
- Healthcare Registration: Patients check themselves in. They can verify insurance and pay bills quickly.
FAQ
Do I need special kiosk hardware, or can I use existing devices?
You can use standard devices such as tablets, iPads, Android devices, Windows PCs, or kiosk terminals, as long as they fit the use case. The source content recommends pairing the device with a secure mount and the required input peripherals. A stable network connection and ready-to-use app or website are also needed before setup.
When should I choose single-app kiosk mode instead of multi-app kiosk mode?
Use single-app kiosk mode when the device should only run one app or website, such as a digital sign, ordering screen, or check-in station. Use multi-app kiosk mode when users need access to a small set of approved apps. The right choice depends on how much interaction the kiosk experience requires.
Why use Hexnode instead of built-in kiosk tools like Guided Access or Assigned Access?
Built-in tools can work for simple one-device setups, but they can be harder to manage at scale. Hexnode is designed for centralized management across supported platforms, which helps businesses configure, monitor, and troubleshoot multiple kiosks from one console. This is especially useful when devices are deployed across different locations.
What should I prepare before starting kiosk installation?
Prepare the device, secure mount, network connection, app or website URL, and a valid Hexnode subscription or trial. Having these ready helps avoid delays during deployment. You should also decide whether the kiosk will run one app, multiple apps, or a website.
Can kiosk settings be changed after the device is deployed?
Yes, supported settings can be managed remotely through Hexnode policies. For example, admins can push updated Wi-Fi settings, adjust kiosk behavior, or use supported remote actions for troubleshooting. The exact actions available depend on the platform and device support.
What happens if users try to exit the kiosk or tamper with the device?
Hexnode kiosk policies can restrict access to unauthorized apps, websites, and device controls. On supported Android devices, admins can also configure hardware and peripheral controls such as volume, power behavior, Wi-Fi, Bluetooth, display settings, and system UI access. These restrictions help keep the device focused on its intended kiosk function.
Turn Any Device into a Kiosk with Hexnode
Lock down apps, manage devices remotely, and deploy self-service kiosks across supported platforms with Hexnode UEM.
Sign Up Now