Mac notarization: Everything Mac admins need to know
Read on to learn everything Mac admins need to know about app notarization.

Get fresh insights, pro tips, and thought starters–only the best of posts for you.
Eugene Raynor
Jun 7, 2021
15 min read

When it comes to choosing PCs with the most reliable security, Macs have always been the go-to choice for both enterprise and personal users alike. But have you ever considered why? Why are Macs so dominant in the field of security and management? What features do they possess that sets them apart from their Windows counterparts? In this blog, we shall cover the essential features that strengthen Mac security, and learn to leverage Apple’s built-in tools to get the best out of your Mac security software.
macOS devices come built-in with a strong line of security tools and software to protect its users from malware and cyberattacks. The following is a list of the built-in security software on a Mac, and a brief summary of how enterprises can leverage these software to secure their corporate Macs.
macOS devices come pre-installed with an application firewall that can be used to monitor incoming and outgoing network traffic. A firewall acts as a barrier that prevents malicious traffic from entering your network, while at the same time, allowing trusted communications to flow freely.
Enterprises can easily configure Mac firewall policies in bulk using Hexnode UEM, and enable IT to allow or block connections between network ports and applications on corporate Mac devices. You can also manually enable firewall on a Mac by navigating to System Preferences > Security & Privacy, and unlocking the firewall tab. Then, you can click on ‘Turn on Firewall’, to configure the firewall settings.
FileVault is a device encryption software that comes built-in on macOS 10.3 and later, that encrypts your Mac’s hard drive and prevents unauthorized users from accessing any sensitive information on the drive. Once encrypted, users cannot decrypt the Mac without a login password or recovery key. Even if the drive were to be removed from your Mac and connected to another device, the data on the drive would still remain encoded.
With Hexnode, enterprises can configure FileVault policies in bulk and push them to their corporate macOS devices. When configuring FileVault using Hexnode, IT admins can set up personal and institutional recovery keys to decrypt corporate Macs and store these keys in the Hexnode portal. Users can also manually enable FileVault by navigating to System Preferences, > Security & Privacy, and clicking on the option ‘Turn on FileVault’.

Find My Mac is a built-in location tracking program installed on macOS devices that helps find stolen or lost Apple devices, and even enables IT to remotely lock or erase the data on the device in case it has been permanently lost. Find My Mac requires the device to be linked to an Apple ID and have location services turned on.
Hexnode enables IT to remotely turn on Find My Mac on corporate macOS devices, track their location, and even lock or wipe data on the Mac, all from a remote centralized console. Users can also manually enable Find My on macOS devices by navigating to System Preferences > Apple ID > iCloud, and checking the ‘Find My Mac’ box.
XProtect is a built-in Antivirus protection software installed on macOS 10.6 and above, which helps protect Macs against malware and infections. XProtect uses YARA signatures to store a list of known malwares, that are updated regularly by Apple. When a new app is installed or its file system is changed, or when the XProtect signatures are updated, the malware present is automatically detected and blocked, and the user is notified to remove the corresponding software. There is no need for IT to manually activate XProtect, as it is automatically turned on by your system.
Gatekeeper is a macOS built-in software that is designed to ensure that only apps and software that are digitally signed by an identified developer and have a certificate issued by Apple, can run on a Mac. When an app or software is first downloaded on a Mac, Gatekeeper verifies that the software is from an identified developer, and is notarized by Apple. This ensures that the app is free of any malicious content. Also, user approval is required by Gatekeeper before an app is installed on a Mac.
Users can easily override Gatekeeper policies and open any software on a Mac, by navigating to the General tab in System Preferences > Privacy and Security, and checking the option to allow apps to be downloaded from anywhere. In the case of macOS Catalina and above, users can reveal this option by opening the terminal and entering the command, ‘sudo spctl –master-disable’, and authenticating it with a password. However, having this option enabled will make your system vulnerable to malware. To disable users from tampering with these settings, enterprises can make use of a UEM solution like Hexnode and restrict users from overriding Gatekeeper settings. Also, Hexnode enables IT admins to bypass Gatekeeper and approve Mac kernel extensions, while also prohibiting users from enabling third-party kernel extensions by themselves.
Malware removal tool is another built-in anti-malware tool available on macOS 10.8.3 and above, that removes any known malware installed on a Mac. If by chance malware has made its way onto a Mac, the MRT checks with the malware database that is periodically updated by Apple, and remediates the infections that have gotten through to the Mac. Similar to XProtect, MRT is automatically turned on by the system, and does not require to be manually enabled by IT.
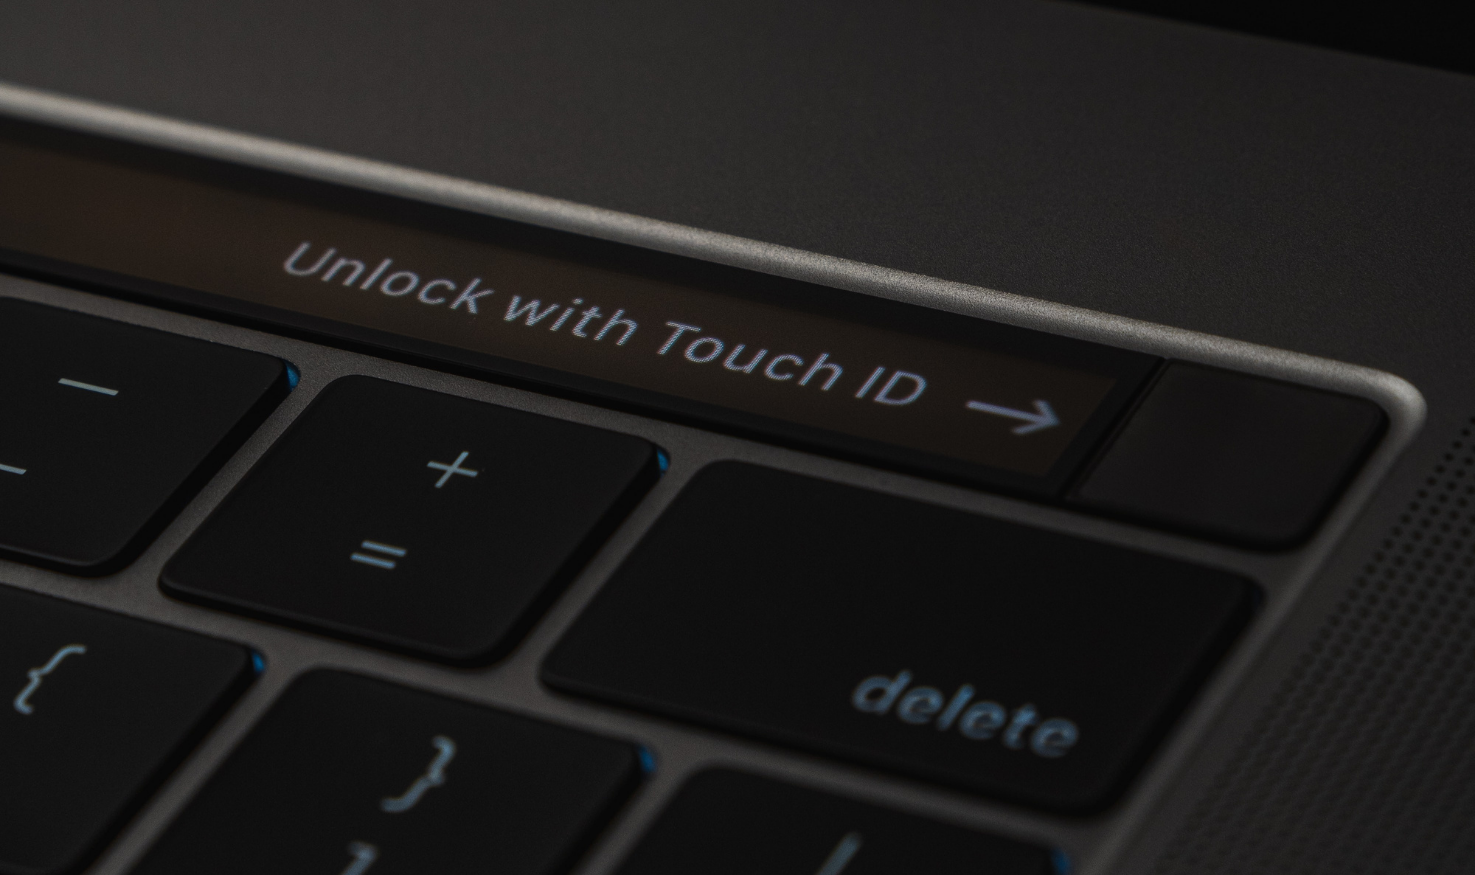
The secure enclave is an isolated hardware component integrated into Apple system on chips (SoCs) – the T2 chip on Intel processors and the M1 chip on ARM processors – that is kept apart from the main processor. This enables it to keep sensitive data secure, even when the macOS kernel is compromised. It also goes through a secure boot process that is isolated from the rest of the device. The secure enclave is only available on Macs that have an integrated touch bar and support the touch ID feature.
Touch ID is a fingerprint recognition system that comes built-in on M1 Macs and Macs with the T2 security chip. It does not replace the need for a device password – which will be required during the device boot process – but rather acts as a faster and easier authentication method that can be used in place of a password for certain features. The built-in touch ID sensor works in conjunction with the secure enclave, to convert and compare incoming fingerprint data with the stored data, and determine if the match is valid or not. This data never leaves the device. It will not be sent to Apple, nor will it be stored in device backups.
Passwords on macOS devices are turned into a cryptographic key and encrypted with the device UID. They are also equipped with additional security measures to prevent brute-force attacks. When a Mac starts up, a maximum of 10 password attempts are allowed from the login window. After each incorrect attempt, escalating time delays will be implemented. After 10 unsuccessful attempts, the device boots into the recovery mode, where 10 additional attempts are available. After exhausting these attempts, users are provided with 10 attempts each to successfully enter either of the 3 FileVault recovery options (iCloud, personal key, institutional key). After these attempts are exhausted, the data on the drive becomes unrecoverable.
iCloud keychain is a password management tool that comes pre-installed on all Apple devices, which enables users to create strong randomly generated passwords and store them along with the login details for each service. These details are then encrypted and locked behind a master password, that can be protected by multi-factor authentication for extra security. This alleviates the burden from users to create and remember all their passwords, and instead sets up a single password to manage all their login information.
Apple File System (APFS) is a proprietary file system that was initially released with macOS High Sierra, to replace the HFS+ system used on previous-gen Macs. APFS features strong encryption processes – along with several other advanced functionalities – to provide maximum performance, while also ensuring robust data security.
Beginning from macOS Catalina, users are equipped with the ability to manage the data and services that each app has access to. Users can view which apps have permission to access certain services and information, including access to their camera, microphone, as well as data on iCloud drive.
To check app permissions on a Mac, navigate to the ‘Privacy’ tab on System Preferences > Security & Privacy, and select the services to see the apps that have access to each of these services.
Also, Enterprises can make use of a unified endpoint management solution like Hexnode to push policies that restrict users from overriding app permissions on corporate Macs.
Apple enforces three layers of defence to protect a Mac from malware.
The first layer of defence is designed to prevent the launch or execution of malware. This is done with the help of app notarization and Mac Gatekeeper.
The second layer is designed to ensure that if any malware appears on a Mac, it can be instantly identified and prevented. This is done with the help of XProtect, Gatekeeper and notarization.
The final layer is designed to remove and remediate any malware that has entered the system and successfully executed its function. This is done with the help of Mac MRT.
Together, these three layers of defence provide the most solid protection against malware on a Mac.
VPNs enable users to establish a protected network connection and encrypt their online data traffic, thereby preventing cyber criminals from accessing sensitive data through an open network.
macOS devices offer built-in support to set up VPN connections using minimal setup and configuration. Using Hexnode, IT can easily configure both VPN on demand and per-app VPN policies on macOS devices.
Users can also manually configure VPN on their Macs, by navigating to the VPN tab on System Preferences > Network, and providing the required details to authenticate the connection.
Safari is Mac’s built-in web browser, that comes equipped with a wide array of security features to protect users online. On Safari, every website is loaded as a separate process in another tab, enabling users to close a suspicious webpage without Safari crashing. Safari also prevents cross-site trackers from profiling the user and warns the user of fraudulent websites. It is also possible to disable JavaScript on Safari, thereby reducing the chances of vulnerabilities online.
Apple’s Mac app store is widely known for its stringent review process that each app must fulfil before being offered a place in the store. It is by far one of the safest places to download macOS applications. Also, the applications installed from the Mac app store will be sandboxed, thereby limiting the app’s ability to engage in malicious conduct. Due to these reasons, it is always best to download your required apps, when possible, from the Mac app store.
A strong password is the first step to securing Macs in the enterprise. Without a strong password, you’re leaving the door open to all kinds of vulnerabilities from affecting your Mac. With Hexnode, IT can enforce strong password policies with restrictions on password age, complexity, history, auto-lock and attempts before data wipe.
In case your enterprise makes use of a shared Mac, it is important to set up different user accounts for login. This enables enterprises to control access to sensitive data depending on the user accessing the device. Also, IT can set up user accounts without administrator access, to prevent users from making changes that could affect your Mac’s security. With Hexnode UEM, IT admins can easily configure AD asset binding policies to create user accounts on corporate Macs using the information stored on the company’s Active Directory.
Enabling FileVault on corporate macOS devices ensures that the data on the drive remains encrypted, even when the drive is removed and plugged into another Mac. This prevents your corporate data from falling into the hands of cybercriminals, even if the device is lost or stolen.
Regularly updating your Mac software to the latest version can help IT stay on top of security flaws and vulnerabilities. It also improves Mac performance and helps keep users up to date with the latest features and functionalities. With Hexnode, enterprises can easily enforce or schedule OS updates on corporate macOS devices.
Enabling Find my Mac on corporate Macs helps IT to trace their lost devices and if necessary, remotely lock or wipe the device to prevent sensitive data on them from falling prey to cybercriminals.
When users connect their Mac to an open Wi-Fi network, people on the same network can easily view the web pages they’ve visited and the data they’re entering into these websites, making these networks potentially hazardous to your users. Hence, it is never a good option to connect to an open Wi-Fi network. With Hexnode, enterprises can configure and push Wi-Fi policies to corporate Macs, enabling them to connect to the company Wi-Fi, without requiring a password.

Setting up a VPN connection for your corporate Macs enables enterprises to establish secure and encrypted connections even on open networks, and ensure that the online traffic from your employees do not fall into the wrong hands. With Hexnode, enterprises can easily push VPN configurations in bulk to their corporate macOS devices.
A firewall acts as a barrier that prevents malicious traffic from entering your network. Turning on firewall on a Mac enables enterprises to block unwanted network connections to the Mac, thereby preventing attacks that may arise from outside the system.
Although FileVault enables users to encrypt their entire drive, that doesn’t stop an attacker from erasing all the data on your drive and reinstalling the Mac. In such cases, users can set a firmware password on the Mac. This prevents attackers from making changes to the Mac in recovery mode. To set up a firmware password, on an Intel Mac, restart the computer and press and hold cmd+R just before the Apple logo appears. On an M1 Mac, restart the Mac and press and hold the power button. Once you’re at the recovery screen, navigate to Utilities > Firmware Password Utility, and follow the steps to set up a firmware password. However, it is worth noting that if you forget your firmware password, you will have to bring your Mac to an Apple-authorized service provider to unlock the device.
It is a good practice to periodically review the data and services that each of the installed apps on your Mac has access to. You can check this from the Privacy tab on System Preferences > Security & Privacy. Also, it is a helpful practice to review the data that your Mac can share with other macOS devices. To review this information, navigate to the Sharing tab on System Preferences. This tab shows the data and services that other macOS devices can access from your Mac. It is always advisable to disable any sharing service that the user is not actively making use of. Enterprises can make use of a UEM solution like Hexnode to easily restrict your Mac’s Security and Privacy Settings on demand.