The absolute Guide to Unified Endpoint Management (UEM) in enterprise
Wondering what UEM is all about? Read this guide to get a sneak peek into its features.

Get fresh insights, pro tips, and thought starters–only the best of posts for you.
Jul 29, 2021
11 min read

Misplaced devices can be a conundrum. Talk about the panic that ensues after your device has been lost or worse yet stolen!
In this age where forgetfulness and petty thievery is more widespread and abundant than ever, you always need to keep an extra eye out to ensure that your devices do not fall into the hands of the wrong people who could gain access to the data present inside. Thankfully, different security measures such as Google’s Find My Device and lost mode in Apple devices makes it easier for people to instantly track their devices and initiate a remote wipe to ensure sensitive data remains safe.
Notch up the security of your apple devices by having secure policies and restrictions remotely enabled on it.
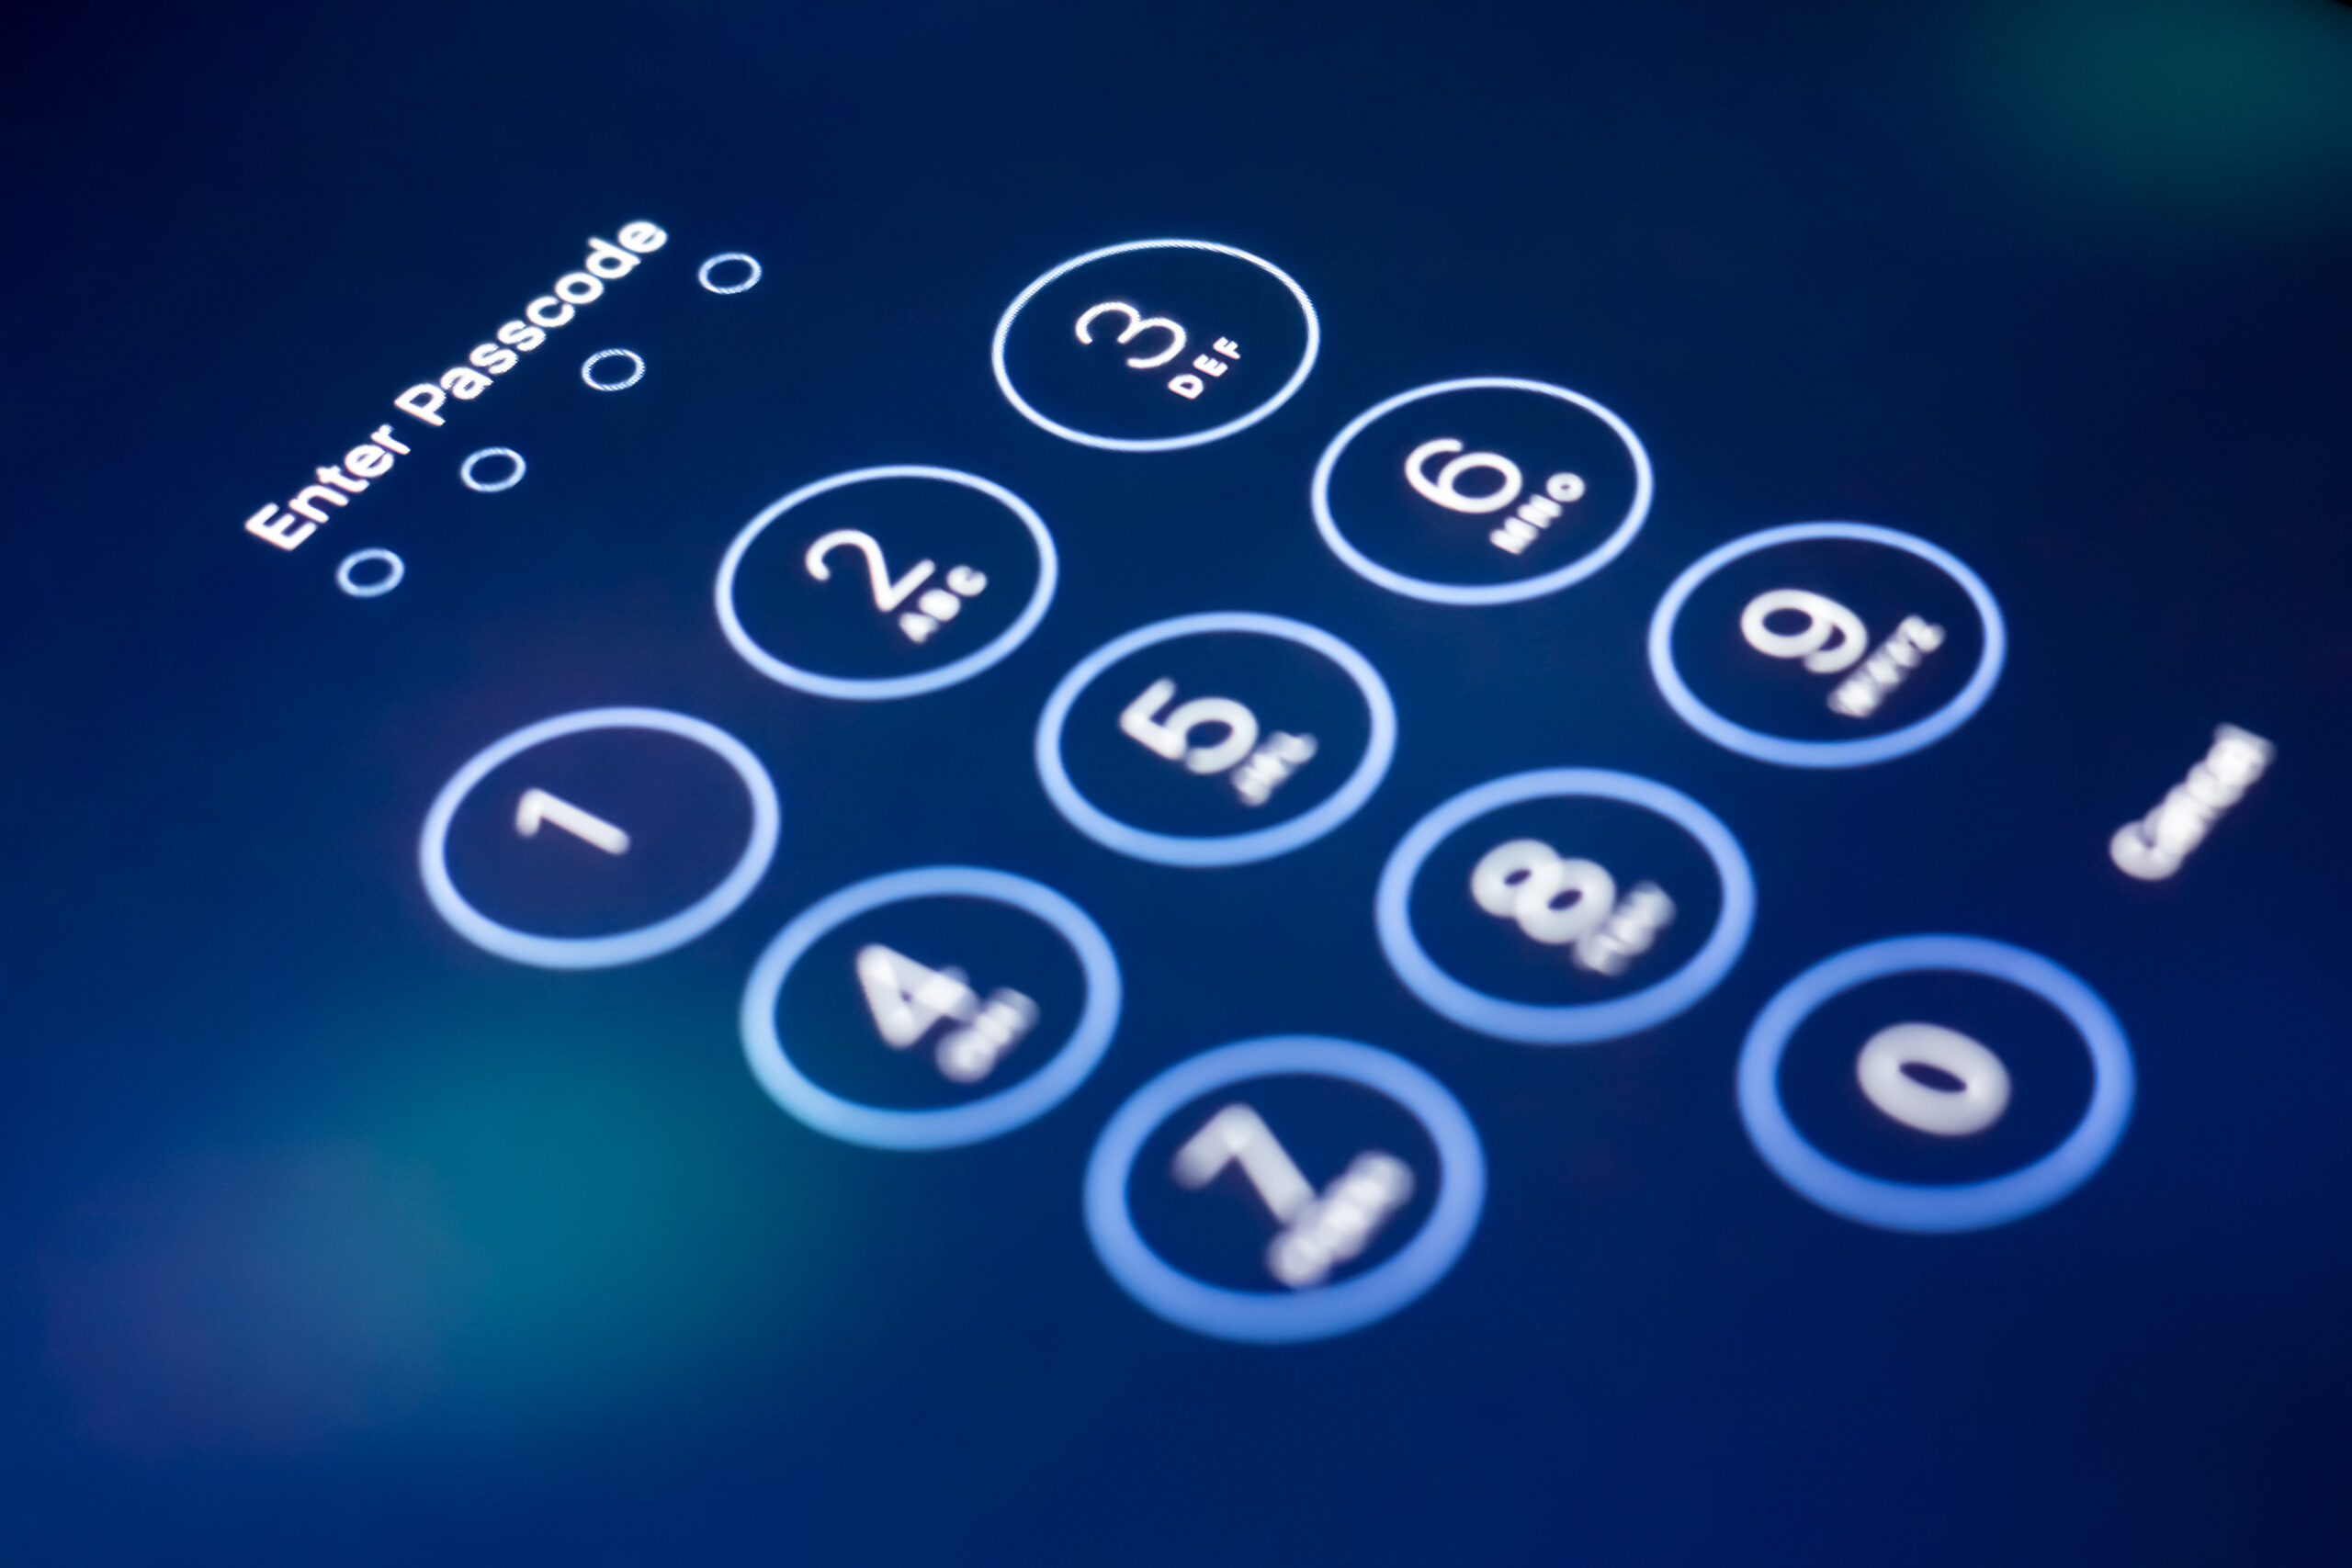
Sign up to get a free trialLost mode in Apple devices have been around for a while. Even if you have heard of the term only in passing or have been thinking about how well it would be in safeguarding your organization’s devices, lost mode can help in providing complete security to your misplaced Apple devices by securely locking it with a passcode. Before going into more details on this though, let’s first try to understand what lost mode actually means and how it works.
Lost mode helps to lock stolen or lost Apple devices and protect the data present inside. The location of the device can be tracked and a custom message can be displayed on the lock screen. Lost mode is a part of Apple’s Find My service for iPhones, iPads and Mac that immediately marks the device as lost or stolen.
It allows the user to lock the device with a custom message informing the finder that the device has been lost. Other information such as the contact number of the device owner can be added in as well. Once the device is in lost mode, none of the information present inside can be accessed. Lost mode should only be enabled when your device is lost or stolen.
The device should have a passcode or a PIN. It can only be unlocked by entering the passcode. Biometric measures like Face ID and Touch ID wouldn’t work when the device is in lost mode. This passcode will be different from your device passcode. The custom message that the user creates will be displayed on the lock screen. When the device is in lost mode, none of the alert sounds will be played and notifications won’t be displayed either.
Incoming and facetime calls would continue to work. One of the benefits of lost mode is its capability to help users track the location of the device even when location services on the device is disabled. When the device enters lost mode, the location services would be enabled automatically.
In the case of iPhones and iPads, lost mode will immediately put the device in a low power mode. This helps to increase the battery life of the device and give users ample time to remotely track the location of the device before the battery dies down completely. The benefits of lost mode also extend to its disabling of Apple Pay. Cards linked to that device will be suspended and cannot be used for any payments. Once the lost devices are found, they can be unlocked by entering the passcode set earlier. Users can sign in to their iCloud account to enable Apple Pay once again.
The device needs to be connected to the internet in order for lost mode to be activated. Don’t let this damper up your hopes though, because Apple’s Find My can locate devices even when they are offline. With the use of crowd sourced location, when a device is marked as lost and if there is another Apple device nearby it can detect the bluetooth signal from your device and report the location back to you. When the device comes back up online, all the security features of Apple lost mode will be reactivated immediately.
Enterprises managing a large fleet of devices need to always stay one step ahead to ensure that the managed devices stay secure at all times. Having a device management solution in place can make this laborious task a lot easier by providing admins with the convenience to push secure policies and configurations onto the devices remotely. Managed lost mode can be remotely enabled on the supervised iOS device via UEM. Find My does not have to be turned on for this. Once the action is pushed, it can only be disabled from the UEM console. Unless it is disabled, the device will continue to be in lost mode and will remain unusable.
Managed lost mode allows UEM solutions to ermotely ask for the device location even when the location service is turned off. With Hexnode, users can create a lock screen message with various details such as phone number, a custom message and a footnote. Additional details pertaining to the device can be added in as well to make it easier for the finder to return the device to its rightful owner. In addition to remotely disabling lost mode from Hexnode UEM’s web console, lost mode can be disabled when the user enters the device passcode. Other ways in which admins can exit from lost mode include disenrolling the device in which lost mode is enabled and initiating a device wipe.
They can also help bring in an additional layer of security by restricting users from installing and using applications that could compromise the security of the device.
If a user reports their device to be lost or stolen, admins can immediately initiate a remote lock on the device and do a complete or selective wipe to make sure data remains safe. Organization is a key aspect to any good management. When you have thousands of devices on board, it’s no easy task to manage them. Through periodic report generation, you can make sure that the managed devices stay compliant with your business’s security requirements.
With a Unified Endpoint Management solution, admins can do more than just enabling lost mode on Apple devices, these include:
When you have sensitive information stored on the device, it’s good to keep track of the location of the devices. In this way, admins can make sure that they stay within the confines approved by their organization especially in cases of corporate owned devices. The location history of each individual device can be viewed from Hexnode’s web console.
When a device is lost or stolen, the next best step is usually to initiate a data wipe. No matter how well protected the device maybe, it is always a good call to wipe whatever information you may have stored on the device. Depending on the nature of ownership of the device – whether it is corporate owned or personally owned, admins can either choose to perform a corporate (selective) wipe or a complete wipe on the devices.
A corporate wipe is more of an ideal choice for BYO devices. By initiating this wipe, only corporate information within the devices will be wiped. The personal data of the user remains untouched. However, if you do backups of the data on a regular basis, it’s always best to go for a complete wipe.
This remote action will come handy in situations when you need to locate the whereabouts of the lost device. In iOS devices, in order for remote ring to work lost mode must first be enabled on the device. Once enabled, the ring will ensue from the device even when it is muted. You can stop the device from ringing by disabling the lost mode.
Initiate remote lock on the devices to ensure no unauthorized users tamper with the device when it is lost or stolen. In iOS devices, admins can set up a lock screen message with a phone number attached to it to make it easier for the finder to return the device to its owner. Passwords are another integral way to ensure the devices remain secure at all times.
Set up Activation Lock to lock the devices from starting up when it is lost, stolen or reset. In order to enable Activation Lock, Find My iPhone has to be manually disabled from the device. By setting up this restriction, admins can stop unauthorized users from reactivating the device. You can only activate the device again by entering the same Apple ID and password the user used while setting up the device.
Although this seems to be a convenient feature to have in place, it can be cumbersome especially if one needs to reset a corporate device that has been locked in with the personal Apple ID of the employee. In such cases, you can bypass the activation lock by either clearing the Activation Lock from the UEM console or bypass the Activation Lock by entering the bypass code. Apple provides this code to bypass the Activation Lock even when the Apple ID used for setting up the device is unknown.
By enrolling the Apple devices via DEP, admins can ensure that the MDM profile installed from the DEP profile remains unremovable. So, even if the finder somehow manages to reset the device, remote actions that were deployed to locate and secure the device will be enabled once again. Thus, rendering the device unusable for unauthorized users.
It’s always better to be on the safe side. You don’t have to wait for your device to be stolen to realize the full potential of adapting the strongest security measures. Locking your device down with a complex password is probably the best place to start. With a UEM solution, admins can deploy strong password policies onto the managed devices and make it mandatory for users to have it periodically updated.
Next, once when you have your device securely covered it’s time to think about safeguarding the information present inside of it. The best way to do that would be encryption. Encryption converts texts from a readable format to a non-readable one, also known as cipher text. An encryption key is used to encrypt the plaintext into a ciphertext.
Apple devices are known to provide robust security in general. Enabling Data Protection in iOS devices and FileVault on Mac are just some of the ways in which you can boost up the security of your Apple devices. In addition to this, Apple also makes use of operating system kernels that utilizes access controls to sandbox applications. Now setting up a password and enabling encryption may all sound a bit inconvenient at the beginning, but adapting simple measures like these can safeguard your device and data on the long run. It wouldn’t hurt to have regular backups of your data as well.


