
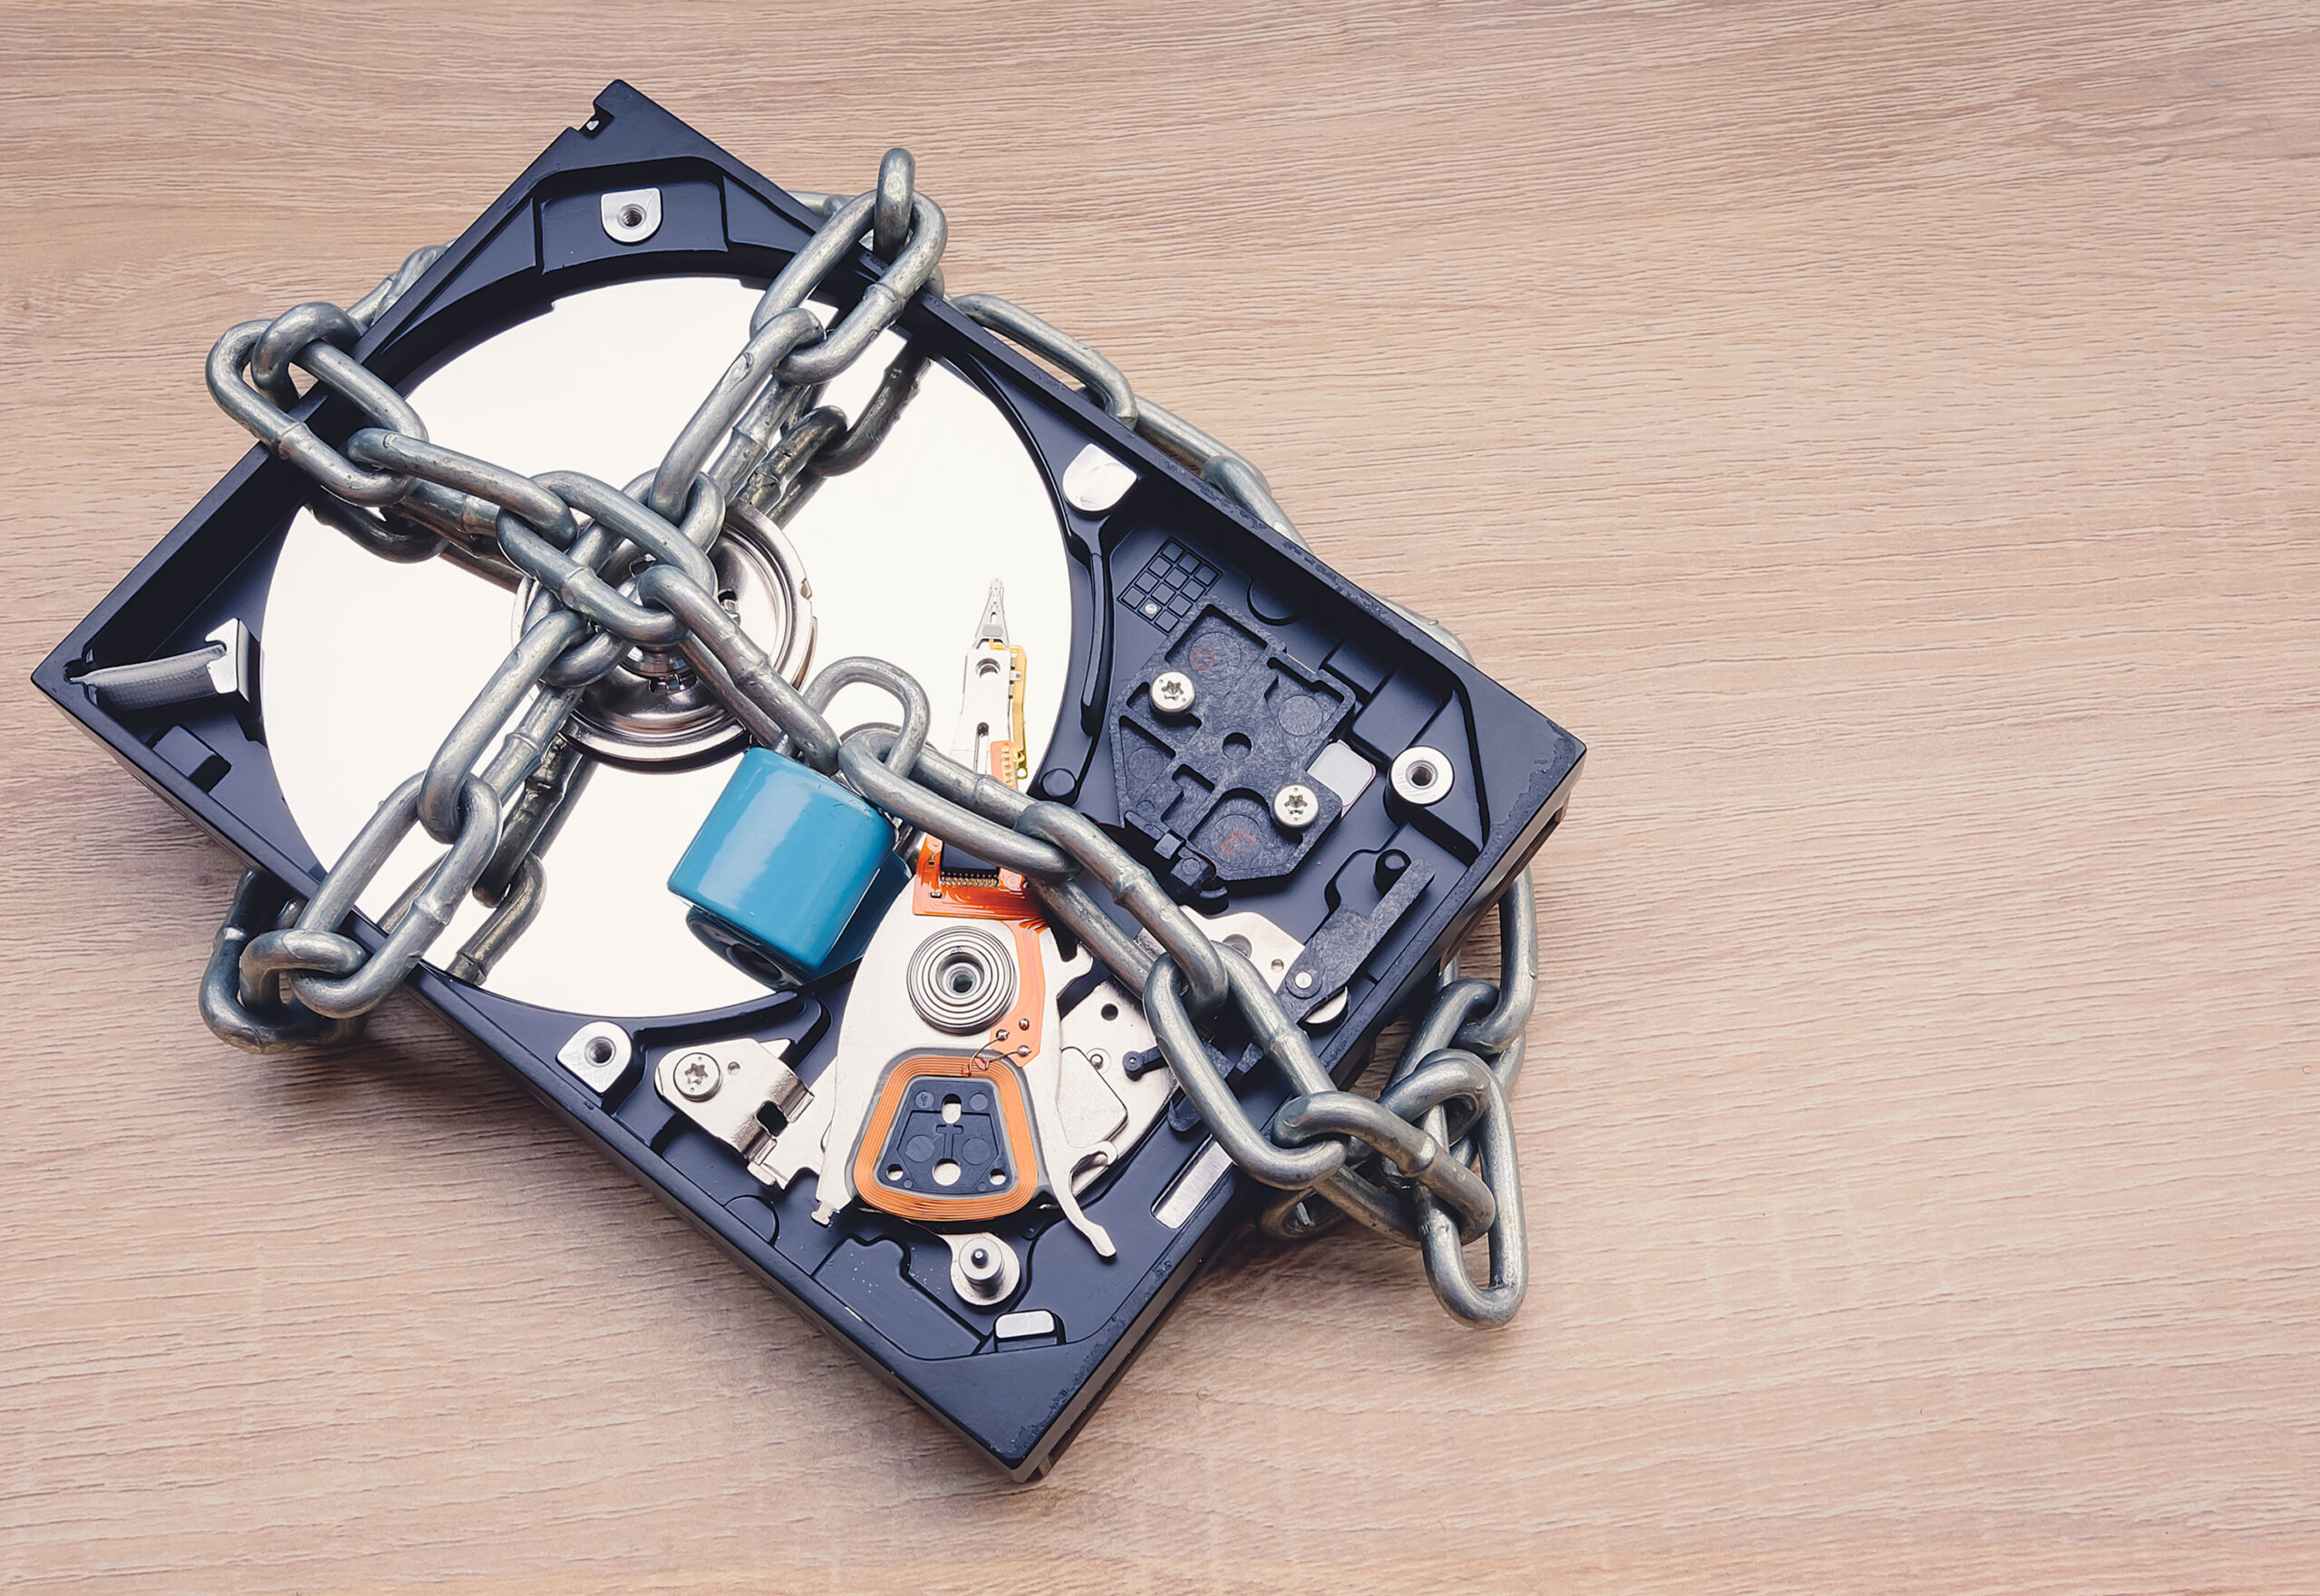
Securing data is more important than ever before. The information you hold is often more valuable than the device itself and can cause massive loss to you, as an individual, or the organization to which the device belongs. It goes without saying that protecting it in every way possible is a must. Numerous tools and software options are readily accessible in the market, designed to safeguard your data against cyber threats, whether you’re online or offline. Among these, BitLocker stands out as a robust solution for safeguarding all your files and folders stored on Windows devices.
What exactly is the BitLocker?
Imagine your laptop gets stolen and the thieves get their hands on the hard drive. With the right tools they can access all the data stored in it if it is just password protected. So, to avoid such a scenario, Windows introduced BitLocker. BitLocker is Windows’ own device encryption tool that keeps all the data in your hard drive secure by encrypting it. By doing so, the data will be useless to anyone without the decryption key. Note that the key gets generated during the initial setup process. Be sure to keep the key safe and secure.
Featured resource
Hexnode Windows Management Solution
Get started with Hexnode’s Windows Management solution to improve security, increase productivity, save time and overhead costs of managing your corporate devices.
Download the datasheetHow does it work?
The way BitLocker accomplishes the objective of securing sensitive content on a hard drive is brilliant. The solution is to encrypt the entire disk and store the key in a separate physical location other than the disk itself.
Let me elaborate on that. Most modern Windows motherboards come with a chip called TPM (Trusted Platform Module) embedded in them. The TPM stores the encryption key. The TPM is called upon every time the device boots to get the key to decrypt the hard drive. Since the key is physically separate from the main memory, even if someone manages to steal the drive, they cannot access the key or the sensitive content in the main memory. The TPM is made to work only with that motherboard.
If your motherboard doesn’t come with a TPM, you can change some settings to use a password every time the system boots up. However, that defeats the whole purpose of encryption as the password is also stored in the disk somewhere. Alternatively, you could go for the option to use a USB stick as the key. The encryption key is stored in the USB drive of choice which must be connected to the PC every time the system boots.
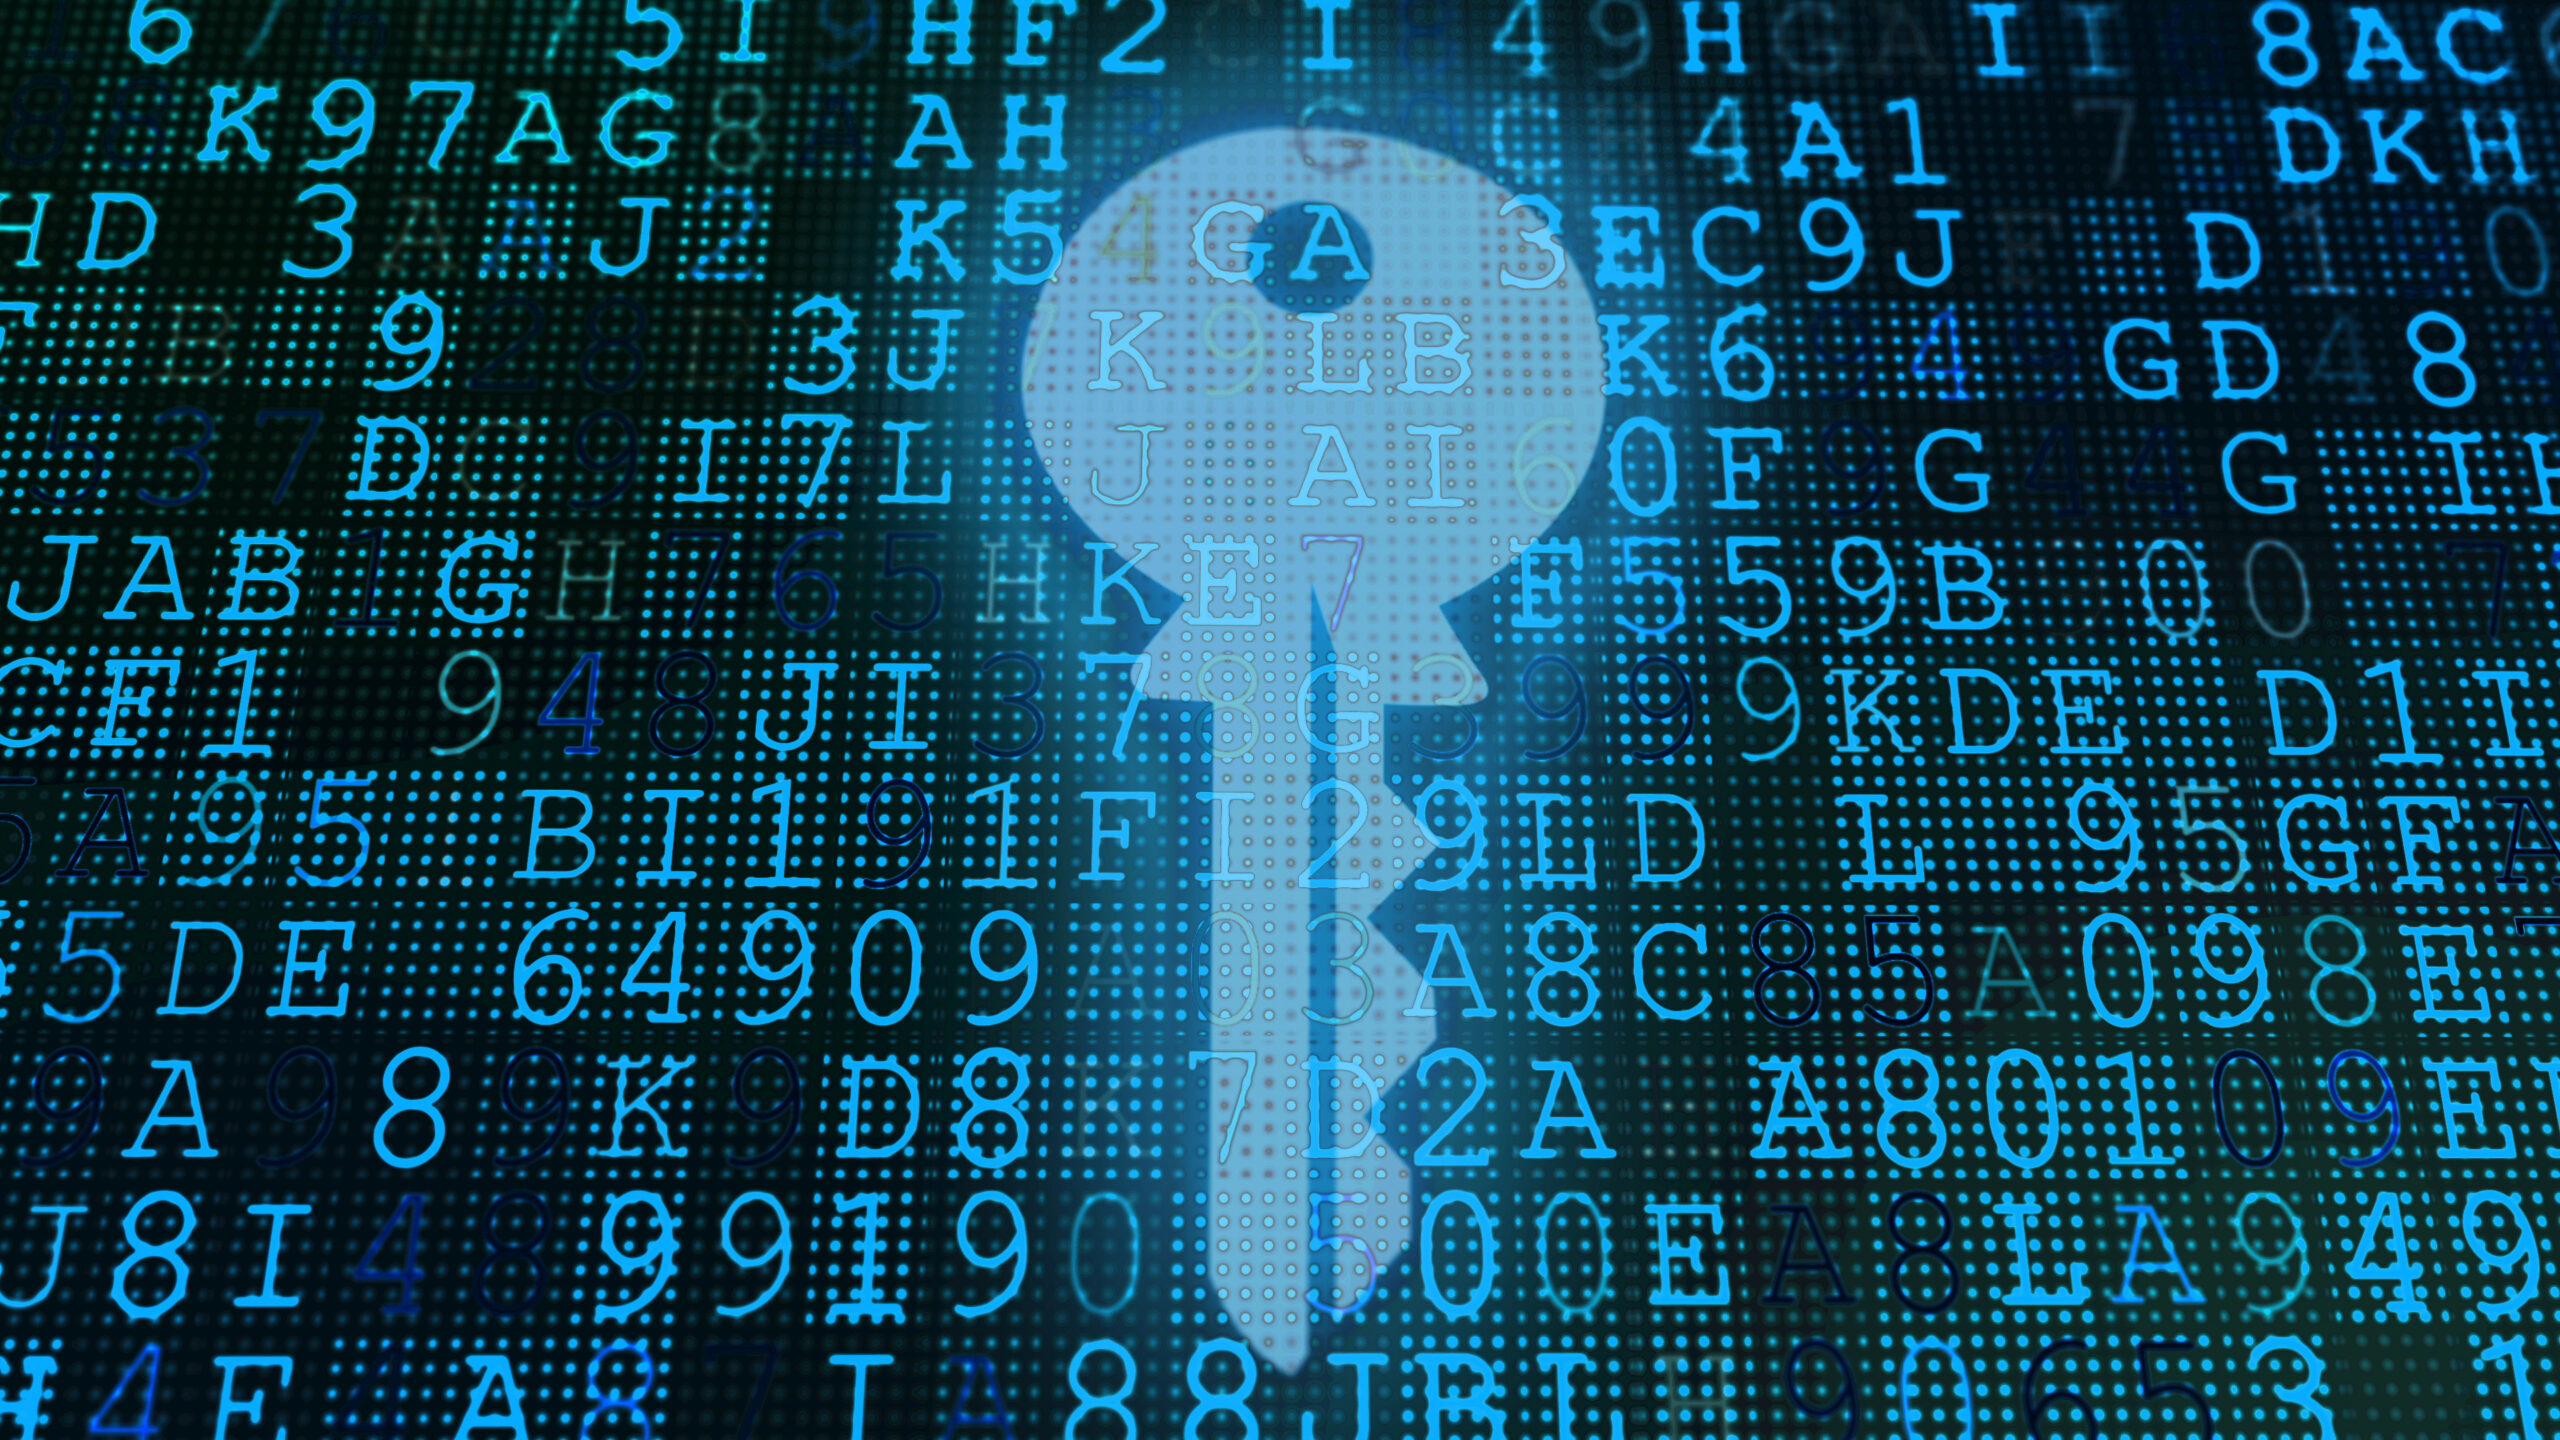
Trustworthiness of these encryptions
You might be wondering, it is just encryption, it has been there since the world wars, and they were proven to be crackable. What makes this any special?
Well, no algorithm is indeed completely foolproof but, the algorithms used in Windows BitLocker are much smarter. So far, the only known way to crack the encryption algorithms in BitLocker is to brute force your way into it. I’ll explain in a bit why that is futile. In the case of BitLocker in Windows 10, you typically get to choose between 4 options of encryptions and cipher strengths.
- AES-CBC 128-bit
- AES-CBC 256-bit
- XTS-AES 128-bit (default)
- XTS-AES 256-bi
Which option to choose?
AES or Advanced Encryption Standard was initially developed to help the US government protect and safeguard classified information. It was designed to replace DES (Data Encryption Standard) because it became vulnerable to brute force attacks due to the advances in computational power over the years.
If your Windows device is stolen, the thief will find the data on the hard drive unintelligible if the device is encrypted. However, they may still attempt to manipulate it, altering certain details out of spite. This can result in the apps crashing and documents not working properly. And the worst part is that since the changes are too small, it is difficult to find out what happened.
Manipulation of encrypted data can be minimized by changing the algorithm a bit. There are two types of AES algorithms, CBC and XTS. And the major difference between the two is that CBC allows for single-bit changes, whereas in XTS you can only change 16 bits at a time. This makes the changes significant, visible, and easy to detect. Microsoft recommends using CBC for non-fixed/removable drives and XTS for fixed and OS drives.
It takes literal supereons to crack.
Now, what is the deal with 128-bit and 256-bit encryption keys? To put it simply, the bigger, the better. But you should still be good with a 128-bit key for the most part because, even with the right quantum computer and the best cracking algorithm available today, it will take about 2.61×10^12 years to try every single combination possible. For AES-256, it will be 1.38×10^32 years. If those numbers don’t mean anything to you, the universe is just 1.3×10^10 years old. Do you still think intruders can brute force their way into BitLocker-encrypted Windows devices?
BitLocker: A Preferred Choice for Organizations
We’ve explored BitLocker’s capabilities, but how does it benefit individuals, especially within an organizational context? Well, BitLocker is helpful in
-
Protecting confidential data:
More often than not, employees tend to hold a lot of company-specific sensitive information on their devices (both personal and corporate devices). They could be phone numbers, emails, passwords, or even the company’s trade secrets. Though the device uses a password, all the information is still available in the drive, making it the only thing between the hacker and your data. BitLocker on the other hand encrypts all the data in your hard drive, essentially making data illegible without the key.
-
Enabling BYOD and remote work:
There have been drastic changes in the way employees work. We see it becoming increasingly digital and remote, especially in the last couple of years. Organizations are also letting employees use the devices of their comfort. This is all good until we factor in the security risks. BitLocker encryption helps minimize these risks.
Regular people are susceptible to data thefts as well and it can be very damaging when your passwords, bank info, etc are at risk. Hence, everyone should encrypt their data.
How to use Windows BitLocker?
Setting up BitLocker is pretty much the same for both personal and corporate devices. But if the device is part of an organizational network, only the admin will have access to these changes. So, you can continue with these instructions if you have full administrator access over the device.
Step 1: Check for TPM
- Press win + R and type “tpm.msc”. You will find the TPM manufacturer information and the status of it. It is recommended to go for hardware-based encryption if the TPM module is present in your device.
- If the status is not “ready for use” then you must enable TPM. Check out this document by Microsoft on how to enable TPM. Otherwise, it is already enabled and you can move to step 2.
- In case you don’t see any of those, TPM doesn’t exist in your device so opt for software-based encryption.
Step 2: Configure BitLocker
- Before enabling BitLocker, you need to disable BitLocker if required drives are already encrypted and configure a few settings like encryption type, cipher strength, recovery key storage location, etc.
- To disable BitLocker, go to step 4.
- Open group policy editor (press win+R and type “gpedit.msc”)/ Computer Configuration/ Administrative Templates/ Windows Components/ BitLocker Device Encryption and make the necessary changes.
- If TPM is not there in your device:
- Go to BitLocker Device Encryption/ Operating system drives/Require additional authentication at the startup.
- Enable it.
- Check the Allow bit locker without a compatible TPM, later while enabling BitLocker you have to choose between giving a password or using a USB to unlock your device.
Step 3: Enable BitLocker
- Go to Control panel > Systems and Security > BitLocker Device Encryption > Turn BitLocker on.
- You may get a few prompts. Answer them according to your needs and the encryption process begins.
- After all the prompts, hit Continue and then Restart now. Even after the restart, it might still take some time to finish the encryption. So, it is advisable to keep the device plugged in.
Step 4: Disable Bitlocker
- This is an optional step, useful when you want to change the already existing encryption settings.
- Go to Control panel > Systems and Security > BitLocker Device Encryption > Turn BitLocker off.
- Make sure you have the administrator credentials to remove BitLocker.
- Go back to step 2 to continue making changes in the configuration.
Conclusion
BitLocker is one of the most useful features that benefits any Windows user. Encrypting the whole drive makes all the physical attacks useless as the data will be mostly gibberish without the decryption key. Since it is impossible for the attacker to brute force their way into BitLocker-enabled Windows devices, there’s no reason for the users to not encrypt their drives, especially if they contain sensitive information. BitLocker is easy to set up, especially with a UEM like Hexnode, and costs almost nothing compared to the risks. Organizations love BitLocker for this exact reason.
Share your thoughts