Category filter
How to enroll a device in Android Enterprise as Device Owner
Organizations use UEMs to configure, manage, and secure the endpoint devices distributed to their employees. To set up and manage a device using Hexnode, it has to be first enrolled in the UEM solution. Hexnode offers several methods to enroll Android devices. One such method is enrolling the device in the Android Enterprise program.
You can enroll a company-owned device in Android Enterprise as Device Owner. Use Profile Owner enrollment to enroll employees’ BYO devices. Device Owner enrollment restricts you from accessing the apps other than those allowed by your organization. Whereas in Profile Owner, both the personal and work apps are available on the same device.
First, enroll your organization in Android Enterprise program and then go through the steps mentioned below to enroll your device as a device owner.
Make Hexnode For Work App the Device Owner
If you make Hexnode For Work app Device Owner, all the personal apps from the device will get removed and will get restricted to only work apps which are allowed by the organization.
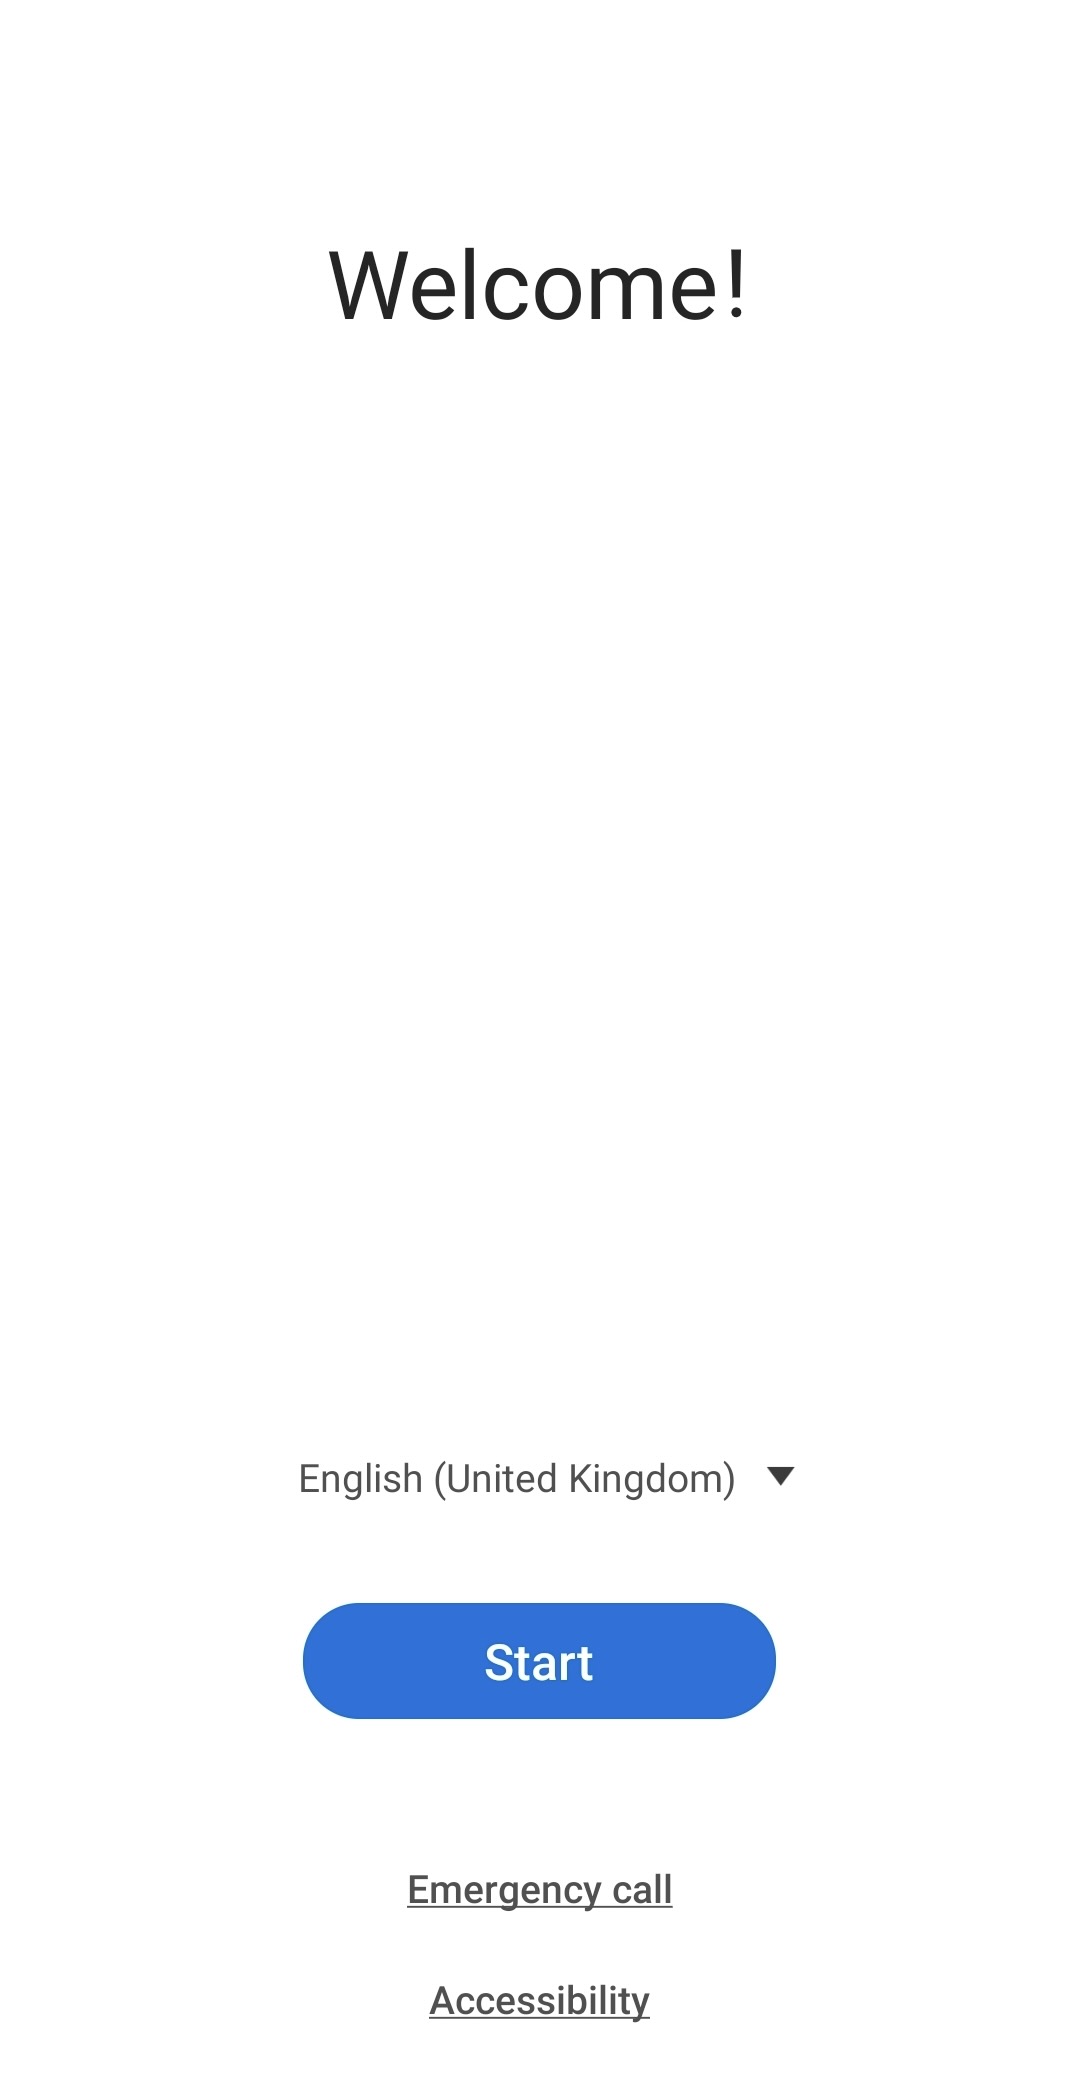
If you are using a device that is already set up, reset the device to its factory settings to begin enrollment. Ensure that you remove all the accounts associated with your device prior to the factory reset. If you are using a new device, you can initialize enrollment from the device Welcome screen.
Android 7.0 or later
For devices running Android 7+ and above,
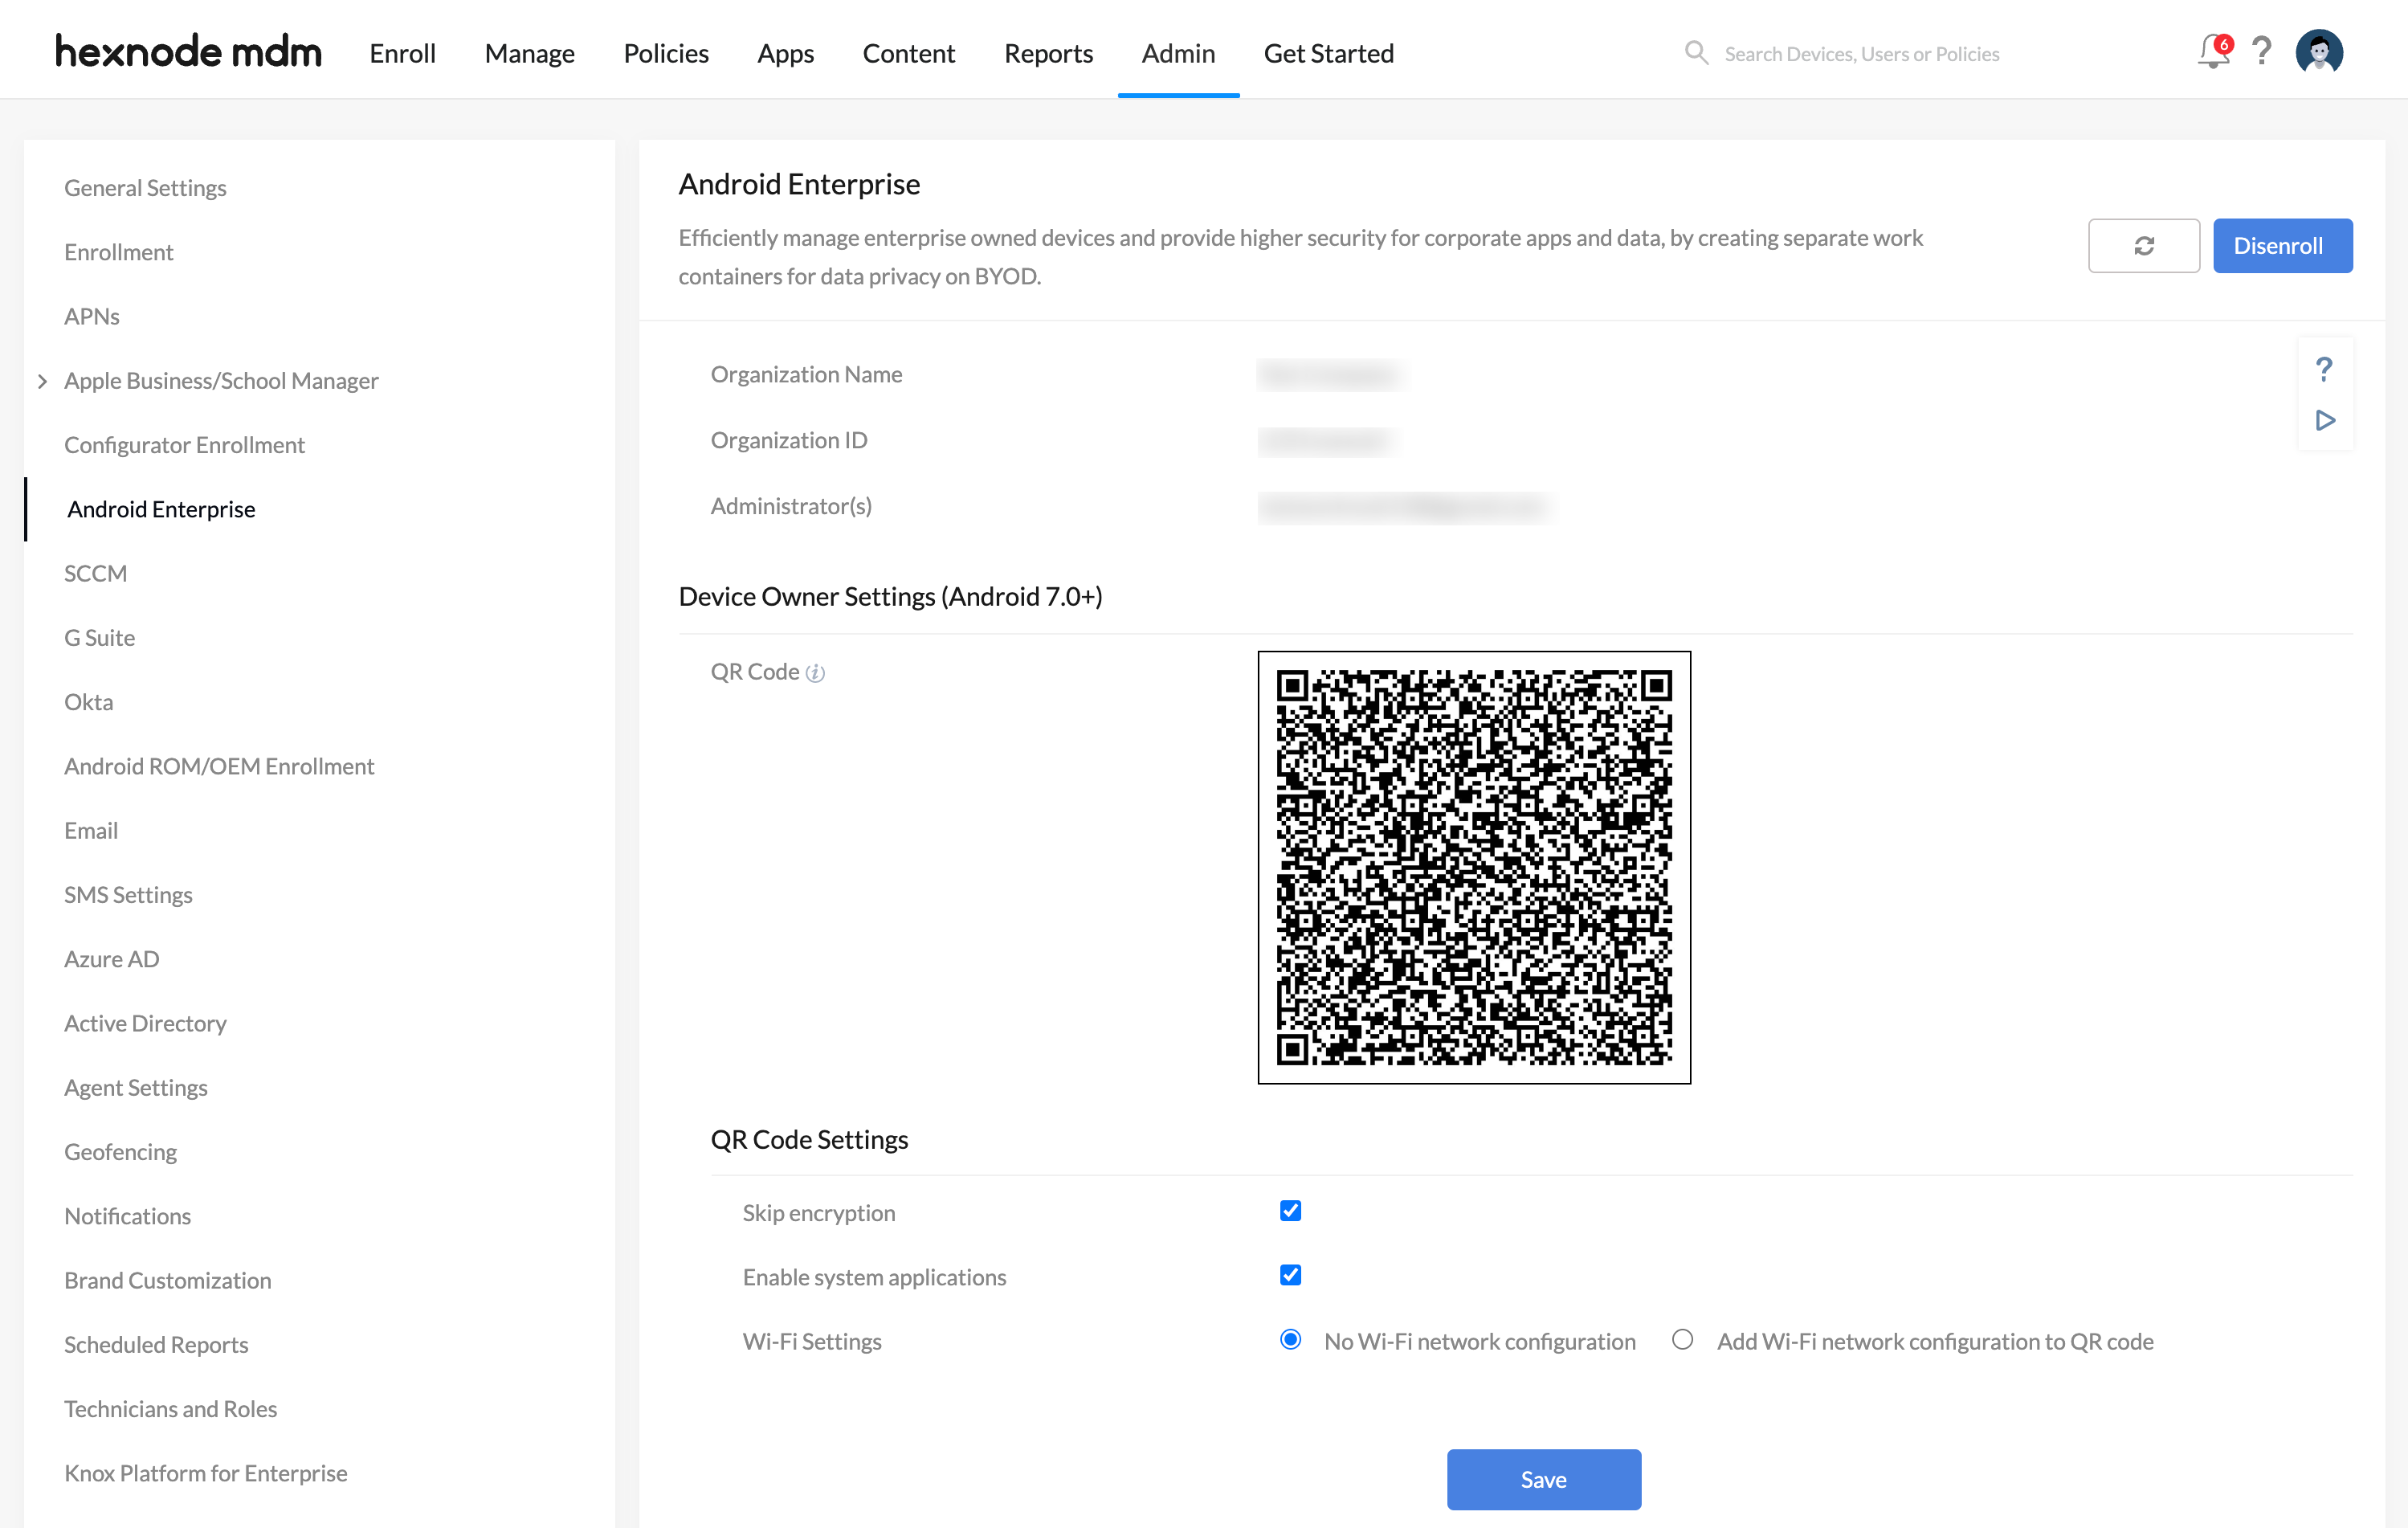
On the Hexnode MDM console,
- Navigate to Admin > Android Enterprise.
- Configure the QR Code Settings.
- Skip encryption: Enable this option to skip device encryption while enrolling the device. This option is enabled by default.
- Enable system applications: Enable this option to allow system applications on the device. This option is also enabled by default.
- Wi-Fi Settings: You can either choose No Wi-Fi network configuration or Add Wi-Fi network configuration to QR Code. If Add Wi-Fi network configuration to QR Code option is chosen, specify the following parameters to add a Wi-Fi configuration to the QR Code:
Wi-Fi Settings Description SSID Specify the identification name of the Wi-Fi network. Security Type There are three options to choose from – None, WEP, WPA/WPA2. The rest of the Wi-Fi network configurations depend on the security type selected. Password Enter the password of the Wi-Fi network if WEP or WPA/WPA2 security type is selected. Connect to hidden network Allow users to connect to a hidden Wi-Fi network, the one whose SSID is not broadcasting. By default, connecting to hidden networks is disabled.
- Click Save.
On the Device,
- Tap on the welcome screen 6 times.
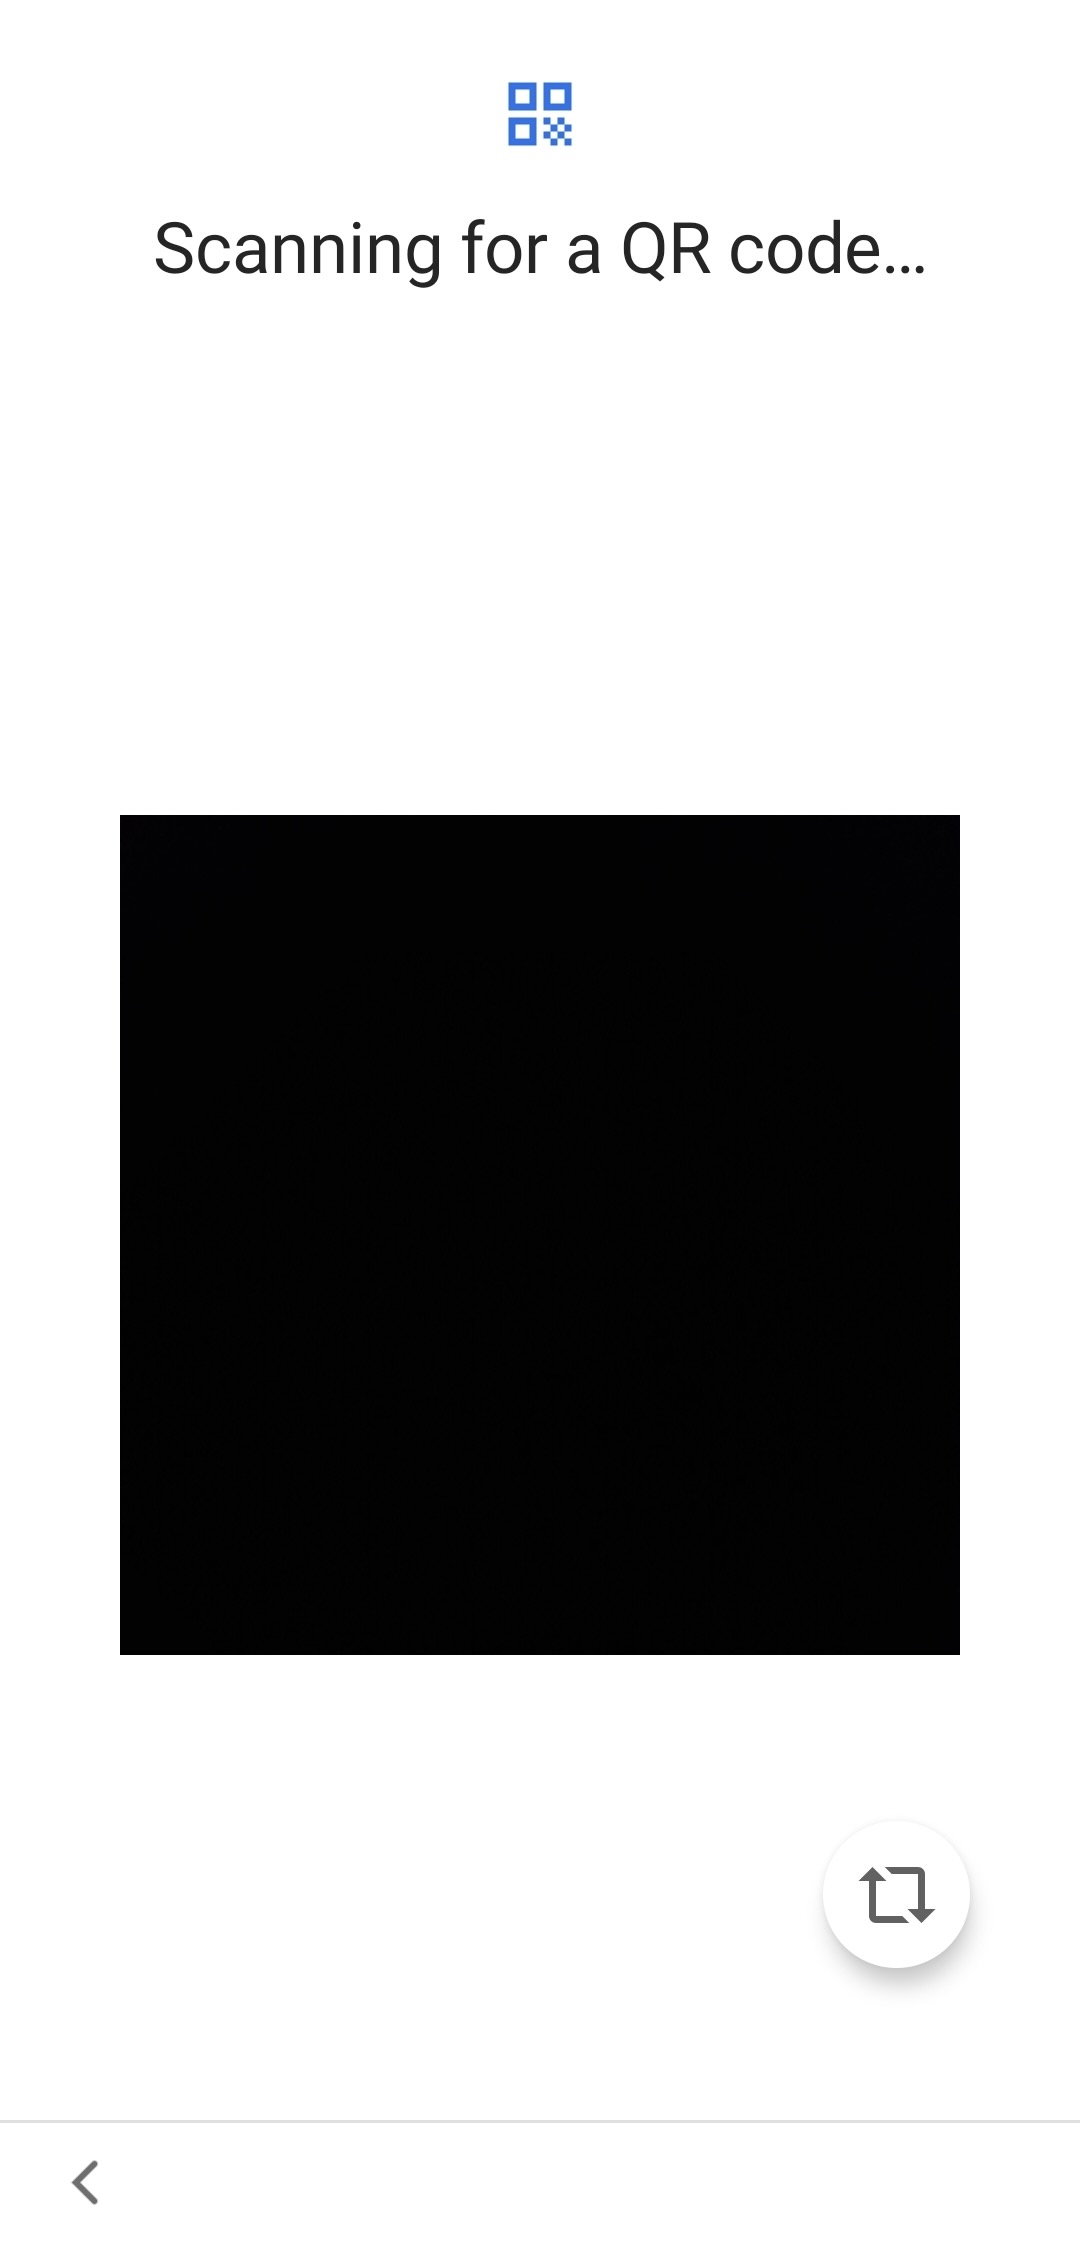
- A QR code reader will get installed on your device.
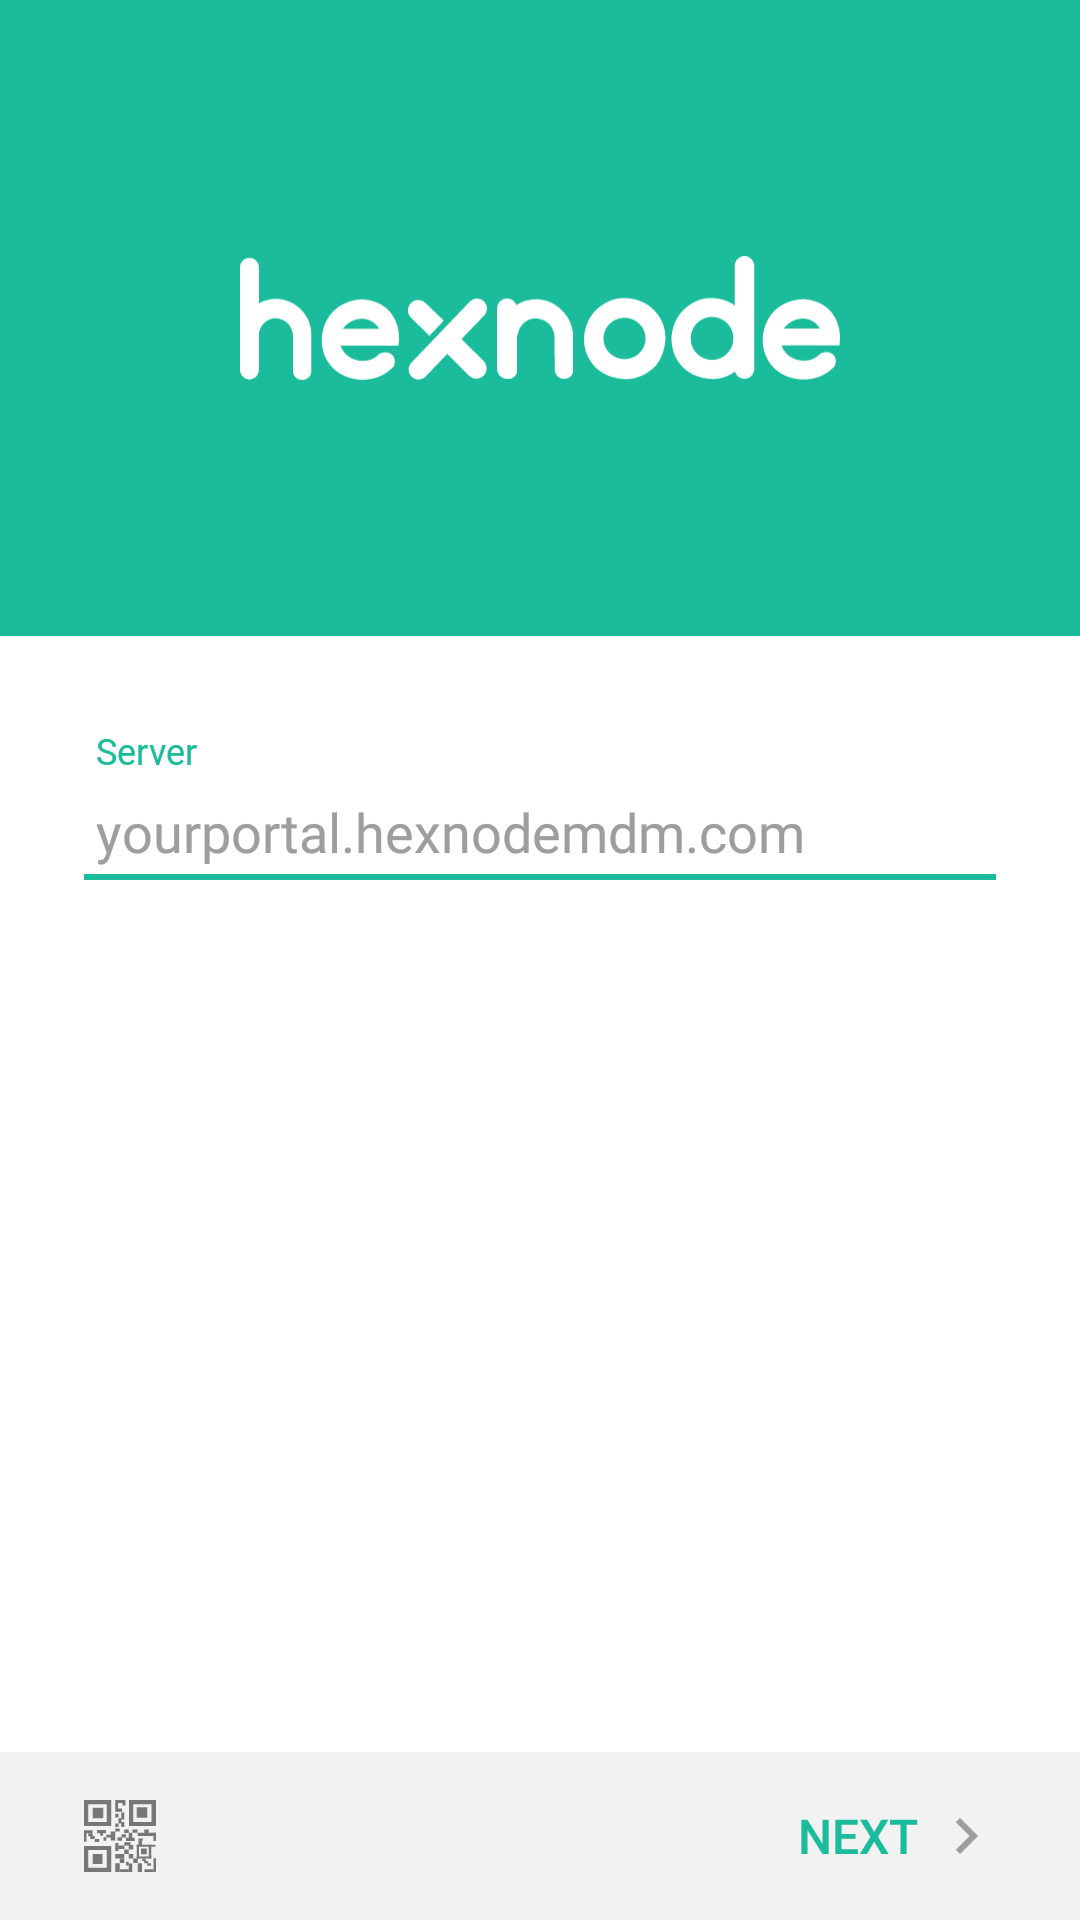
- On your portal, Navigate to Admin > Android Enterprise. A QR code will be present on the screen.
- Scan the QR code. Now the device will get connected to the Wi-Fi network configured in the portal. If not configured, manually connect your device to a network.
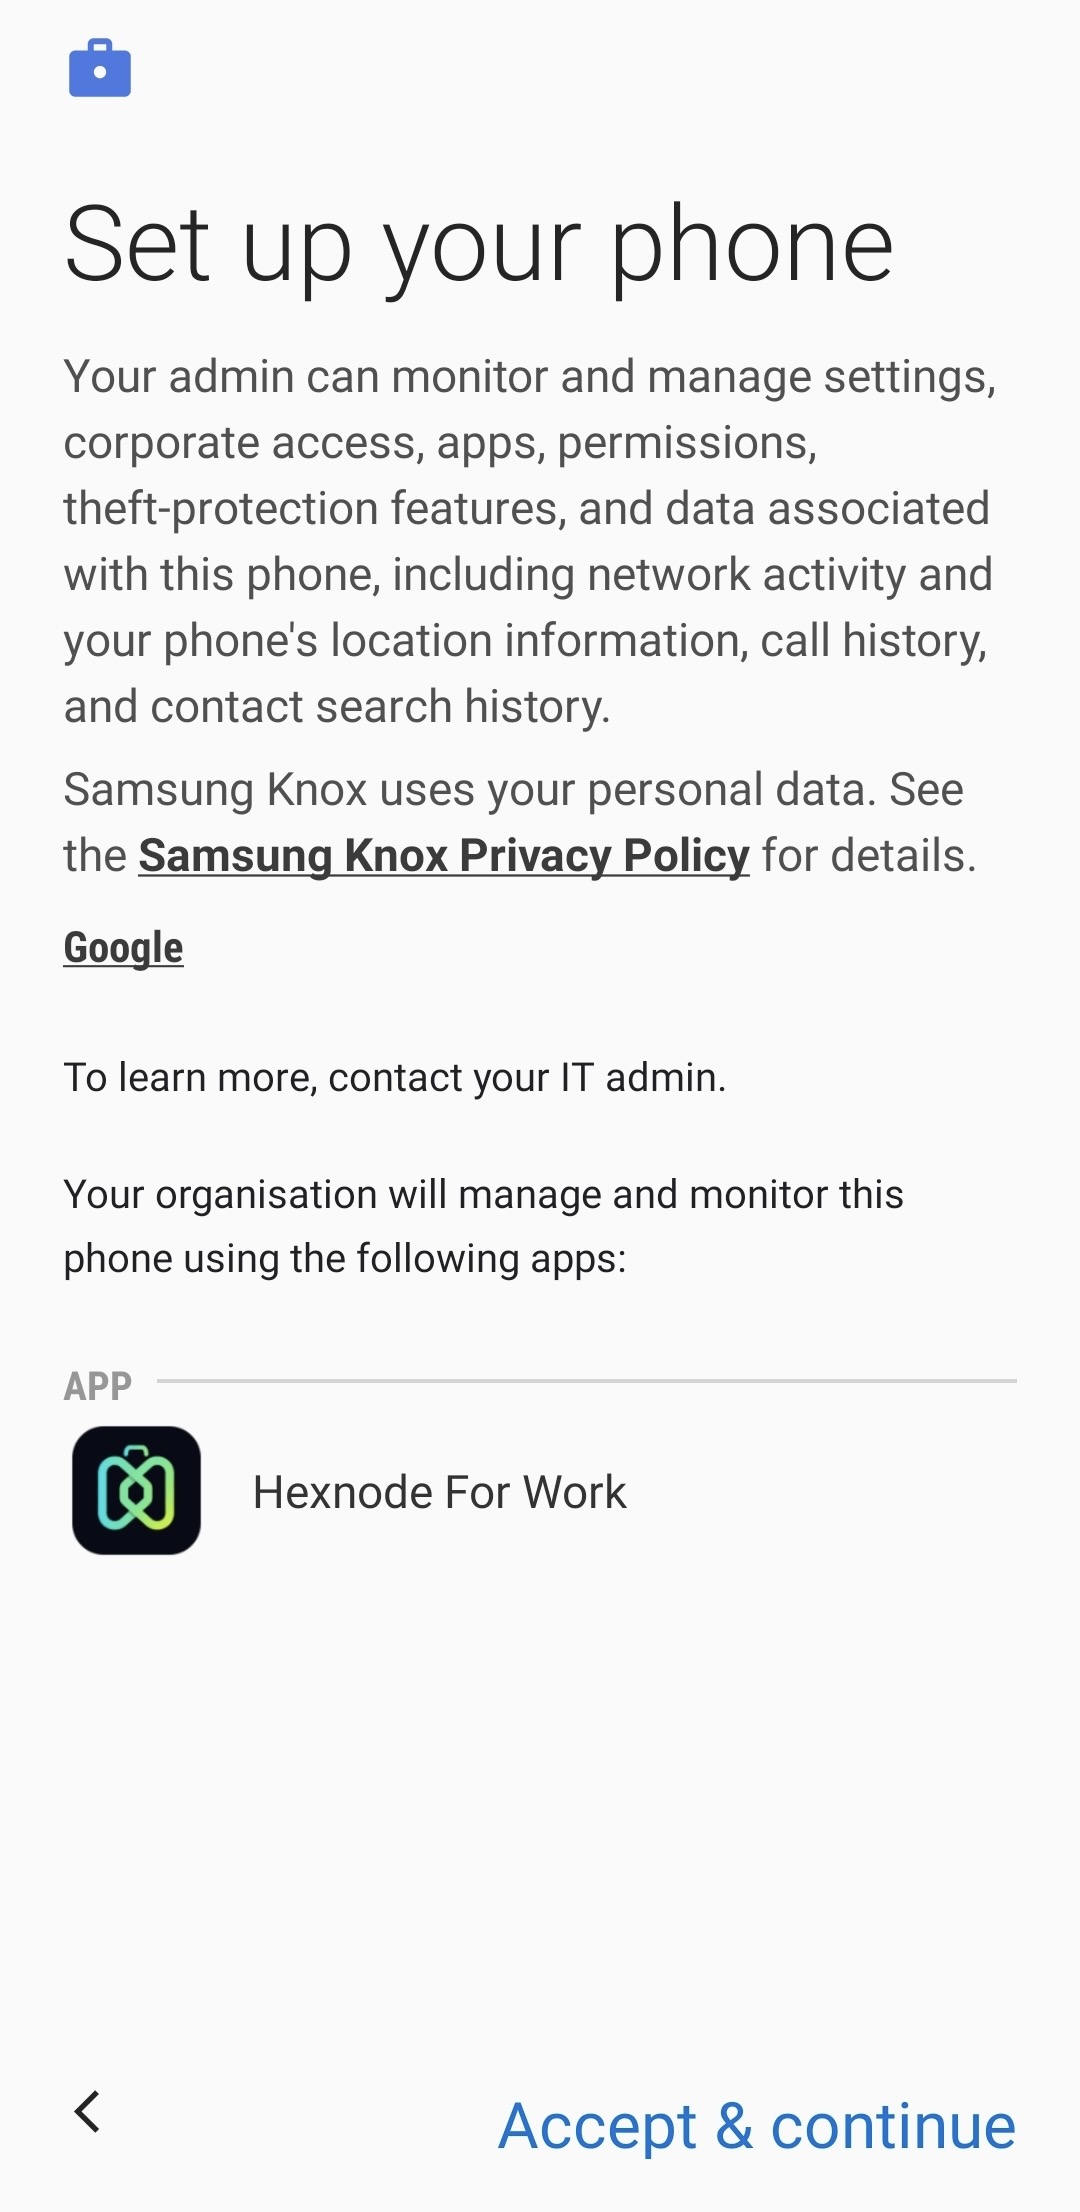
- Click on Accept & Continue to continue the installation process.
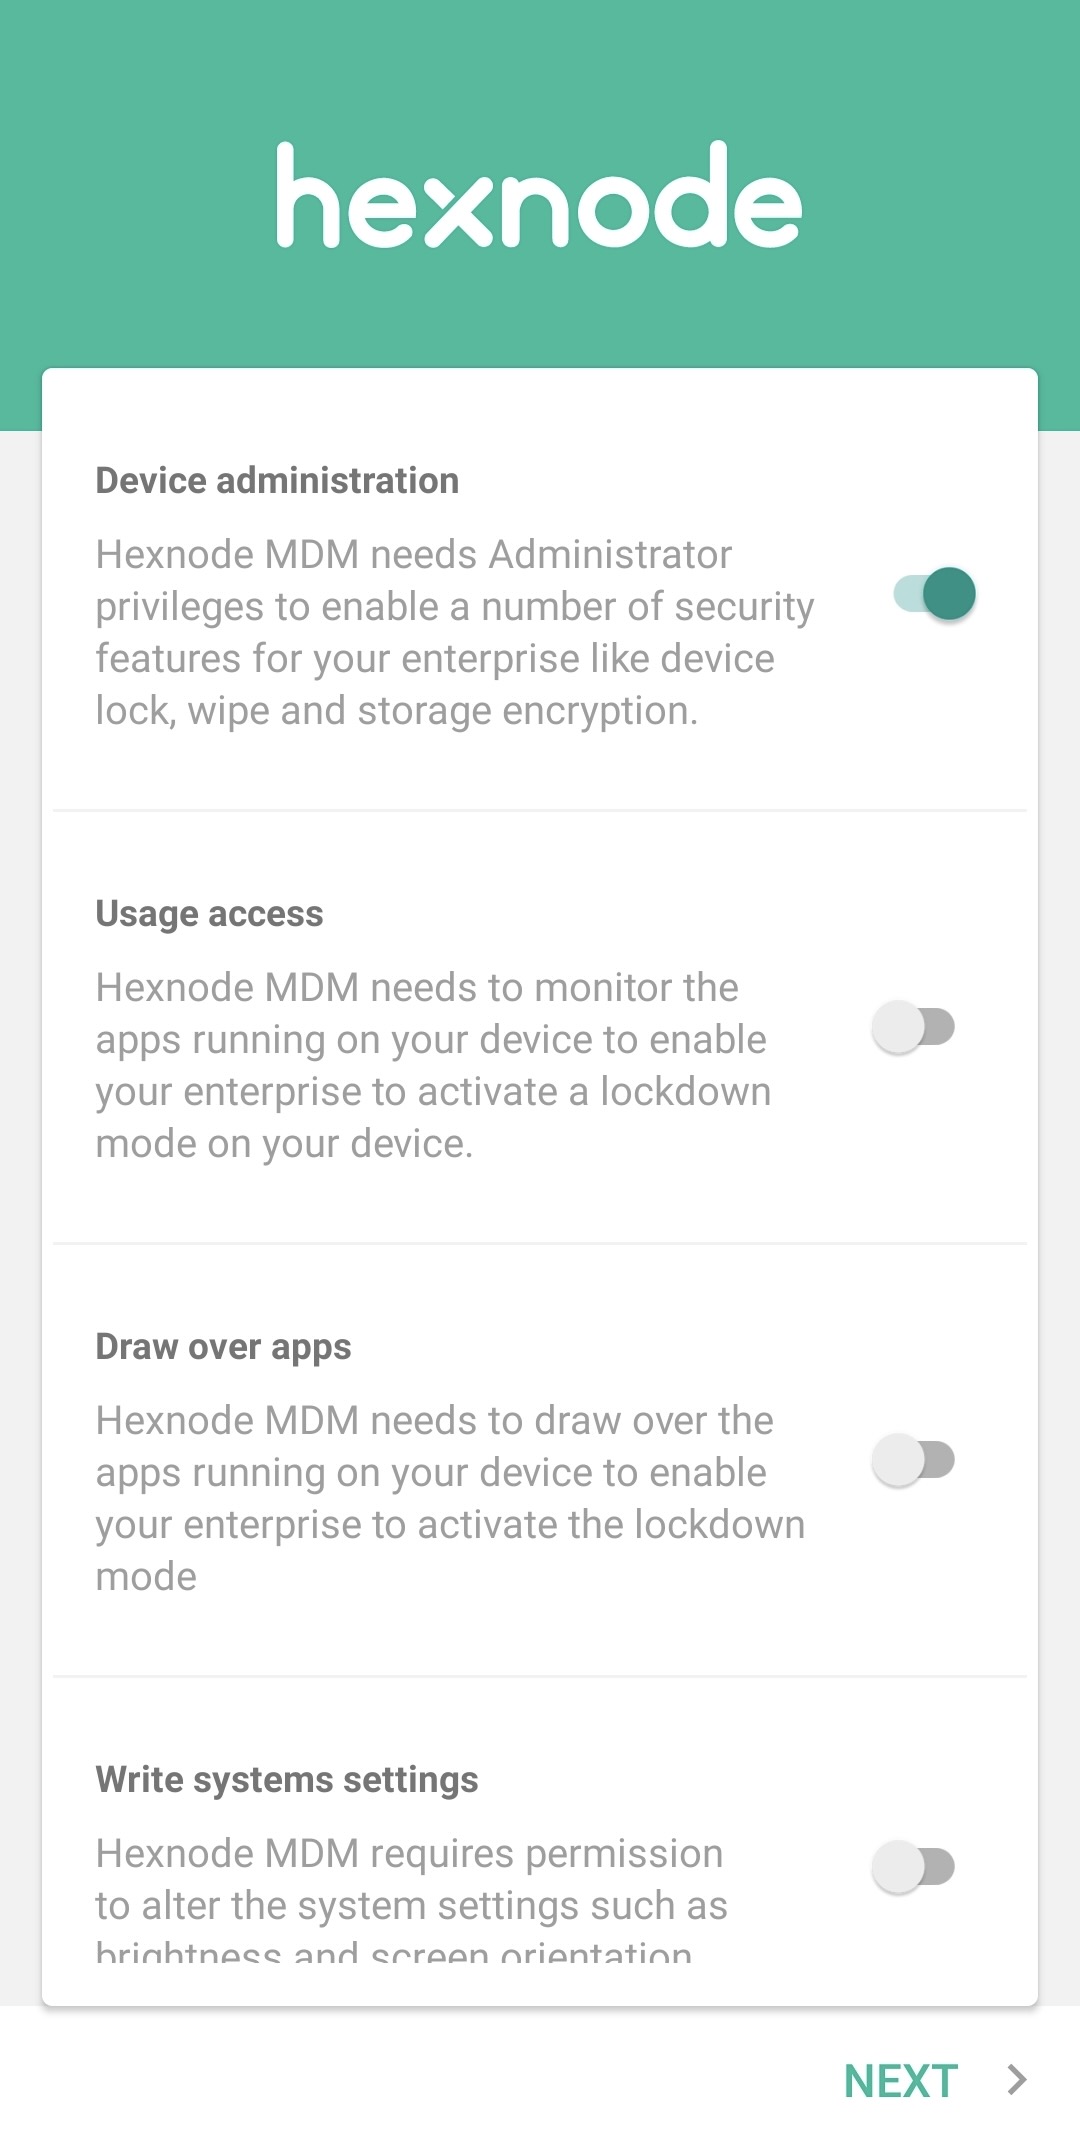
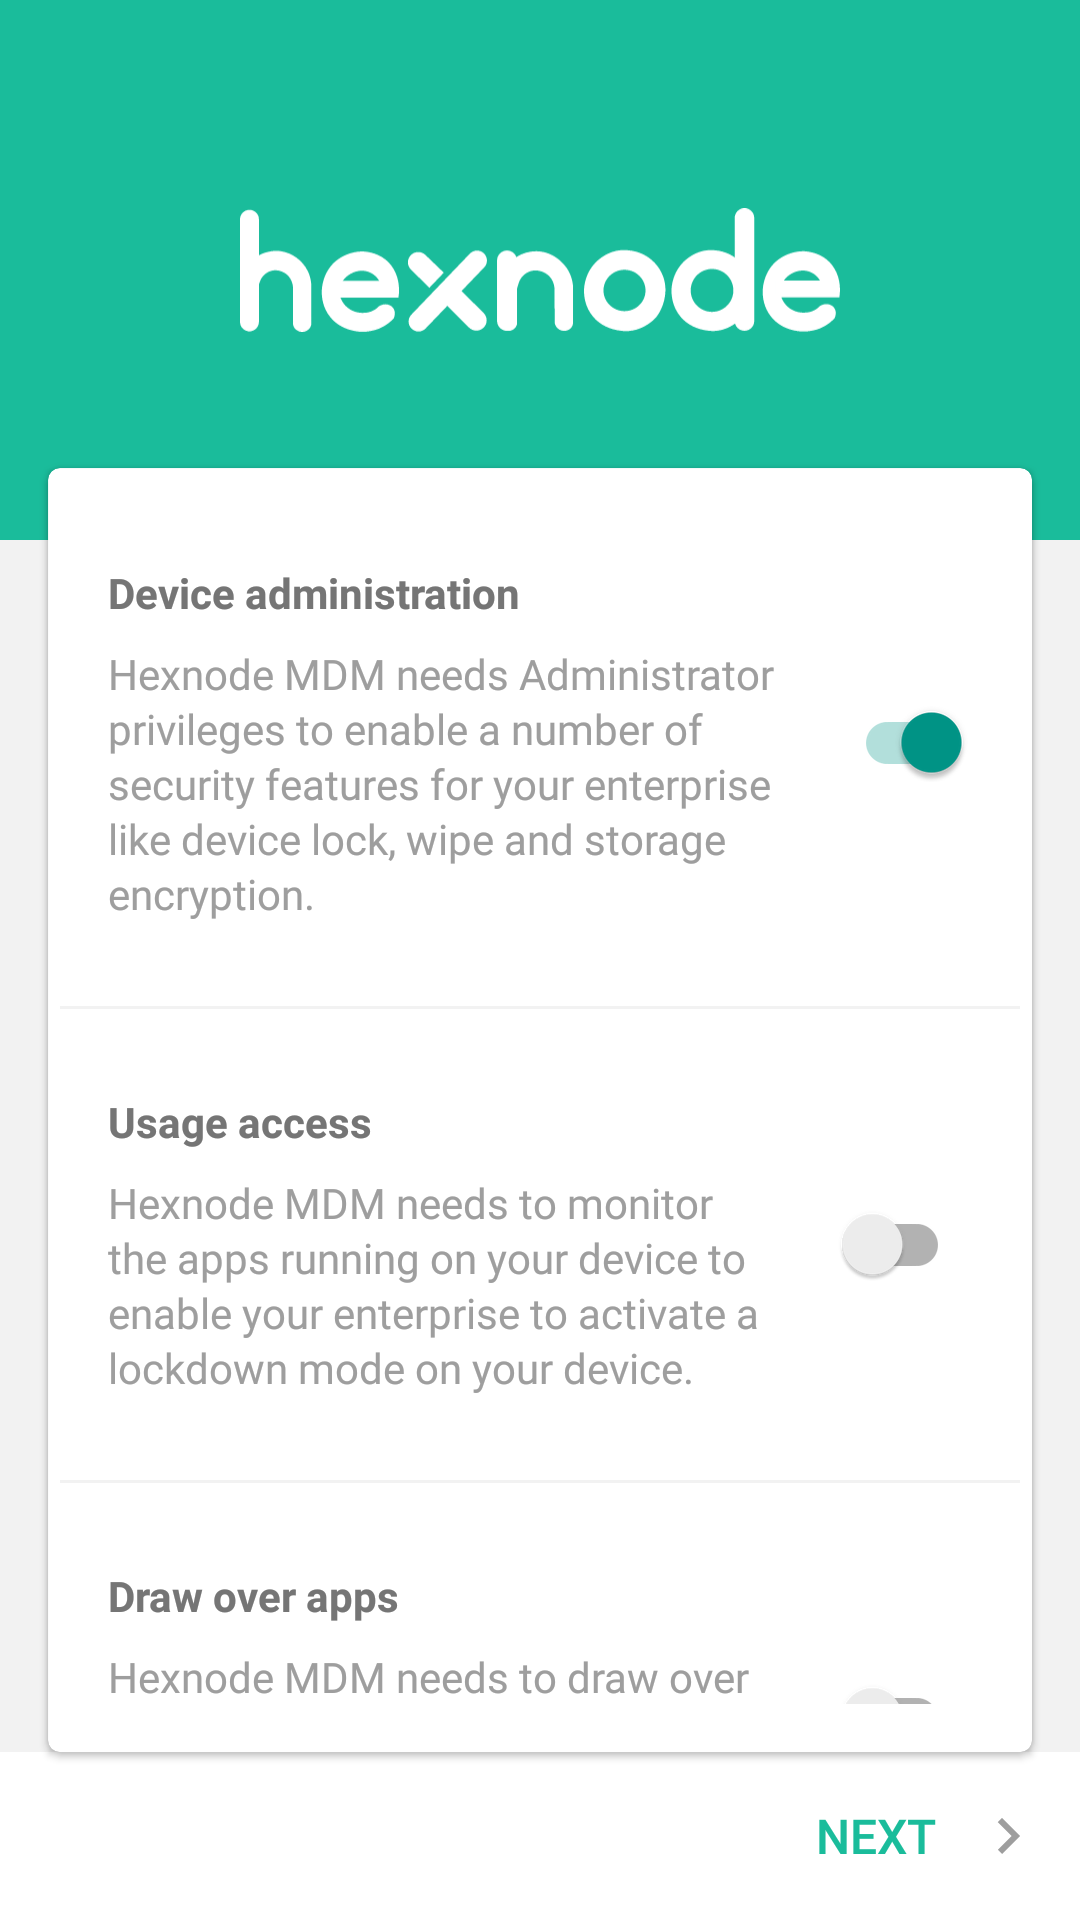
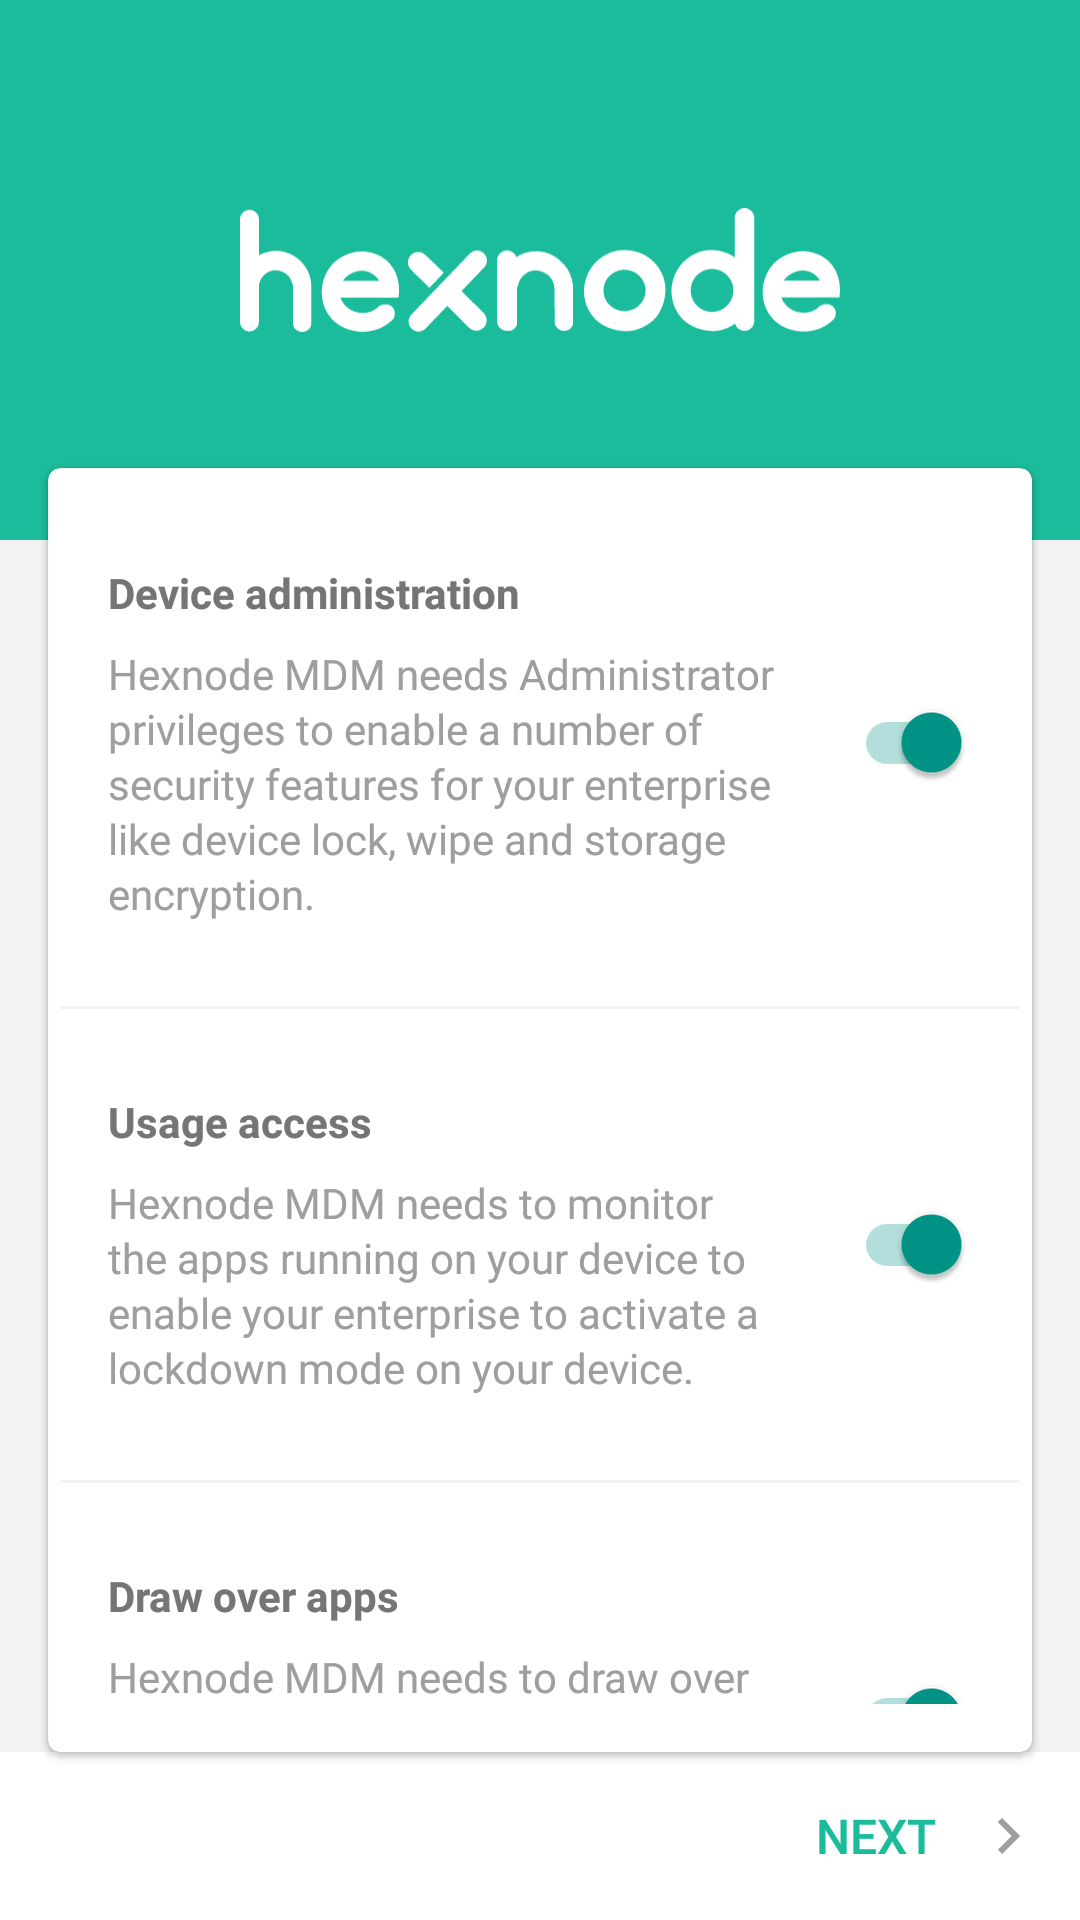
- Enable Device administration, Usage Access, Draw over apps, Write system settings and Notification access permissions. Click on Next.
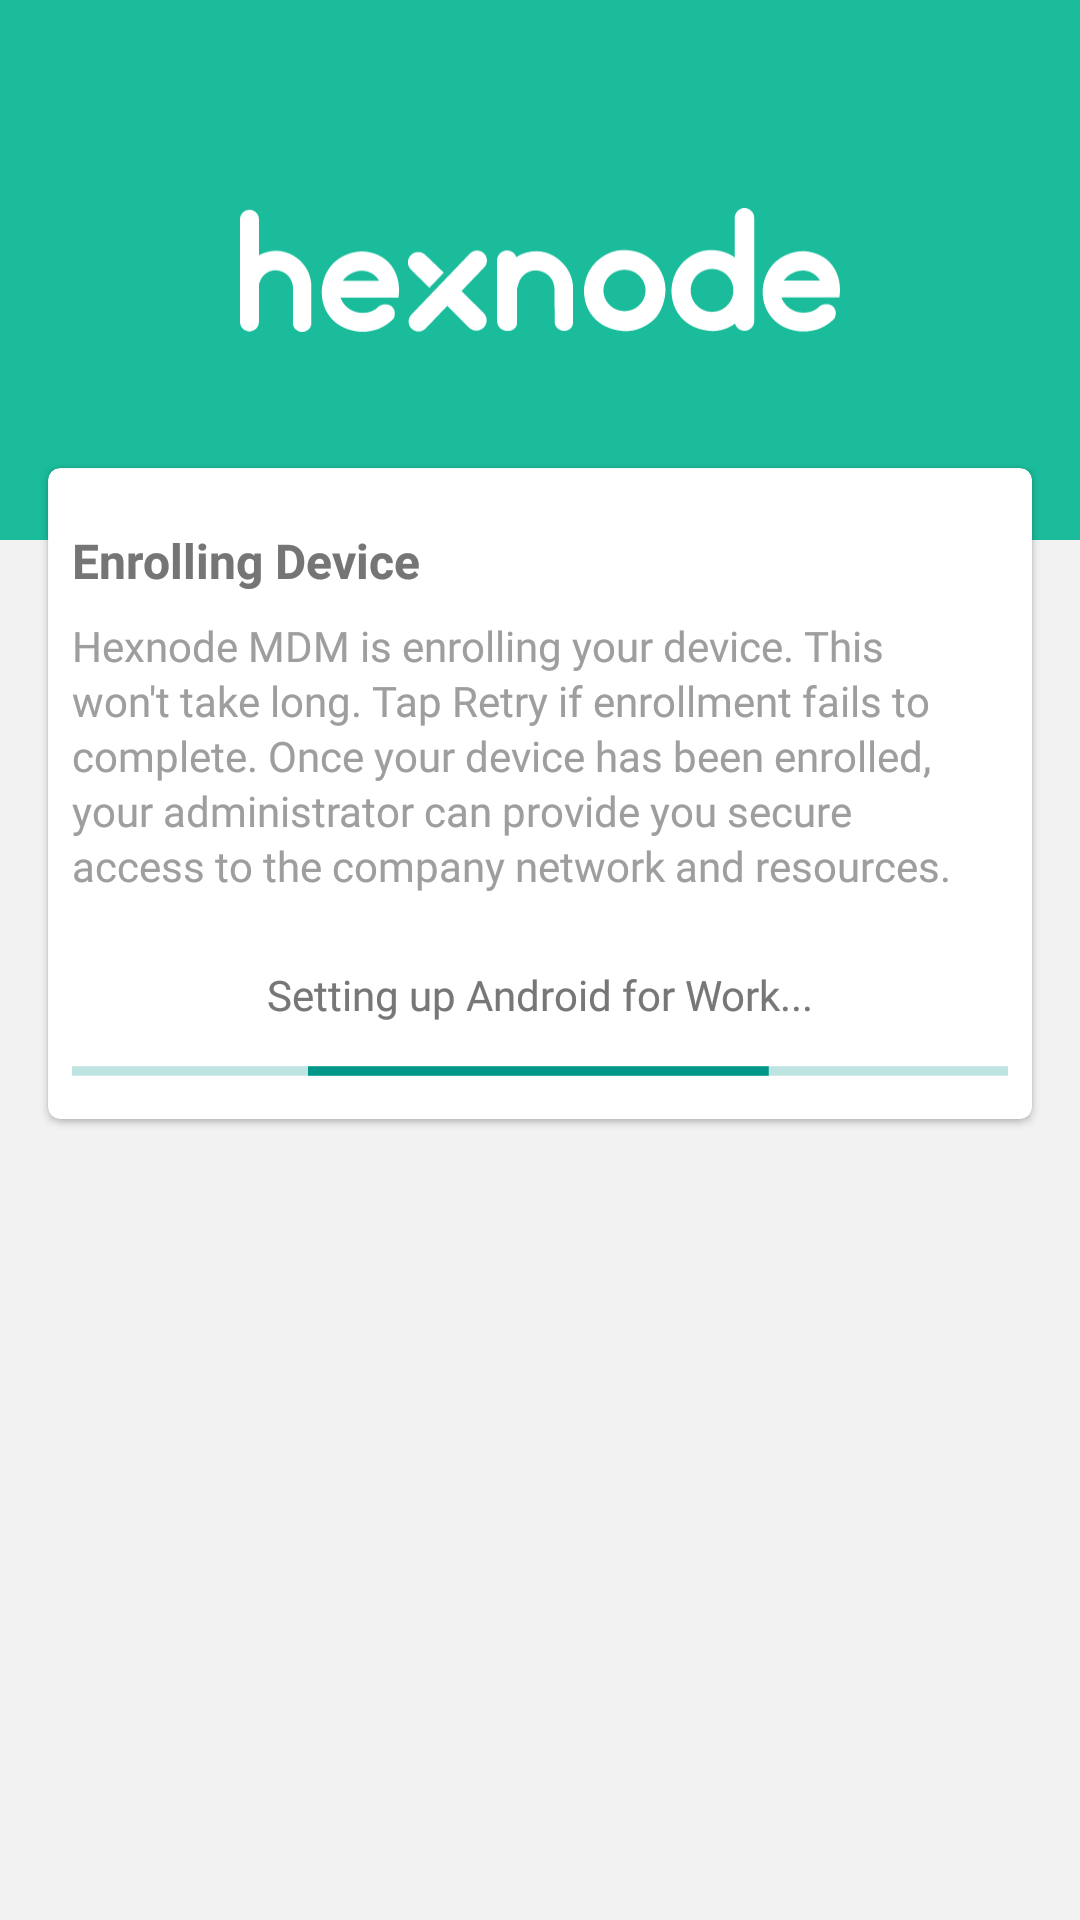
- Your device will begin enrolling with Hexnode UEM.
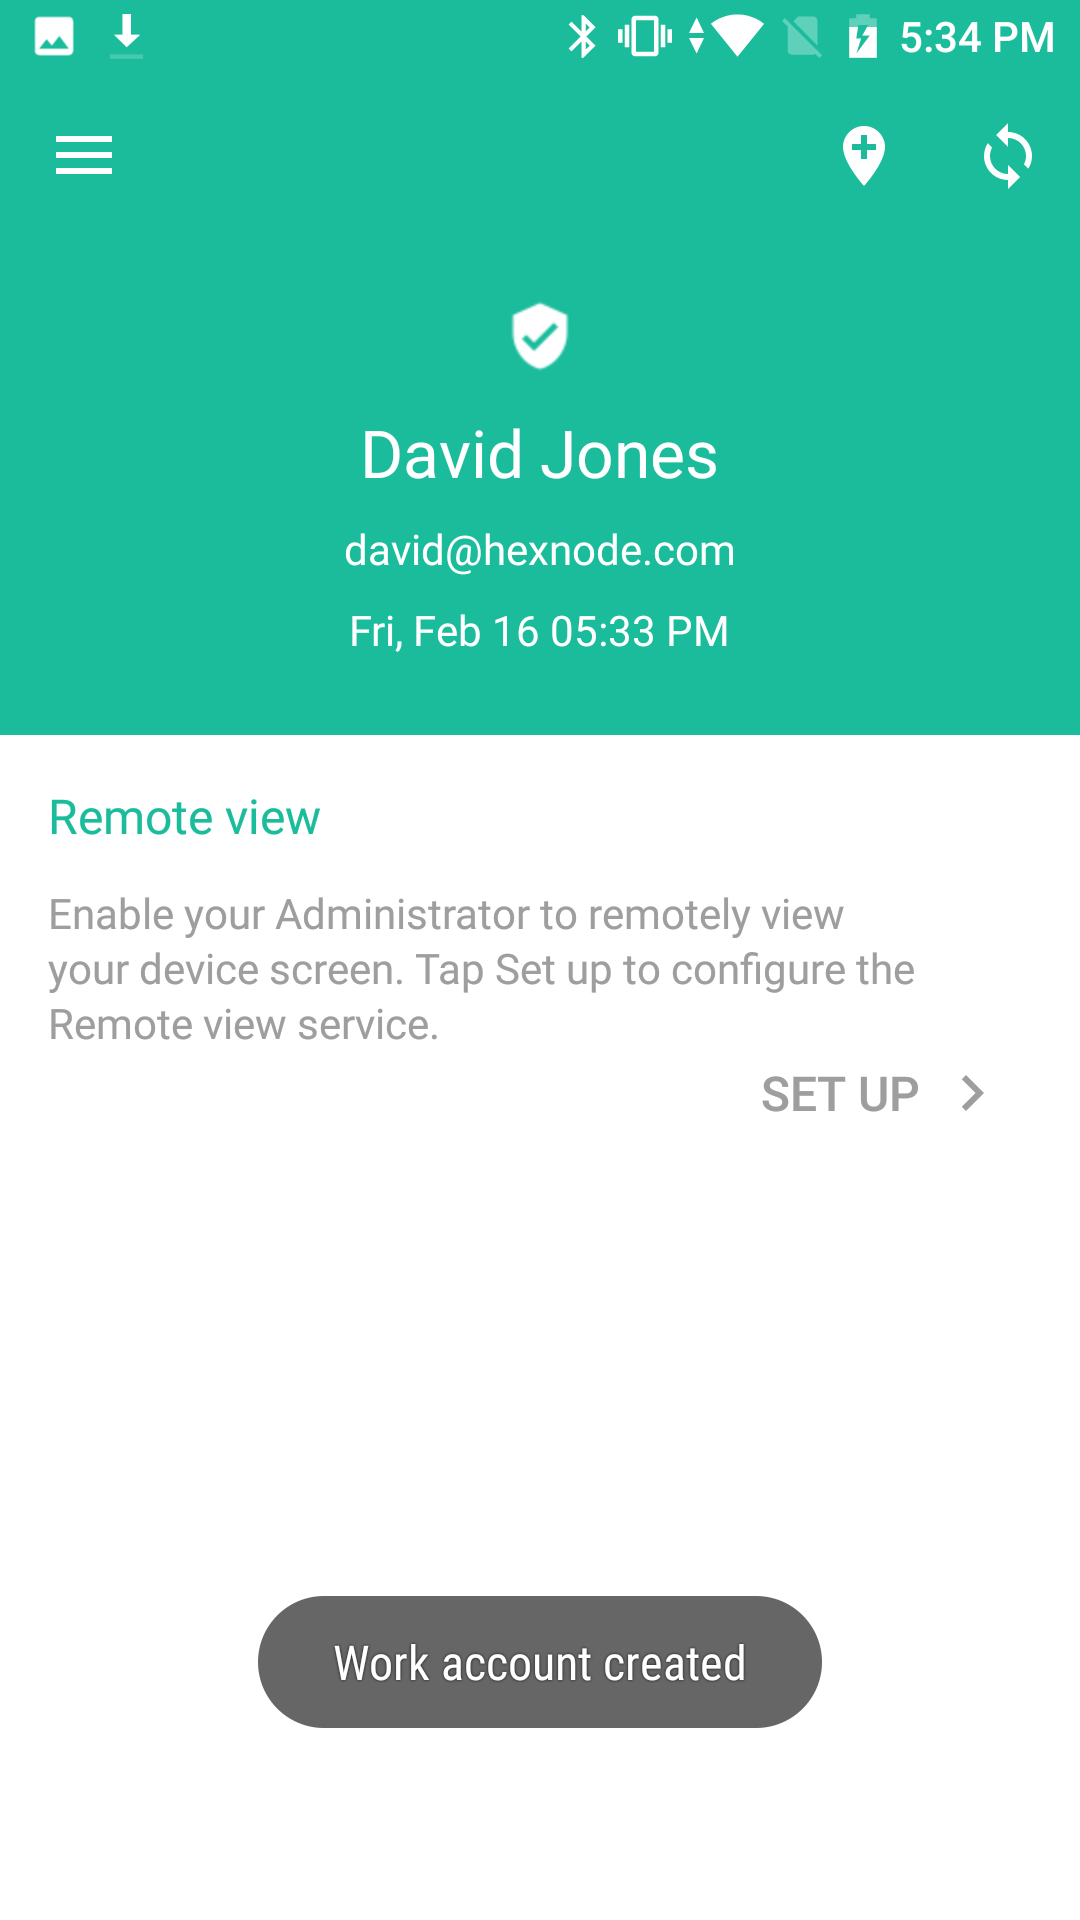
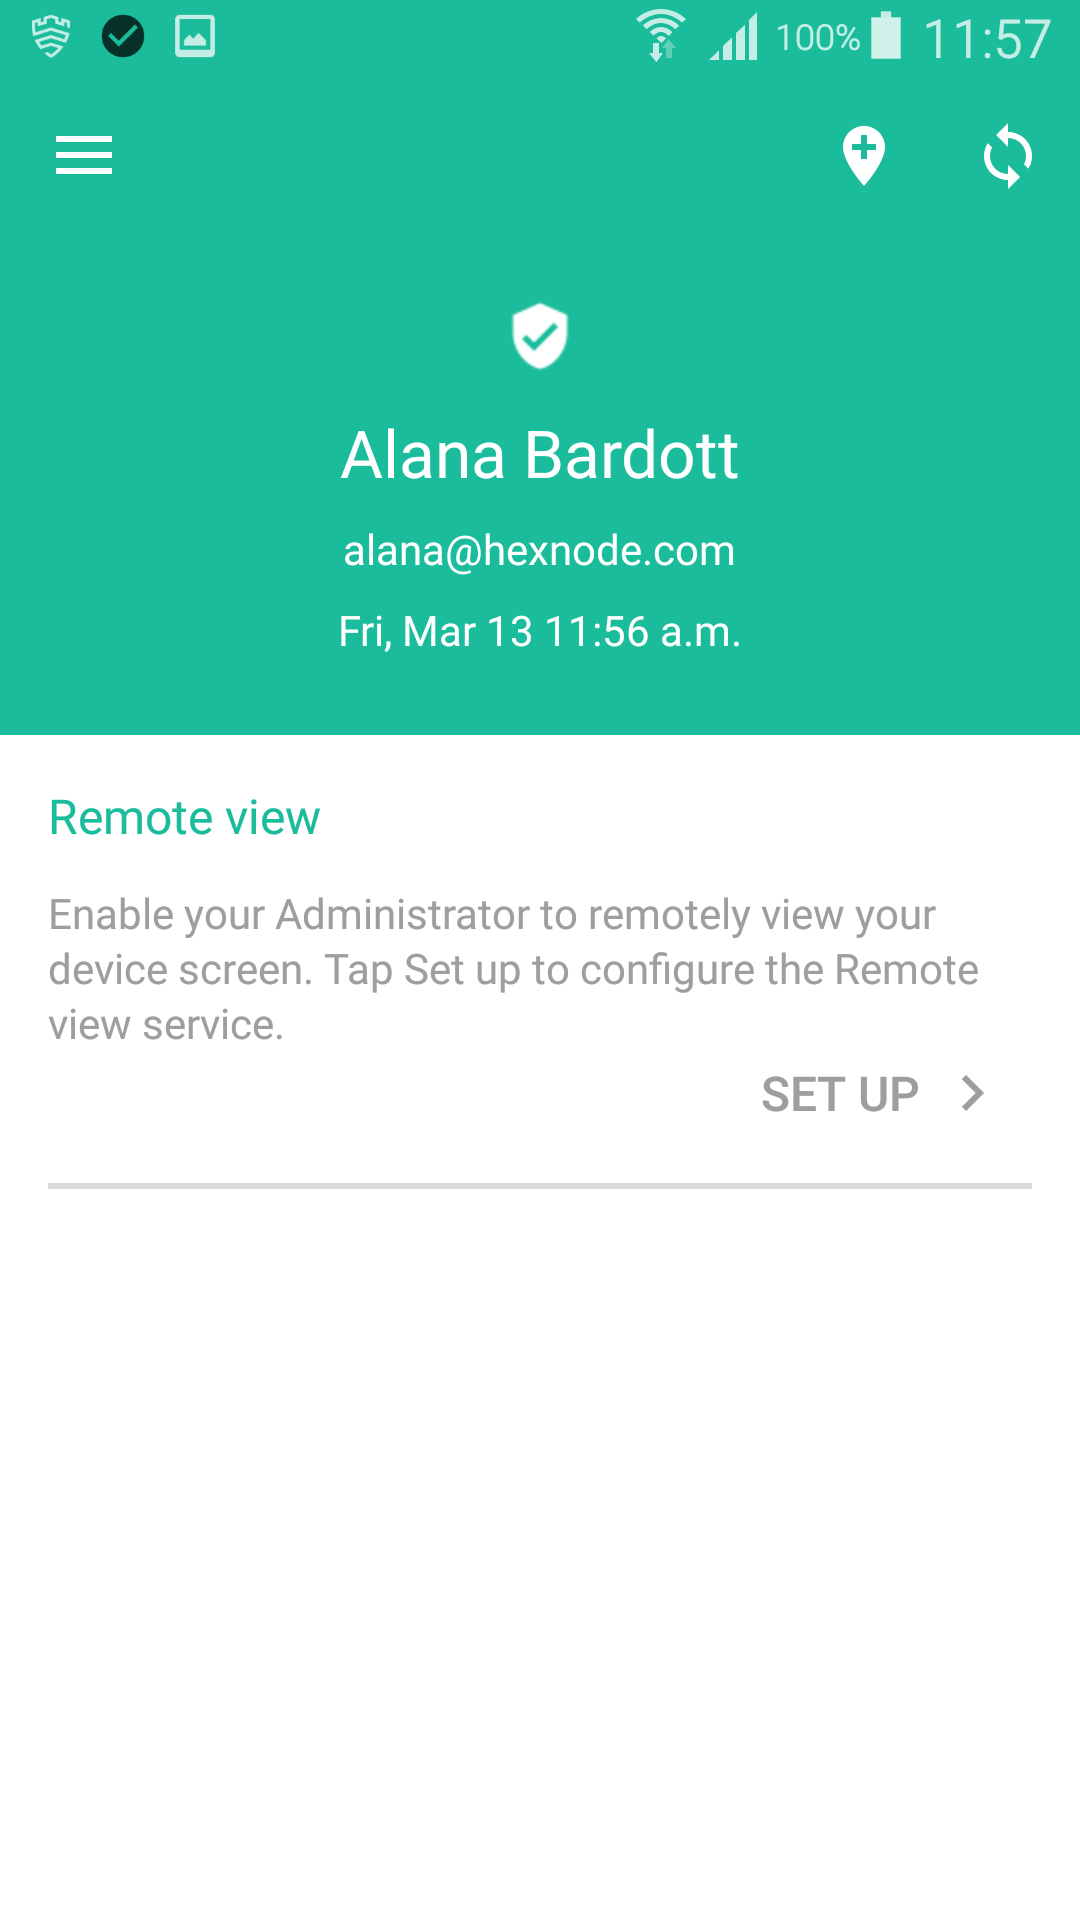
- The installation is successfully completed as soon as a work account is created on your device.

Android 6.0 or later
For devices running Android 6 and above, reset the device to its factory settings to enroll the device.
- Follow the on-screen procedure for setting-up the device.
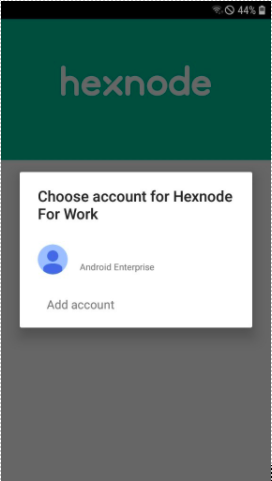
- When prompted to enter your Google Account, enter ‘afw#hexnodemdm’ and click Next.

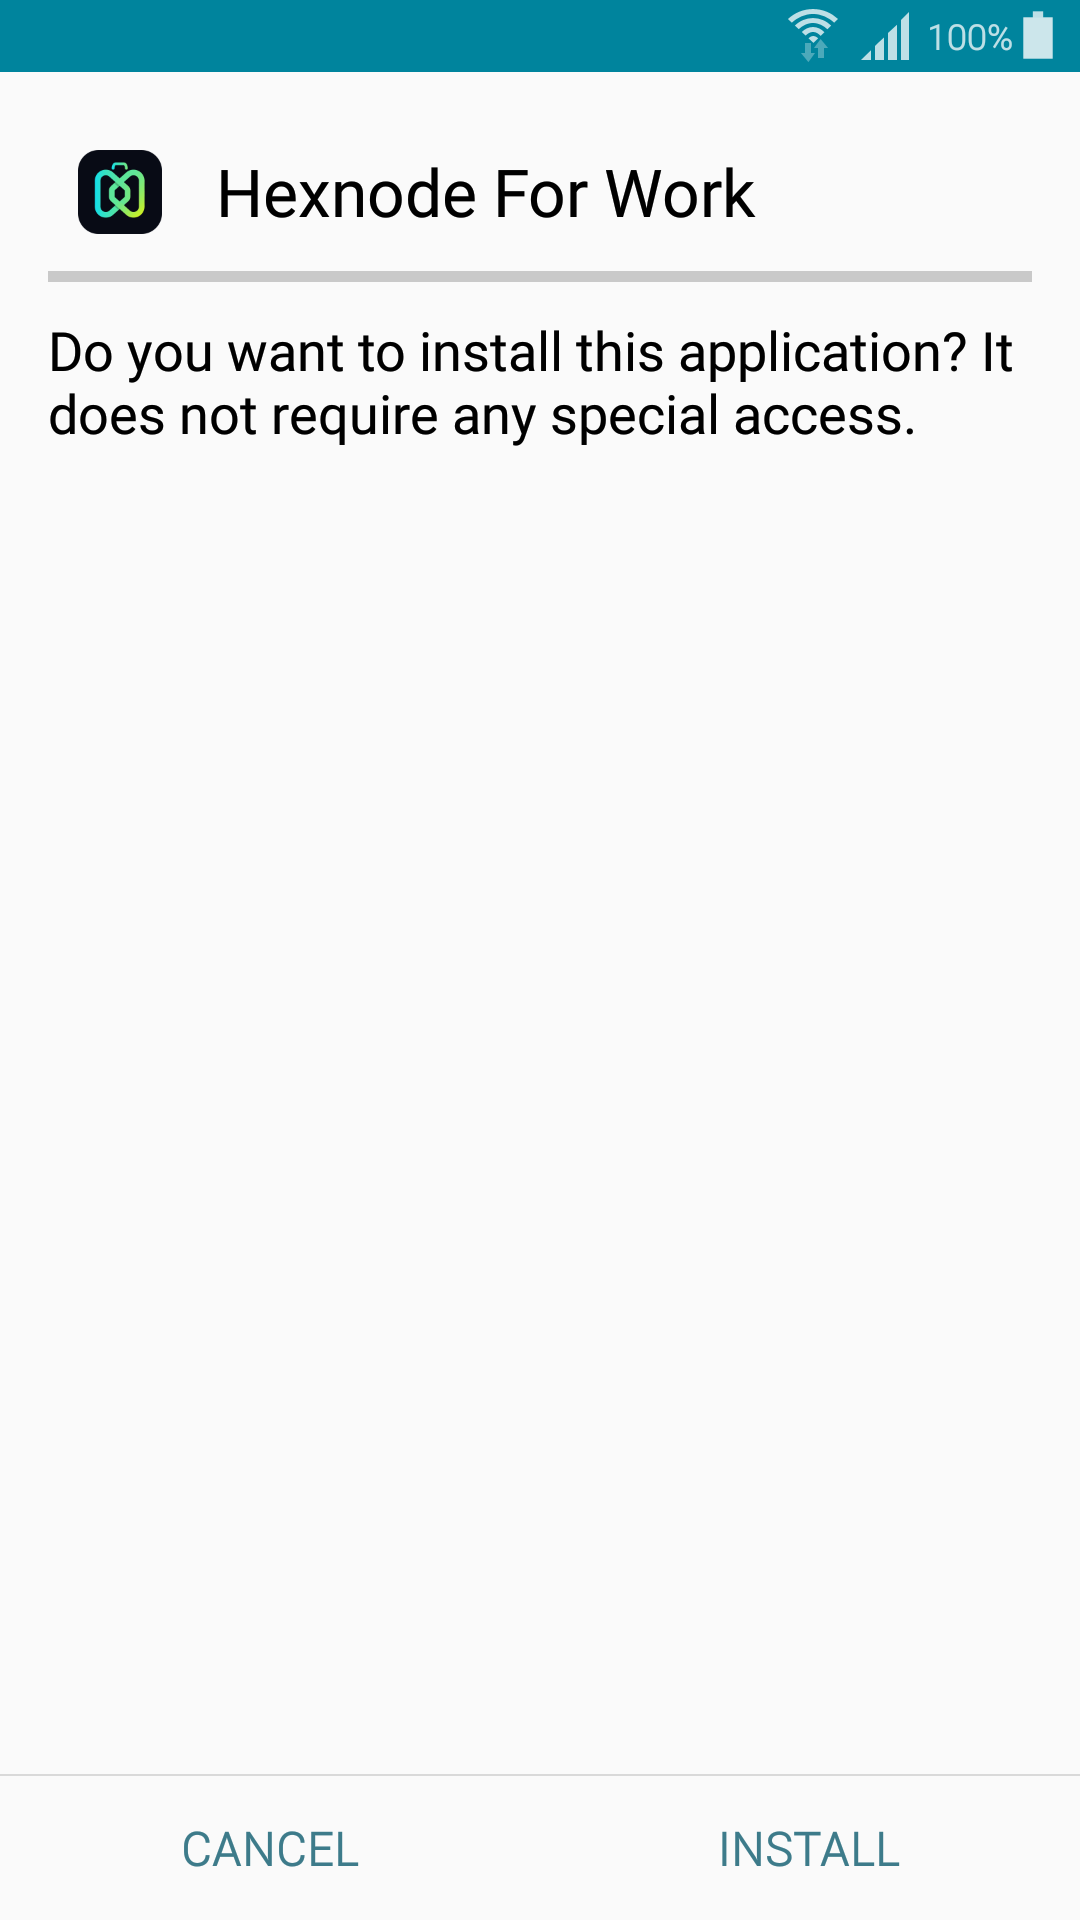
- To install Hexnode for Work app on your device, click on Install.

- Click on Install to confirm installing Hexnode for Work app.
- Either enter the Hexnode server name or scan the QR Code and click Next.
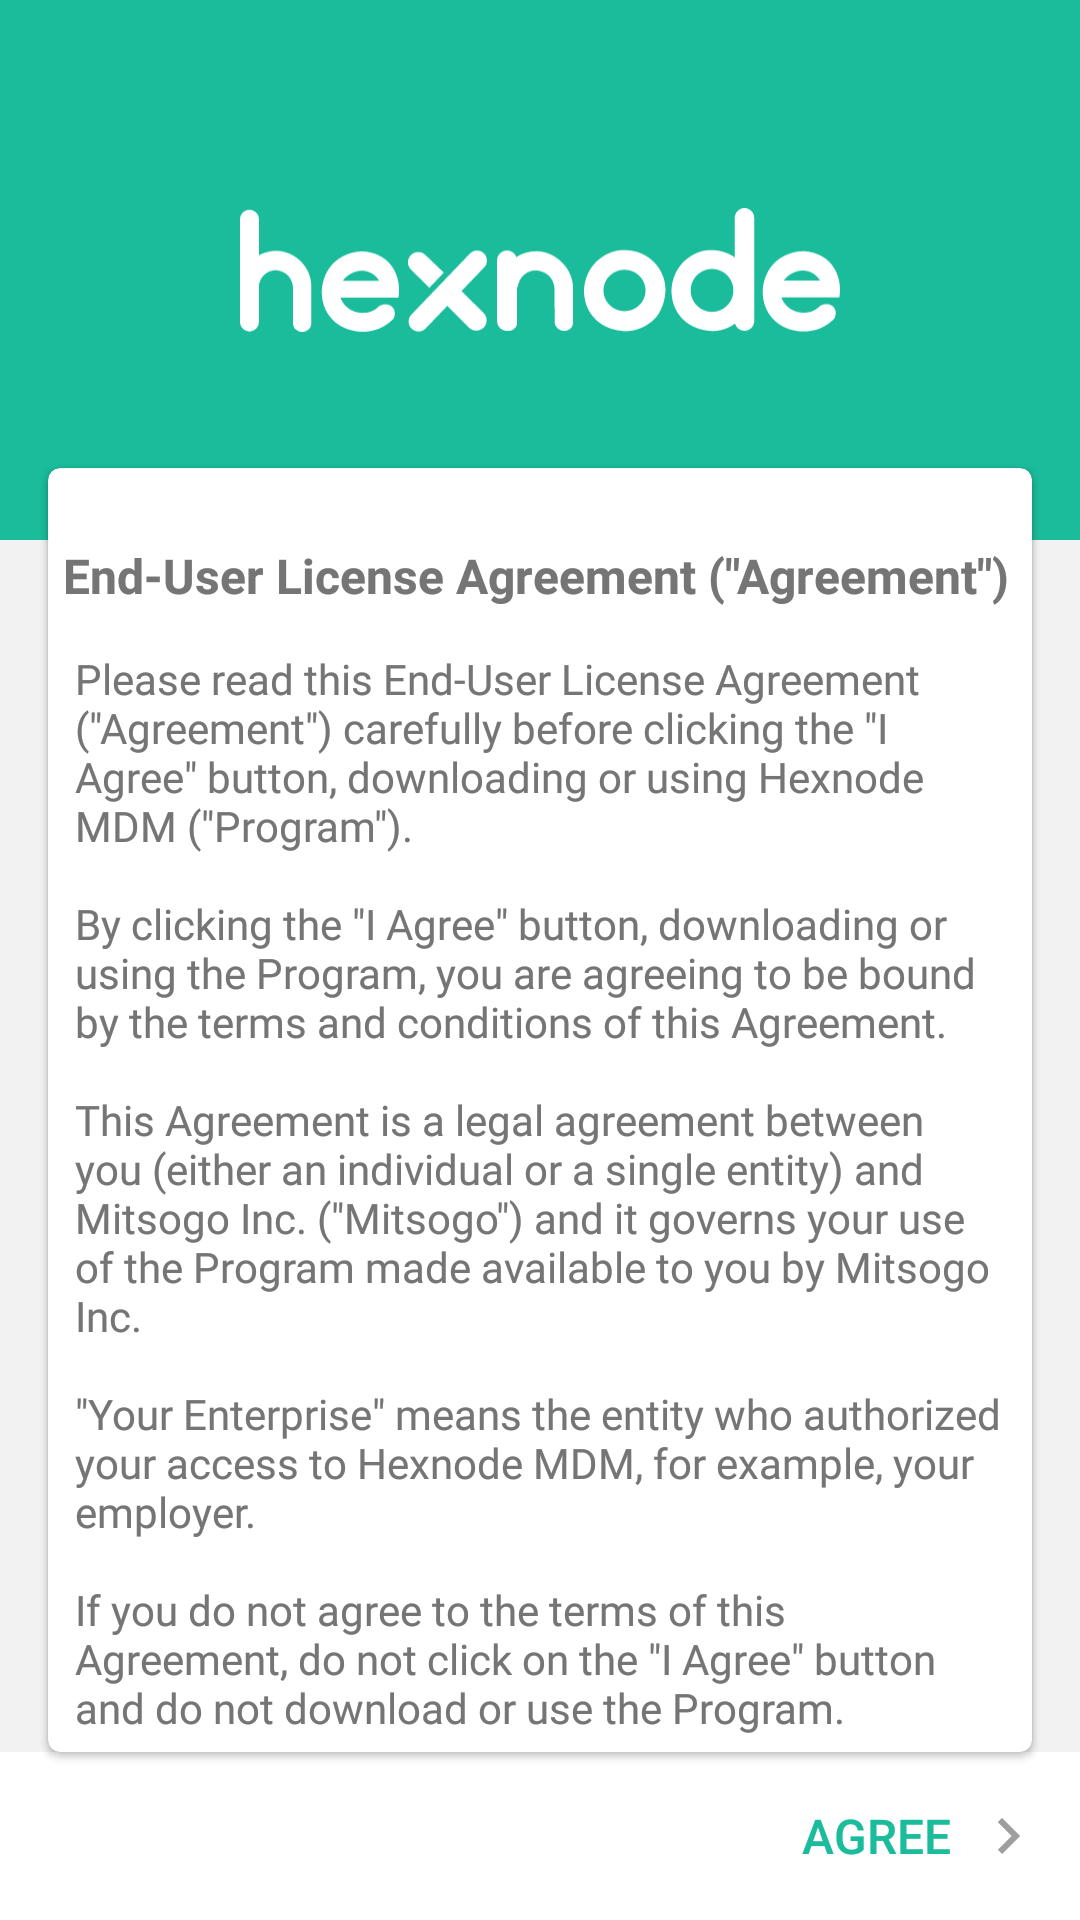
- Click on Agree after reading Hexnode End-User License Agreement.

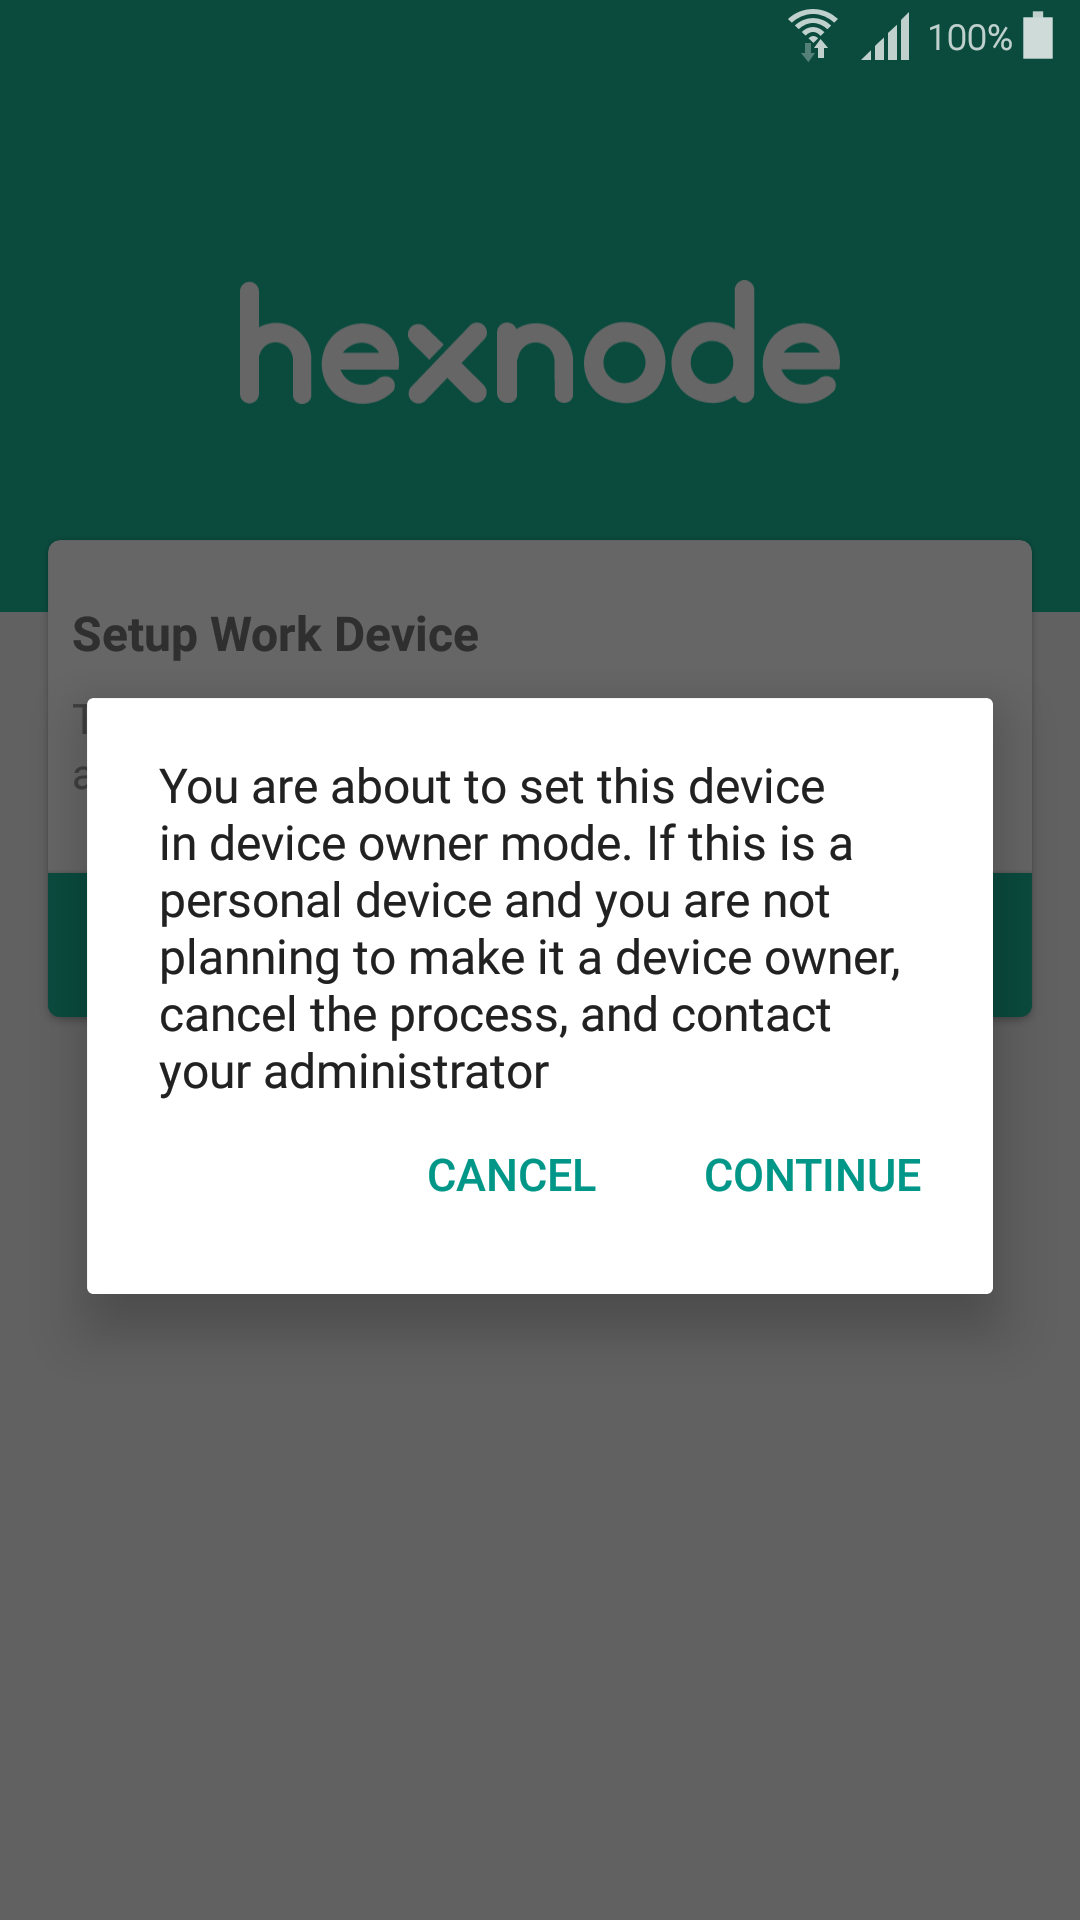
- Click on Continue to set up your device in Device Owner Mode. This allows admins to enforce complete control over your device. You will be prompted to confirm setting up your device as device owner. Click on Continue. Click on Cancel to cancel the installation process.
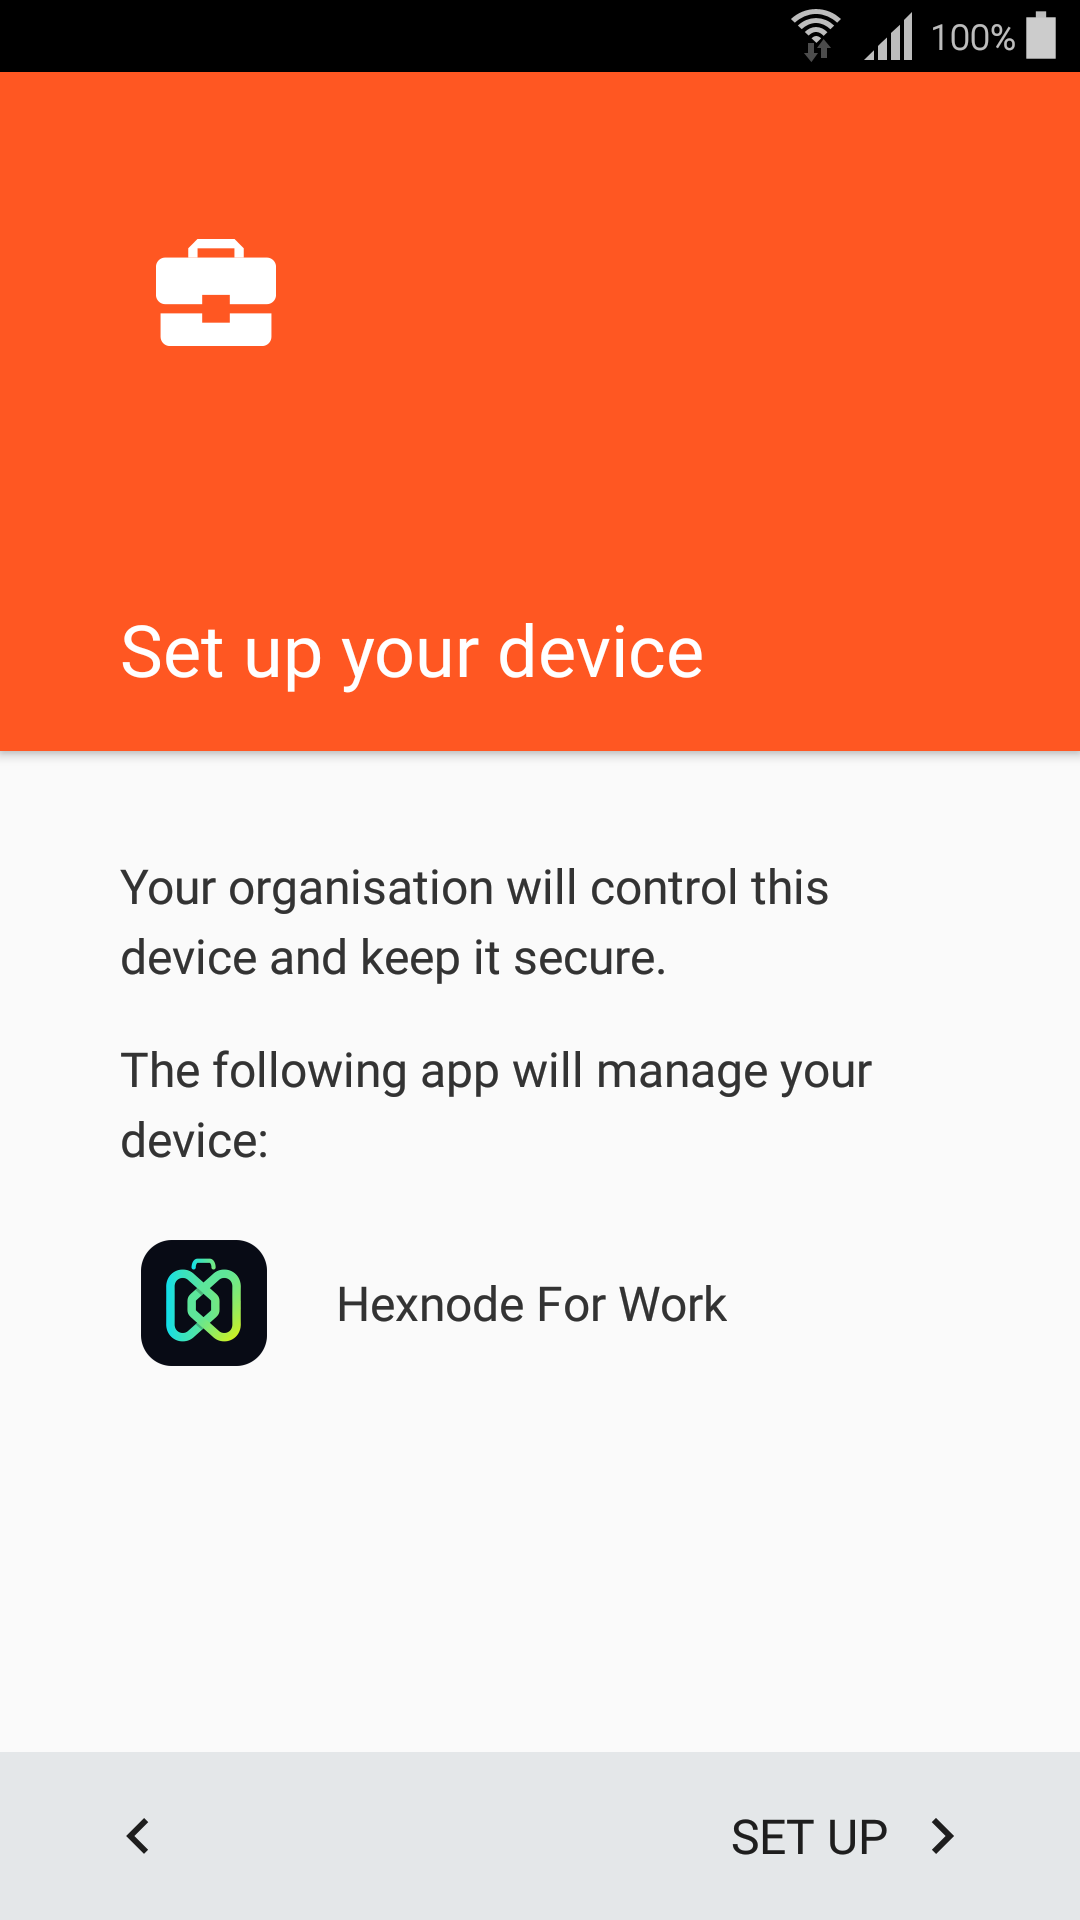
- Click on SET UP to continue the installation process.
- Enable Device administration, Usage Access, Draw over apps, Write system settings and Notification access permissions. Click on Next.
- Your device will begin enrolling with Hexnode UEM.

- The installation is successfully completed as soon as a work account is created on your device.
Android 5.0 or later:
For devices running Android 5.0 or above, after the initial factory reset,
- On your device, navigate to Settings > System > About phone.
- Tap on Build number 7 times to turn on Developer Options.
- Go back to System Settings and click on Developer Options.
- Enable USB debugging option from the list.
- Next, download Hexnode for Work APK.
- Download and install Android Debug Bridge (ADB) on your system. Open the command prompt and type in the path where the adb folder resides. For example, if you have installed adb in C drive, the command would be as follows:
1cd C:\adb
- Next, run the following command to initialize adb.
1adb start-server
- Connect the device to the computer and run the command to install the APK downloaded earlier.
1adb install /path to HexnodeMDMWork.apk/
- Type in the following command to make Hexnode for Work a device owner:
1adb shell dpm set-device-owner com.hexnode.mdm.work/com.hexnode.mdm.receivers.HexnodeDeviceAdminReceiver
- Enter your Hexnode server name. Click on Next.

- Click on Agree after reading Hexnode End-User License Agreement.
- Enable Device administration, Usage Access, Draw over apps, Write system settings and Notification access permissions. Click on Next.
- Your device will begin enrolling with Hexnode UEM.
- The installation is successfully completed as soon as a work account is created on your device.